Posting a YouTube video really boils down to three key stages: getting your video file ready, pushing it live through YouTube Studio, and then dialing in your title, description, and thumbnail so people can actually find it. Nailing these steps is the difference between a video that just exists and one that finds its audience.
Your Essential Pre-Upload Checklist
Before you even dream of hitting that upload button, a little prep work goes a long way. Seriously, this is where you lay the foundation for your video's performance. Getting these details right from the start makes the whole process smoother and gives the YouTube algorithm some early, positive signals about your content.
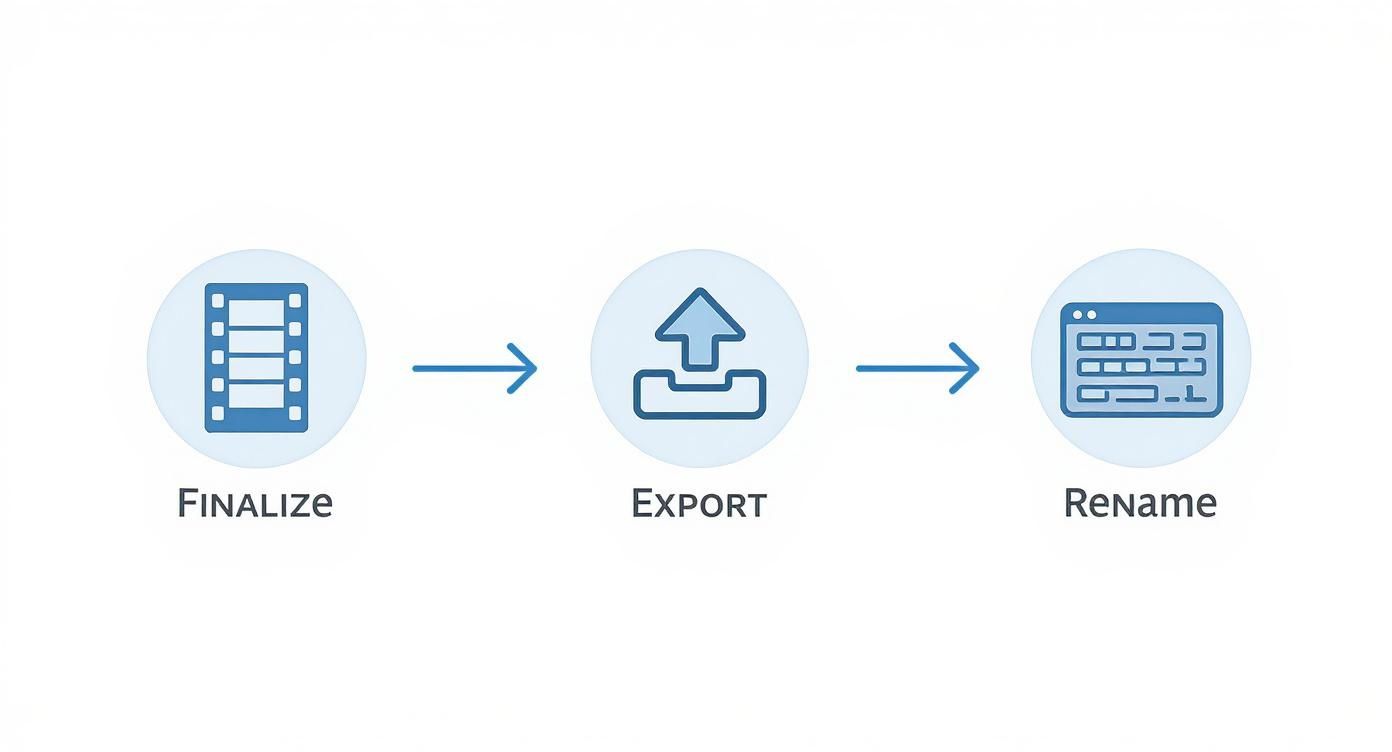
The first thing on your list? Finalize that edit. Make sure your video is polished and ready to go before you export it. If you're still getting the hang of things, checking out the best video editing software for beginners can help you add that professional touch that makes your footage shine.
Finalize Your Export Settings
Once your edit is locked in, exporting it correctly is crucial for quality. While YouTube can handle a lot of different formats, MP4 with an H.264 codec is the universal standard for a reason—it just works. Always aim for at least 1080p resolution (1920×1080 pixels). If you shot in 4K, export in 4K. Higher resolution videos often get a bit of a priority pass in YouTube’s processing queue.
Craft a Smart Filename
This is probably the easiest SEO win you'll ever get, and yet so many people skip it. Don't upload a file named final_cut_01_v3.mp4. Instead, rename it to describe what's inside. If your video is a review of the Sony A7IV, a filename like sony-a7iv-camera-review-2025.mp4 is way more powerful.
This simple step gives YouTube's algorithm its very first clue about your video's topic. It’s a small head start in discoverability before the platform even analyzes a single frame of your content.
Standing out on YouTube has never been tougher. The sheer volume of content is mind-boggling—as of Q2 2025, over 1.1 million videos are posted every single day. This intense competition means following all the best practices for YouTube videos isn't just a good idea, it's a necessity. Your pre-upload work is the first step in making sure your video doesn't get lost in the crowd.
A Walkthrough of the YouTube Upload Process
Once your video file is prepped and ready to go, it's time to head over to YouTube Studio. This is your mission control for everything you publish, and getting comfortable with the interface is the first step to a smooth upload every time.
First things first, find the "Create" button chilling in the top-right corner, and from the dropdown, hit "Upload videos." This brings up a window where you can drag and drop your file or hunt for it on your computer. After that, YouTube’s backend kicks into gear, crunching your file through its multi-stage processing routine.
Essentially, YouTube is creating a bunch of different versions of your video to ensure it plays smoothly for everyone, whether they're watching in Standard Definition (SD), High Definition (HD), or even 4K.
Pro Tip: Whatever you do, keep that browser tab open and active while your video is uploading. An unstable internet connection or accidentally closing the window can kill the whole process, forcing you to start from scratch. I've learned this the hard way.
Navigating the Upload Screens
While your video processes in the background, YouTube will walk you through a series of screens: Details, Video elements, Checks, and Visibility. You'll be spending most of your time on that first "Details" screen, which is where you'll plug in your title, description, and thumbnail.
This initial screen is really the command center for your entire launch.

The interface lays everything out pretty neatly, guiding you from the basic metadata all the way to setting the final visibility. It’s built to make sure you don’t overlook any of the small but crucial details. This is where you start telling both the algorithm and your future viewers what your content is all about.
When you post on YouTube, you’re not just uploading a file; you’re tapping into a truly massive global audience. Think about it: current estimates show YouTube's user base could hit 2.85 billion monthly active users by 2025. Even more telling is that over 90% of visits now come from mobile devices.
This just hammers home how critical it is to create content that looks good and is easily digestible on a small screen. You can find more stats on YouTube's massive global reach on awisee.com. That scale means that no matter how niche you think your topic is, there’s an audience out there waiting for it.
Optimizing Your Video Details for Discovery

Getting your video uploaded is just the first step. The real magic happens when people actually find it. This is where your metadata—the title, description, and tags—comes into play, acting as your direct line of communication with the YouTube algorithm.
Think of it as teaching YouTube what your video is all about so it can show it to the right people.
Your title is, without a doubt, the most critical piece of text you'll write. It has to be compelling enough to earn a click while also being packed with the keywords people are typing into the search bar. A title like "My Trip" is a missed opportunity. Something like "Amazing Solo Backpacking Trip in Vietnam (Hanoi to Ho Chi Minh City)" tells both viewers and the algorithm exactly what they're getting.
Next up is the description, which is your secret weapon for adding context and depth. Don't just slap a single sentence in there and call it a day. The first few lines are prime real estate because they show up in search results, so use them to summarize the video's core value. Below that, flesh it out with more details, helpful links, and even timestamps to create chapters—a feature that viewers absolutely love.
Crafting a Smart Tag Strategy
Tags are another signal you send to YouTube's discovery engine. While their importance has waxed and waned over the years, they still help categorize your video and link it with similar content. A solid strategy uses a healthy mix of tag types:
- Specific Tags: These are longer, multi-word phrases directly tied to your video. Think "how to install laminate flooring" or "easy sourdough bread recipe for beginners."
- Broad Tags: These are more general, single-word tags that place your video in a wider category, like "home improvement" or "baking."
A well-rounded metadata strategy doesn't just help you rank in search. It helps your video show up as a "suggested video" next to other popular content, which is often a far more powerful source of views.
To help you keep track of all these moving parts, here’s a quick checklist for nailing your video’s metadata every single time.
YouTube Metadata Optimization Checklist
| Metadata Element | Best Practice | Why It Matters |
|---|---|---|
| Title | Include primary keyword; keep it under 70 characters. | Grabs attention and improves click-through rate in search results. |
| Description | Write 2-3 sentences with keywords above the "show more" fold. | Provides immediate context and encourages clicks from search. |
| Tags | Use a mix of 5-10 specific and broad tags relevant to your topic. | Helps YouTube understand your video's category and suggest it alongside similar content. |
| Timestamps | Add timestamps (e.g., 0:00 Intro) to create video chapters. | Improves viewer experience and can lead to higher watch time. |
Following these guidelines gives the algorithm clear signals about what your video contains, increasing its chances of being discovered by the right audience.
Finding the perfect keywords can feel like a shot in the dark. To get more eyes on your content, it's worth exploring effective online promotion strategies that can drive traffic beyond YouTube itself. For a more data-driven approach, you can also check out the best AI tools for YouTube keyword trends to see what your audience is searching for right now.
Designing a Thumbnail People Will Actually Click

Let's be real: your metadata gets your video seen, but your thumbnail gets it clicked. It’s the single most important visual you'll create, and it can make or break your video's success in less than a second. A great one stops the scroll. A bad one is just invisible noise.
Think of it as your video's movie poster. It has to sell the story, tease the value inside, and be instantly understandable, even on the tiny phone screens where most people are watching. The data doesn't lie: over 90% of the best-performing videos on YouTube use custom thumbnails. That tells you everything.
Core Elements of a High-Performing Thumbnail
To design a thumbnail that practically begs to be clicked, you need to nail a few key things. First, use high-contrast, vibrant colors. You're competing against YouTube's interface—white, grey, and dark mode—so you need colors that pop right off the screen. Muted tones just blend in and get ignored.
Next, get an expressive human face in there whenever you can. Our brains are wired to notice faces, especially those showing strong emotions like shock, excitement, or curiosity. It creates an instant human connection. Finally, add just a few words of bold, easy-to-read text. Keep it to three to five words, max. The goal is to spark curiosity, not to give everything away.
Your thumbnail's job isn't to summarize the video; it's to create an information gap that makes someone curious enough to click. It should pose a question that can only be answered by watching.
For instance, a thumbnail for a baking video could show a stunning close-up of a perfect slice of cake with the text, "My Secret Ingredient?" That’s way more powerful than a simple shot of the finished dessert. If you want to go deeper on this, we've got a whole guide on creating killer YouTube thumbnails.
Picking the Right Visibility and Scheduling Options
Before you hit that final "Publish" button, there's one last crucial decision: who gets to see your video, and when? This isn't just a technical step; it’s a strategic choice that dictates your video's launch.
Think of these settings as different doors to your content. Your goal for the video will determine which door you open.
Understanding Your Visibility Options
YouTube gives you three main settings, and each one serves a very different purpose.
- Public: This is the go-to for most creators. Once you publish, your video is out there for everyone. It’ll show up in search results, on your channel, and can be shared anywhere. It’s the default for a reason—it’s built for growth.
- Unlisted: Think of this as a secret handshake. Your video won't appear in search or on your channel page, but anyone you give the direct link to can watch it. I use this all the time for sending a draft to a collaborator for feedback or sharing a portfolio piece with a potential client.
- Private: This is your personal vault. Only you and specific people you invite with their Google accounts can view the video. It’s perfect for storing family videos or backing up raw footage you don't want anyone else to see.
The right setting is all about matching your video's purpose with its intended audience. A public launch is for growing your channel, while Unlisted and Private are for controlled access.
The Power of Scheduling and Premieres
Instead of just publishing your video immediately, you can schedule it to go live at a specific day and time. This is a game-changer. It lets you drop your content exactly when your audience is most active, helping you build anticipation and maximize that initial flood of views.
Want to turn your upload into a live event? Use the Premiere feature. This creates a public watch page before the video goes live and even includes a live chat room. You can hang out with your viewers and react with them in real-time as they watch your video for the first time. It's a fantastic way to build community.
The platform has come a long way since its simple upload button in 2005. Today, learning how to post a YouTube video means navigating a far more competitive landscape with over 5.1 billion videos already uploaded. The tools and strategies for a successful launch are more advanced than ever, as you can discover in these YouTube statistics and trends on Podbase.com. Mastering these visibility and scheduling features is a key part of any modern creator's strategy.
Common Questions About Posting YouTube Videos
Even with the perfect game plan, you're bound to have questions when you first start posting videos on YouTube. That's totally normal. We've rounded up some of the most common hurdles new creators run into, with straight-to-the-point answers to get you past them.
Think of this as your quick guide for those "what do I do now?" moments. These are the real-world snags that often pop up right after you hit that upload button.
Why Does My Video Look Blurry After Uploading
This is a classic. You upload a beautiful, crisp 1080p or 4K video, but when you check it out, it looks like it was filmed on a flip phone. Don't panic—this is almost always temporary.
YouTube's first move is to process a low-quality, Standard Definition (SD) version to get your video online fast. The higher-quality versions, like HD and 4K, take a lot longer to process in the background. Depending on your video's length and resolution, this can take anywhere from a few minutes to several hours.
Pro Tip: If your video is still blurry after a full day, take a look at your original export settings. A low bitrate is often the culprit, as it directly impacts the final visual quality. Make sure you're exporting with a high enough bitrate for your resolution.
What Should I Do If My Upload Gets Stuck
A stuck upload is one of the most frustrating things to deal with, but it's usually fixable. Nine times out of ten, the problem is a shaky internet connection. Before you do anything else, check your Wi-Fi or see if someone else in the house is streaming every movie ever made.
If your connection is solid, the issue might be with the file itself.
- File Size: Really big files (think over 100 GB) are just more likely to time out during an upload.
- File Format: YouTube accepts a lot of formats, but sticking with the industry standard—MP4 with an H.264 codec—is your best bet to avoid weird processing errors.
- Browser Glitches: Sometimes, all it takes is a simple browser cache clear or trying a different browser like Chrome or Firefox to get things moving again.
Can I Change My Video Details After Publishing
Absolutely! This is one of the best things about the YouTube platform. Nothing you publish is set in stone. You can always go back and tweak your video's title, description, tags, and even the thumbnail.
This is a powerful way to breathe new life into older content. For example, if you see an old video suddenly getting views for a new search term, you can jump in and update its title and description to better match what people are looking for. It’s a simple trick to keep your content working for you long after you first hit publish.
Ready to put your content creation on autopilot? ShortsNinja uses AI to turn your ideas into dozens of high-quality short videos for YouTube, TikTok, and Instagram in minutes. Stop spending hours editing and start growing your channels effortlessly. Get started with your free trial video at https://shortsninja.com.

