
Getting your YouTube videos onto Instagram isn't as simple as hitting a share button. You've got to download your video, reformat it for Instagram's vertical or square world, and then upload it natively to your Feed, Stories, or Reels.
This extra legwork is worth it. It’s the difference between content that looks out of place and content that feels right at home, ready to perform on a platform with a totally different vibe than YouTube.
Why Bother Putting YouTube Content on Instagram?
Before we get into the "how," let's talk about the "why." This isn't just about squeezing a few more views out of your videos. Repurposing your long-form YouTube content for Instagram is a genuinely smart move to bridge two massive platforms and get more mileage out of the hard work you’ve already done.
Think of it as breathing new life into your video library. You're giving your best stuff a second chance to shine in front of a fresh audience. You’re building a connection between YouTube, an amazing engine for search-based discovery, and Instagram, a powerhouse of instant, visual engagement.
Expand Your Reach and Find New Fans
When you drop clips of your YouTube videos onto Instagram, you’re tapping into a completely different user base with its own unique behaviors. A lot of the people who find you on Instagram probably would have never stumbled upon your YouTube channel otherwise.
This cross-promotion strategy lets you:
- Tap into a new audience: Instagram has over 2 billion monthly active users, and the demographics often skew differently from a typical YouTube channel's subscriber base.
- Boost your brand presence: Showing up consistently on both platforms keeps your brand top-of-mind and builds a stronger, more recognizable identity.
- Drive quality traffic: A sharp, well-edited clip on Instagram is the perfect teaser. It can pique curiosity and send genuinely interested viewers straight to your YouTube channel for the full story.
The real magic happens when the two platforms work together. You're not just reposting; you're building a content ecosystem where Instagram feeds YouTube and YouTube feeds Instagram. It’s a smarter way to grow your community and amplify your message without doubling your workload.
This whole approach is a core part of a strong social media content strategy, which is your game plan for everything you post. It's about working smarter, not harder. Instead of grinding out brand-new content for every single platform, you intelligently adapt what you already have, saving a ton of time while making a bigger impact.
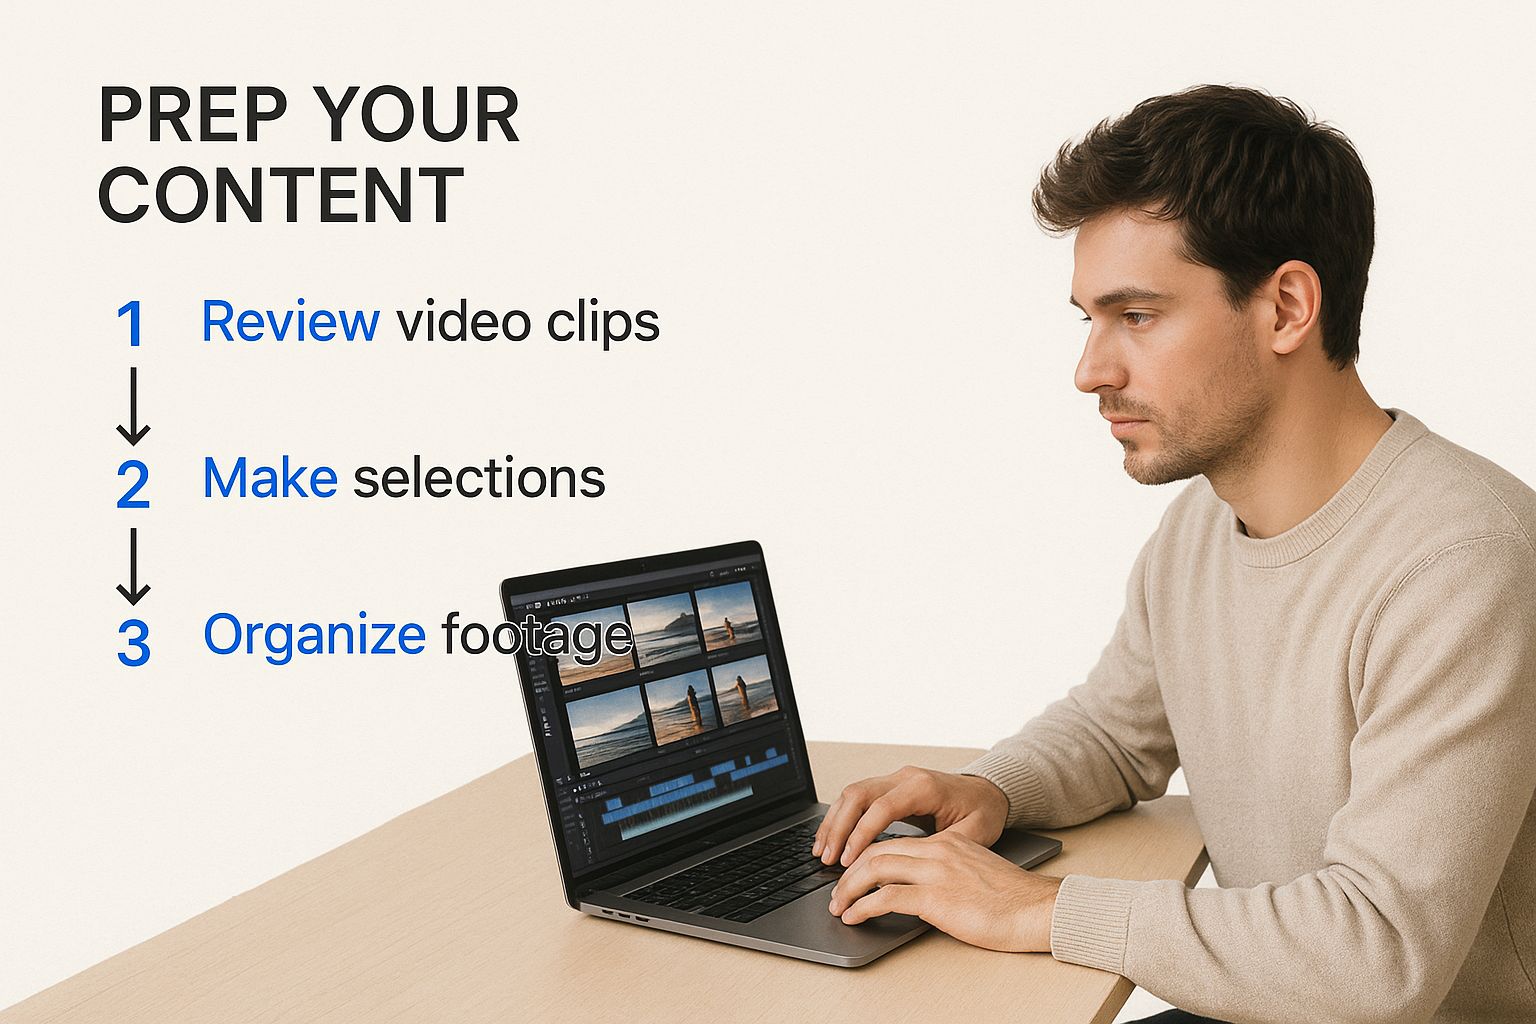
How to Prepare Your Video for Instagram
Let's be honest: moving a video from YouTube’s wide, horizontal world to Instagram’s vertical-first playground is the make-or-break step. You can't just toss the file over and hope for the best.
This prep phase is what separates a polished, professional post from something that screams "I'm a lazy crosspost." First things first, you need the actual video file. If you have the original on your computer or phone, you're set. If not, you'll have to download it from your own YouTube channel to get a local copy.
This is where the real work begins—on your computer, long before you even open the Instagram app.
Resizing for the Right Fit
Once you have the video file, it's time to tackle the biggest challenge: the aspect ratio. YouTube videos are almost always in a 16:9 widescreen format, which is a terrible fit for Instagram.
If you upload a 16:9 video directly, you’ll get those dreaded black bars above and below your content. It’s an instant giveaway that the video wasn't made for the platform, and most users will just scroll right past it.
To avoid this, you have to reformat your video to match Instagram’s specs. The platform has a few different shapes it prefers for its various placements.
- For Reels and Stories: You need a vertical 9:16 aspect ratio. This is non-negotiable. It fills the entire mobile screen and creates that immersive experience people expect.
- For Feed Posts: You have two solid options. A 1:1 square ratio is the classic choice, but I'm a big fan of the slightly taller 4:5 vertical ratio. It takes up more real estate in the feed, which is always a good thing.
We dive deeper into this in our guide on the best aspect ratios for Instagram and other platforms in 2025. Getting this right makes your video look intentional and professional.
To make things a little easier, here's a quick comparison of what you're working with.
Instagram Video Specs vs YouTube Standard
| Placement | Aspect Ratio | Max Length | Ideal Format |
|---|---|---|---|
| Instagram Reels | 9:16 | 90 seconds | Vertical |
| Instagram Stories | 9:16 | 60 seconds | Vertical |
| Instagram Feed | 1:1 or 4:5 | 60 minutes | Square/Vertical |
| Standard YouTube | 16:9 | 12 hours | Widescreen |
This table shows just how different the requirements are. Tailoring your video specifically for Instagram's format can boost engagement by a whopping 30-50% compared to content that's just been dropped in without any tweaks.
The core challenge of repurposing content is adapting it to fit the new platform’s culture. Simply cross-posting a YouTube Short to Instagram Reels might be convenient, but algorithmic differences often lead to poor performance.
Trim for Maximum Impact
Beyond resizing, you also have to get ruthless with the length. A 10-minute YouTube deep-dive just won't fly on Instagram, where attention spans are measured in seconds. You need to trim your long-form video down to a punchy, engaging clip that gets straight to the point.
For instance, pull out a 30-second highlight, a single powerful tip, or one compelling story from your longer video. The goal isn't to post the whole video; it's to create a self-contained piece of content that provides immediate value while subtly teasing the full version on your YouTube channel.
This focus on brevity is absolutely key to stopping the scroll.
Uploading Your Video to Reels, Stories, and the Feed
Alright, you've downloaded, trimmed, and resized your YouTube video. Now for the fun part: actually posting it on Instagram. The trick here isn't to just spam the same clip everywhere. Instead, you need to be strategic and use each Instagram placement—Reels, Stories, and the Feed—for what it does best. Each one hits a slightly different part of your audience and serves a unique purpose.
This is the core of smart repurposing. Cross-posting is a go-to move for creators trying to squeeze every last drop of reach out of their content. And with Instagram's mind-boggling 2 billion monthly active users, the opportunity is massive. But you have to play by its rules and tailor your content to what the algorithm wants to see. A great breakdown of this cross-posting strategy can be found over at Nuelink.com.
Driving Discovery with Instagram Reels
Think of Reels as your secret weapon for reaching people who have no idea who you are yet. They're built for discoverability and are super sensitive to trends. When you post your YouTube clip here, don't just upload the raw file and call it a day.
Jump into the Reels editor and find some trending audio. Seriously. Even if you keep your video's original sound, adding a popular track at a very low volume can give you a nice little algorithmic boost. It's also a good idea to play with Instagram's native effects and text styles to make your clip feel more at home on the platform. For a deeper dive, check out our complete guide to Instagram Reels best practices.
Converting Viewers with Instagram Stories
Stories are all about engaging the followers you already have and getting them to take action. Because they disappear after 24 hours, they create a sense of urgency, which is perfect for announcing your new full-length YouTube video.
This is also the only place on Instagram (other than your bio) where you can drop a direct, clickable link.
- Use the 'Link Sticker': This is your most powerful tool here. Slap that sticker on your Story and paste in your YouTube video URL.
- Add Interactive Elements: Get people involved. Add a poll ("Did you watch the new video yet?") or a quiz ("What was your favorite part?").
- Create a Teaser: Post a short, juicy snippet of the video. Then, use text overlays that scream, "Tap the link to watch the full video!"
Think of Stories as your direct line to your community. It's less about finding new people and more about conversion—turning a casual viewer into a dedicated subscriber on YouTube.
Building Your Brand on the Feed
Your Instagram Feed is your portfolio. It’s what people see when they first check out your profile. Posts here stick around a lot longer than Stories or Reels, so they should be polished, high-value, and represent your brand.
When you post a video clip to your feed, your main goal is to create a lasting impression. Start by designing a killer custom thumbnail. The first frame is what everyone sees as they scroll, so make it count. Then, write a caption that sparks a conversation. Ask a question related to your video's topic to encourage comments, which is a great signal to the algorithm that your post is worth showing to more people.
Optimize Your Post for Maximum Engagement
Alright, so you’ve got your perfectly formatted clip ready to go. That’s a huge step, but don't hit "post" just yet. Posting a YouTube video on Instagram isn't just about the upload; it's about setting that video up for success. A killer video can easily get buried by the algorithm if you don't give it the right push.
This all starts with a killer caption. Don't just state the obvious or describe what's happening in the video. You need to spark a conversation. Ask a question, pull out a surprising fact from the clip, or tell a quick, relevant story. The more comments and shares you rack up, the more Instagram’s algorithm will show your post to new eyeballs.
Crafting the Perfect Call-to-Action
Let's be real: your main goal here is to drive traffic from your Instagram teaser back to your full-length YouTube video. To do that, you need a crystal-clear call-to-action (CTA). This is not the time to be subtle. You have to tell your audience exactly what to do next.
Here are a few CTAs that actually work:
- "Watch the full breakdown on our YouTube channel! Link in bio."
- "Curious about the next step? The full tutorial is live on YouTube now."
- "This is just a sneak peek! Tap the link in our bio for the complete story."
The key is to build just enough curiosity to make that click irresistible. If your followers have to hunt for the link or guess what to do, you've already lost them. Your CTA should be the last, unmissable instruction in your caption.
To really dial in your strategy, you might want to look into social media automation tools that can schedule your posts for peak engagement hours. This takes the guesswork out of timing.
You also need to know what's actually working and what's falling flat. By learning how to analyze Instagram Reels insights, you can see which CTAs are driving clicks and which content styles are getting the most engagement. This lets you stop guessing and start making data-backed decisions.
The proof is in the numbers. Studies have shown that videos cross-posted to multiple platforms can see an engagement bump of 15-25%, but only when they're properly optimized for each one. This isn't just a best practice—it's essential for anyone serious about growth.
Common Mistakes That Kill Your Reach
It's painful to see creators put so much work into a YouTube video, only to sabotage their own efforts when sharing it on Instagram. Let's make sure that's not you.
One of the biggest offenders is simply ignoring video quality. Uploading a blurry, low-resolution clip is an instant scroll-past for most people. It also sends a clear signal to the Instagram algorithm that your content isn't worth showing to a wider audience.
Another classic mistake is leaving a watermark from another platform, like the TikTok or YouTube Shorts logo. Instagram has been known to actively suppress the reach of videos that visibly promote its competitors. Always, always use the original, clean video file to avoid this penalty.
Forgetting to Optimize for the Platform
Just throwing your YouTube clip onto Instagram without any platform-specific tweaks is a recipe for low engagement. Forgetting to create a custom thumbnail for a Feed post is a huge missed opportunity, since that first frame is what convinces people to stop scrolling and actually watch. A blurry, auto-generated start just won't cut it.
A common but fatal flaw is the vague "link in bio" call-to-action. Don't just say it's there; give your audience a compelling reason to click it. What's in it for them? Create a sense of urgency or highlight the value they'll get from watching the full video.
Finally, remember that each format has its own vibe. Don't just post the exact same clip to your Feed, Stories, and Reels. You need to tailor your teaser for each placement. For instance, a raw, behind-the-scenes clip might be perfect for Stories, while a polished, value-packed highlight is what you want for your Feed.
Avoiding these simple mistakes will help your repurposed content feel native to the platform, ensuring it performs at its best.
Got Questions? We've Got Answers
Even when you know the steps, figuring out the little details of posting a YouTube video on Instagram can feel tricky. You've got the clip ready, but a few questions might still be lingering. Let's clear up some of the most common ones.
First off, a question I hear all the time: can you just drop a YouTube link directly into your Instagram feed or a Reel?
The short answer is a hard no. Instagram doesn’t let you embed playable YouTube links in those spots. You absolutely have to download your video, reformat it for Instagram’s dimensions, and then upload it as a brand-new, native video.
That reality usually brings up the next big question.
How Can I Get People to My Full YouTube Video?
You can't just cross your fingers and hope people find your channel. The only way this works is with a strong, impossible-to-miss call-to-action (CTA). You have to spell it out for them.
- For Reels and Feed Posts: Be direct in your caption. Even better, add text right on the video that says something like, "Watch the full video on YouTube! Link in bio."
- For Stories: This is where you get a direct line. Use the interactive 'link sticker' and give your viewers a one-tap path straight to your YouTube video. It’s a game-changer.
The perfect teaser clip combined with a clear CTA is the one-two punch for turning Instagram scrollers into actual YouTube viewers. Never make them guess what to do next.
Should I Post the Same Clip Everywhere?
It’s tempting to blast the same clip across Reels, Stories, and your Feed, but that's usually not the best move. Your most loyal followers will likely see it three times, and that can get old fast.
Instead, get strategic about what you post where.
- Use Reels for Discovery: This is where you put your most entertaining, scroll-stopping clips to pull in new people.
- Use Stories for Urgency: Share something more casual or behind-the-scenes. And always, always use that link sticker.
- Use Your Feed for Value: Post a polished, high-quality clip that really showcases what your channel is all about.
When you tailor the content to the placement, every post starts working together to build your brand.
Ready to create high-quality, engaging short videos from just an idea? With ShortsNinja, you can automate your content creation for Instagram, TikTok, and YouTube in minutes. Try ShortsNinja and start growing your channels effortlessly.