
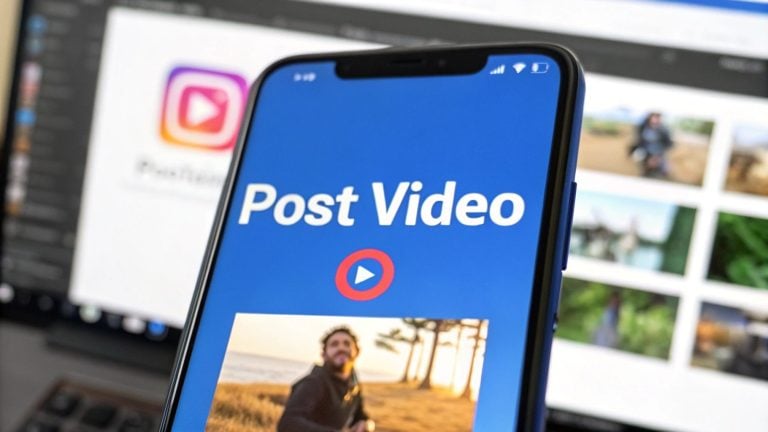
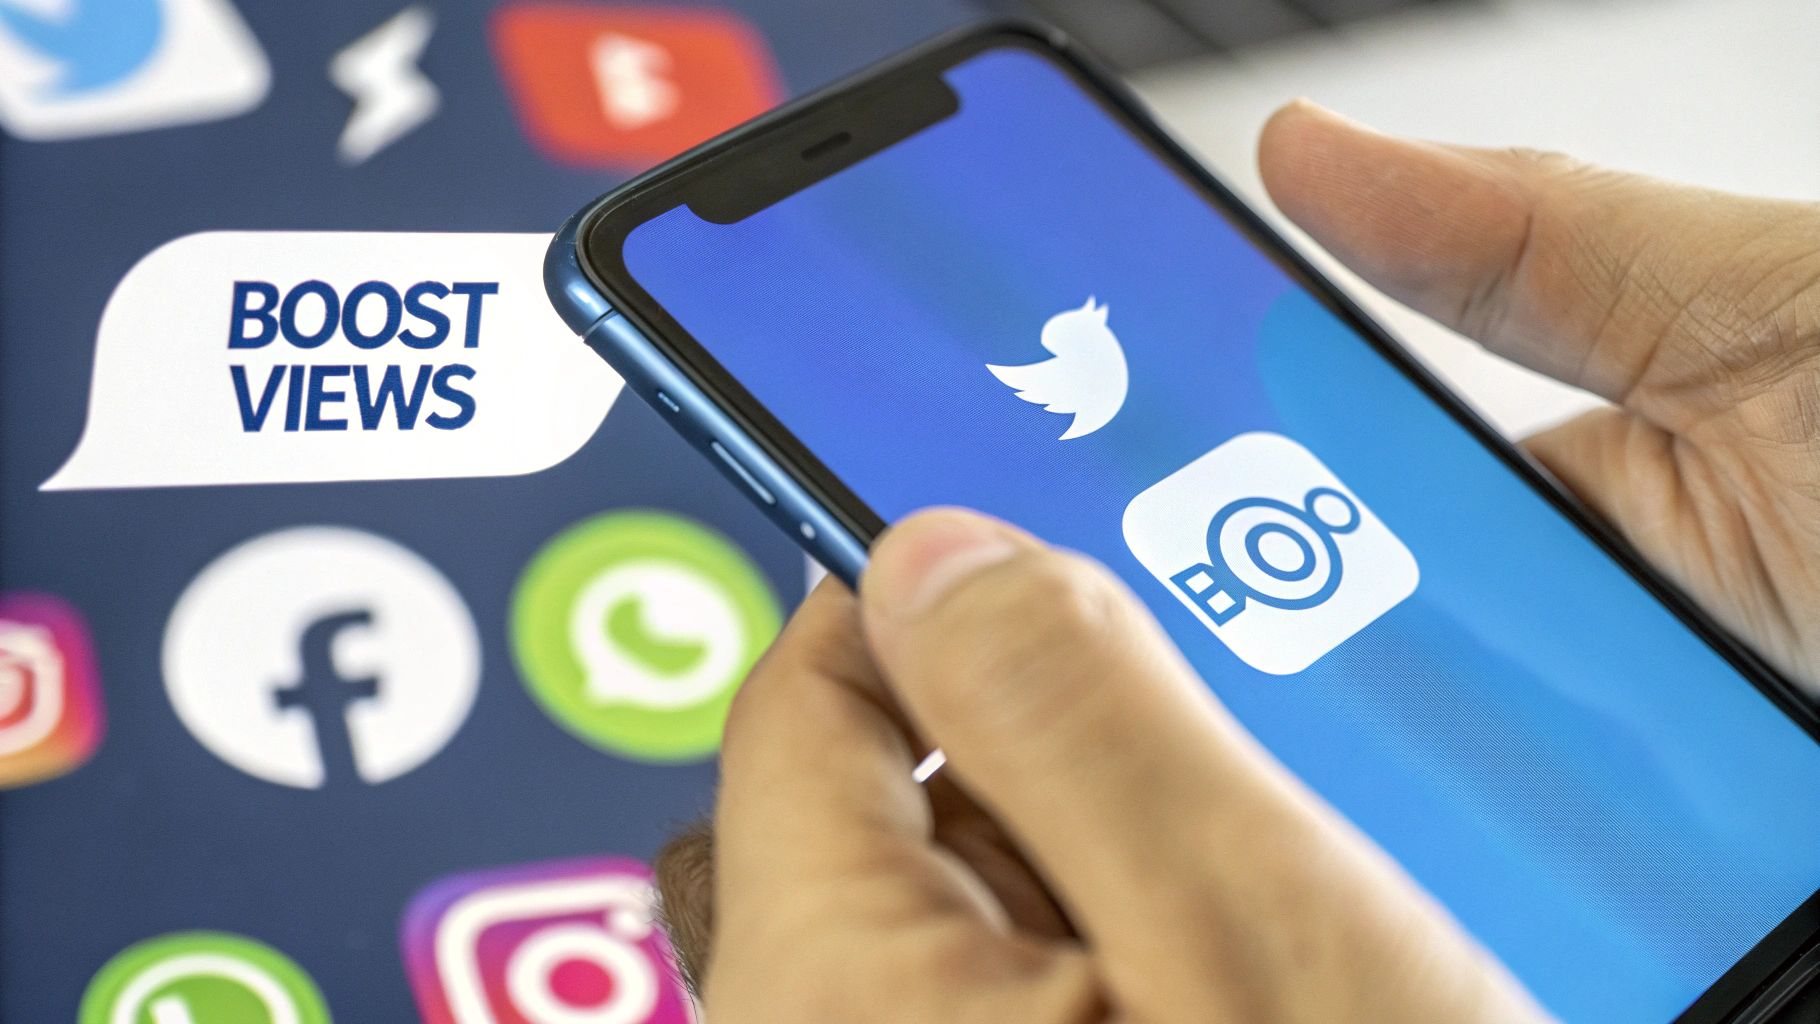
Trying to post a YouTube video on Instagram isn't just about saving time—it's a strategic move to get more eyes on your content. The trick is to download your YouTube video, give it a fresh look for Instagram's vertical world (like Reels or Stories), and then upload it directly to the platform.
Why Share YouTube Videos on Instagram
Repurposing your long-form content is one of the smartest things you can do to grow your brand. It lets you tap into two completely different digital ecosystems, each with its own audience behaviors and strengths. Think of it as getting more mileage out of every single video you pour your effort into.
YouTube is basically a search engine. People go there with a goal, ready to sit down and watch something longer and more in-depth. Instagram, on the other hand, is all about discovery and quick hits of entertainment. When you bridge that gap, you're connecting with people at totally different points in their content journey.
Maximize Your Content Investment
Let's be real: making a great YouTube video takes a ton of time, effort, and often, money. Letting that hard work sit on just one platform is a huge missed opportunity. Slicing up clips for Instagram lets you:
- Reach a Broader Audience: Not everyone who follows you on Instagram is subscribed to your YouTube channel, and vice versa. Cross-posting is a natural way to introduce your content to new corners of your community.
- Boost Engagement: Instagram’s fast-paced feed is perfect for getting quick reactions. A sharp, well-edited clip can ignite conversations and, more importantly, drive curious viewers back to your full-length YouTube video.
- Maintain Consistency: It helps you stay active and relevant on Instagram, even on days when you don't have brand-new, platform-specific content ready to publish.
The real magic happens when you understand how each platform drives engagement differently. A clip that blows up as an Instagram Reel might capture a totally different kind of long-term interest as a YouTube Short.
Capitalize on Different Engagement Patterns
The way people interact with short-form video is wildly different between platforms. For example, Instagram Reels are built for a rapid, immediate rush of engagement, often seeing a massive spike in views right after you post.
YouTube Shorts, however, can have a much longer shelf life. They often gain steady traction over weeks or even months as the algorithm finds the perfect audience. By understanding this, you can post a YouTube video on Instagram to catch that initial wave of buzz while the original Short builds sustained momentum over time.
Choosing the Right Instagram Video Format
So you’ve decided to bring your YouTube video over to Instagram. Great move. But now comes the real question: where exactly on Instagram should it go? This isn't a one-size-fits-all platform. Think of it as a house with different rooms—the living room, the kitchen, the backyard. Each one has a different vibe and purpose.
Picking the wrong format is like trying to have a quiet, intimate chat in the middle of a loud party. It just doesn't work. Your choice directly impacts who sees your video and how they engage with it. Are you trying to get discovered by new people, connect with your loyal followers, or add a permanent piece to your profile's collection?
Reels, Stories, or Feed Posts?
You've got three main options: Reels, Stories, and in-feed posts. Let's break them down.
Reels are Instagram's growth engine. They're designed for maximum reach, pushing short, snappy, and entertaining clips out to people who don't even follow you yet. If you want a shot at going viral, this is your playground.
Stories, on the other hand, are for your inner circle—the community you've already built. These posts disappear after 24 hours, making them perfect for more casual, behind-the-scenes stuff. Think quick updates, polls, and direct conversations with your followers.
Finally, in-feed video posts are the polished, permanent fixtures on your profile grid. They're the evergreen clips you want people to find weeks or months from now when they're checking out your page.
The secret is matching your video's vibe and your goal with the format's strength. A quick, punchy highlight from a longer tutorial is perfect for a Reel. A casual Q&A segment from a livestream? That feels right at home in a Story.
The potential for expanding your reach is massive. Just look at the numbers.
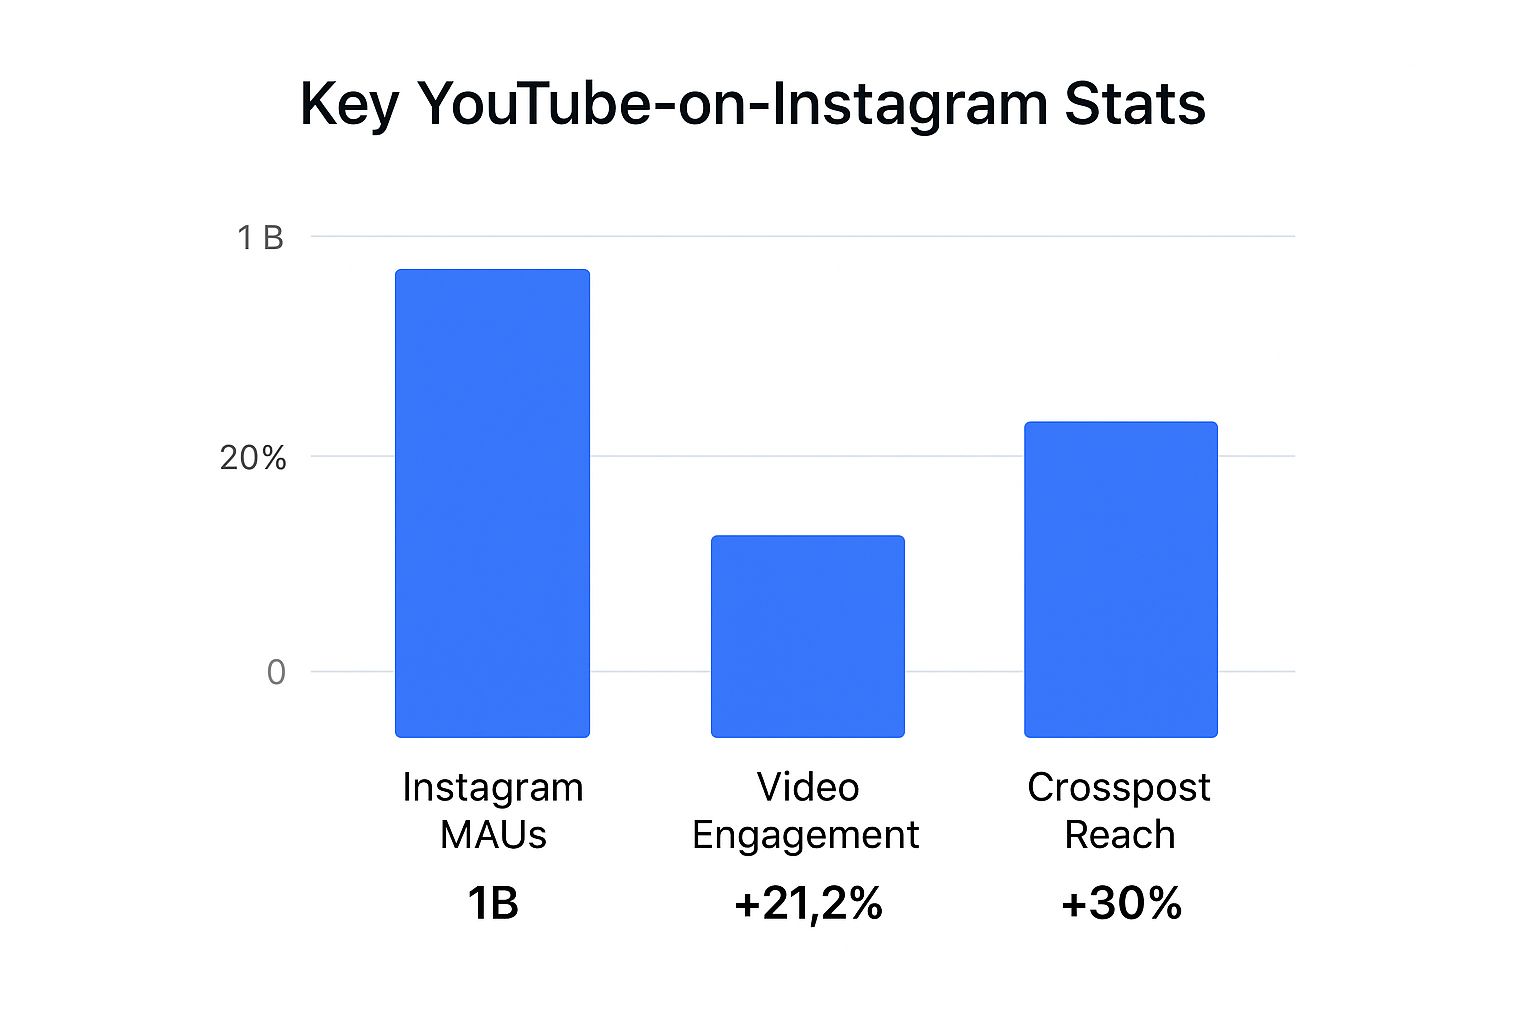
With over 2 billion monthly active users, Instagram is a beast. And video, especially Reels, is what drives engagement on the platform today.
To make it even clearer, here’s a quick-reference table to help you decide which format is the best fit for your video content.
Instagram Video Format Comparison
| Format | Aspect Ratio | Max Length | Best For |
|---|---|---|---|
| Reels | 9:16 | 90 seconds | Viral potential, reaching new audiences, short & entertaining clips |
| Stories | 9:16 | 60 seconds | Casual updates, community engagement, behind-the-scenes content |
| Feed Video | 1:1 or 4:5 | 60 minutes | Evergreen content, polished videos, permanent profile features |
This table should give you a solid starting point for planning where your repurposed YouTube clips will live and thrive on Instagram.
Diving a bit deeper, Instagram Reels give you up to 90 seconds in that vertical 9:16 format, with a pretty generous 4GB file size limit. For comparison, YouTube Shorts caps you at 60 seconds. That extra 30 seconds on Reels can make a real difference when you're trying to repurpose content without making awkward cuts. If you're curious about the nitty-gritty differences, there are some great articles out there, like this detailed comparison of YouTube Shorts vs. Instagram Reels.
How to Prepare Your Video for Instagram
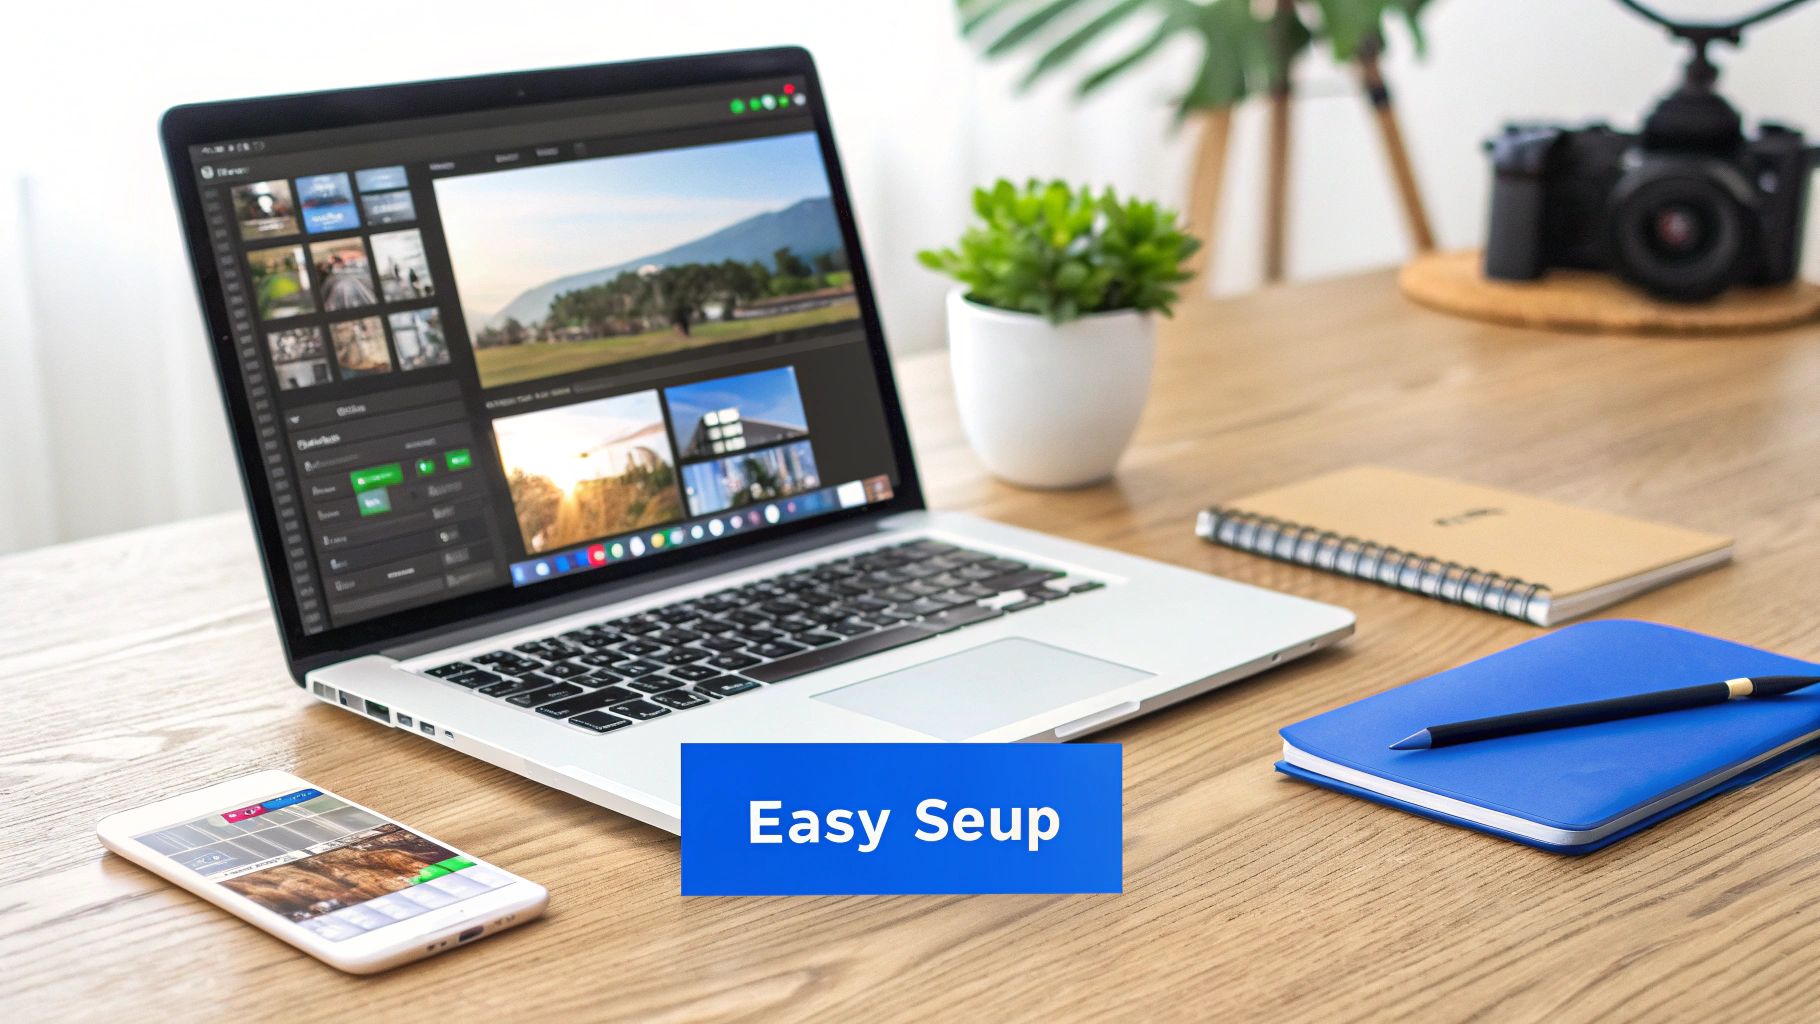
Alright, you’ve picked the perfect Instagram format for your video. Now comes the fun part: getting your YouTube clip ready for its new home. The first hurdle is just getting your hands on a clean, high-quality copy of the video file.
The absolute best way to do this is to find the original file on your computer or cloud drive. This guarantees you're starting with the highest possible resolution. Having a solid system for organizing your files is a lifesaver here; if your content library is a mess, take a look at these digital asset management best practices to get sorted.
If you can't track down the original, you'll have to download it from YouTube. Just make sure you use a safe, reputable downloader tool. You’ll want an MP4 or MOV file, as those are the formats Instagram plays with best.
Reformatting Your Video for a Vertical Screen
With the video file secured, it's time to tackle the most important step: resizing for Instagram. A standard 16:9 YouTube video looks completely out of place on a vertical-first feed. The goal is to adapt it to 9:16 for Reels and Stories or 4:5 for feed posts without butchering the content.
I've used a bunch of different tools for this, but here are a few solid options that get the job done without a steep learning curve:
- CapCut: A free, mobile-first editor that’s surprisingly powerful for resizing, trimming, and adding text.
- InShot: Another great mobile app that makes changing aspect ratios and adding custom backgrounds super easy.
- Clipchamp: A browser-based editor with simple, one-click presets for all the major social media platforms.
Remember, this isn't just about changing the dimensions. You need to reframe the action so the most important part of your video is front and center in the new vertical frame. This might mean you have to zoom in a bit or even pan the shot to follow the main subject.
Don't be the person who just slaps ugly black bars on the top and bottom of a horizontal video. It screams "I didn't try," and your engagement will suffer for it. It only takes a few extra minutes to make it look native to the platform.
Trimming and Polishing Your Clip
Last but not least, you need to find the "golden nugget" inside your longer YouTube video. People on Instagram have the attention span of a goldfish, so your clip has to be punchy and interesting right from the jump.
Trim your video down to the most compelling part—ideally under 60 seconds to give you the most placement options on the platform.
The first three seconds are everything. You need a strong hook to stop someone mid-scroll. We actually have a whole guide on how to create a short video that grabs attention if you want to dive deeper. Once you're done, you should have a perfectly resized, tightly edited video file that's ready to make its Instagram debut.
Optimizing Your Video for Maximum Reach
Getting a perfectly edited clip is a huge win, but the real work starts the moment you tap ‘upload.’ If you really want to make waves when you post a YouTube video on Instagram, you have to optimize it for both the algorithm and your audience. It's all about the small details that turn a simple video into a piece of high-performing content.
It all starts with a scroll-stopping cover image. Don't let Instagram just pull a random, blurry frame from your clip. Take a few extra minutes to design a custom thumbnail with bold text and a compelling image that sparks curiosity. This is your first—and best—chance to grab attention in a crowded feed.
Next up is your caption. You need to craft an opening that hooks people instantly. The first two lines are everything, since the rest gets tucked behind a "see more" link. Kick it off with a pointed question, a bold statement, or a surprising fact to pull viewers in.
Hashtags and Interactive Elements
Your hashtag strategy is another make-or-break factor. Don't just spam the most popular tags and call it a day. Instead, use a smart mix:
- Broad/Trending: Throw in 2-3 popular hashtags related to your general topic (like #ContentCreationTips).
- Niche-Specific: Add 3-5 hashtags that speak directly to your target community (think #VideoEditingForBeginners).
- Branded: Always include 1-2 unique hashtags for your own brand or a specific content series.
Beyond captions and tags, lean into Instagram’s native features to pump up engagement. If you're posting a Reel, add trending audio to give it a discoverability boost. For Stories, use interactive stickers like polls, quizzes, or Q&As to get your followers directly involved.
Remember, the goal is to make your content feel native to Instagram, not just a copy-paste from YouTube. Adding these platform-specific touches signals to the algorithm that your content is valuable and engaging for its users.
When you post a YouTube video on Instagram, you also unlock unique monetization and editing features. Instagram Reels, for instance, has a much richer set of in-app editing tools and supports product tagging, which allows for slick e-commerce integrations that YouTube Shorts doesn't offer.
Ultimately, optimizing your video really just comes down to your ability to create engaging content that connects with the audience right where they are. And for more deep-dive tips on making your clips pop, check out our guide on how to edit YouTube Shorts.
Common Mistakes to Avoid When Repurposing
It’s painful to see creators put in the work, only to sabotage their own efforts when posting a YouTube video on Instagram. Let's make sure that's not you.
The most glaring mistake? Uploading a horizontal video and calling it a day. Those huge black bars—the dreaded "letterbox" effect—scream that the content doesn’t belong there. It looks clunky and instantly kills any professional vibe you were going for.
Another huge no-no is leaving a third-party app's watermark on your clip. It not only looks cheap, but Instagram's algorithm is known to suppress content with visible watermarks from other platforms. Your reach could be choked off before you even have a chance to get going.
Content and Caption Blunders
Beyond just the formatting, the content itself needs a fresh look. You can't just copy and paste your YouTube title and description into an Instagram caption. It won’t fly. Instagram captions need to be more conversational and get straight to the point.
And remember, you have about three seconds to hook someone before they scroll on. If the first few moments of your video don't grab them, they're gone.
Your goal is to make the video feel native to Instagram, not like a lazy copy-and-paste job. Authenticity is key to winning over the audience and the algorithm.
Stepping around these common slip-ups will make your repurposed content look polished and drive the kind of engagement you want. To get the most out of your videos, dive into some effective content repurposing strategies for social media. And for a deeper look at what works specifically on IG, check out our guide on the 10 best practices for Instagram videos.
Frequently Asked Questions
Even with the best game plan, a few questions always seem to pop up once you start repurposing YouTube videos for Instagram. Let's tackle the most common ones creators run into, so you can sidestep those frustrating roadblocks and keep your workflow smooth.
Can I Post a Full YouTube Video on Instagram?
Honestly, no. Instagram just isn't built for long-form content the way YouTube is, and it comes with some pretty strict time limits. You can't just upload your 15-minute vlog and call it a day.
- Reels: Your clip can be up to 90 seconds long.
- Stories: These are broken into segments of up to 60 seconds each.
- Feed Videos: While some larger or verified accounts can post up to 60 minutes, it's not the norm.
The best strategy here is to pull out a powerful, bite-sized highlight from your main video. Think of it as a movie trailer—it needs to hook people fast and make them want to see the full thing over on your YouTube channel. This approach plays to the strengths of both platforms instead of trying to force one to be like the other.
How Do I Add a Link to My YouTube Video on Instagram?
Getting people from Instagram back to your YouTube channel is the whole point, right? But since Instagram doesn’t allow clickable links in post captions, you have to be a bit strategic.
Your most valuable piece of real estate is the link in your bio. You absolutely have to train your audience to go there. Make it a habit to mention it in your captions and even consider adding a quick text overlay on your video that says something like, "Full video link in bio!"
If you have over 10,000 followers or a verified account, you get access to the "Link" sticker in Stories. This is a game-changer because it gives your viewers a direct, tappable link to your video.
The 'link in bio' is the gold standard for sharing external links on Instagram. Treat it like your central hub and point everyone there from your Reels, posts, and Stories. It’s a simple, universal call to action that works.
Is It Better to Post a Clip as a Reel or a Story?
This really comes down to what you're trying to accomplish.
Go with Reels if your main goal is discovery. The algorithm pushes Reels to people who don't follow you yet, making them perfect for polished, high-impact clips that have the potential to go viral and bring in a flood of new viewers.
Use Stories when you want to connect with the people who already follow you. Stories are more casual, feel more immediate, and are great for sharing behind-the-scenes moments. You can also use interactive stickers like polls or Q&As to hype up a new YouTube video and get your loyal community excited about it.
Ready to stop spending hours manually clipping videos? ShortsNinja uses AI to transform your long-form content into dozens of engaging short videos for Instagram, TikTok, and YouTube in minutes. Try it for free and see how simple content creation can be!