
Scheduling a TikTok post is pretty simple on the surface. You can either use TikTok's own scheduler on a desktop browser for basic planning or jump to a third-party tool if you need more advanced automation. This one change can shift your entire content strategy from being reactive to proactive, letting you post when your audience is actually online—even if you're not.
Why Scheduling TikTok Posts Is a Strategic Advantage
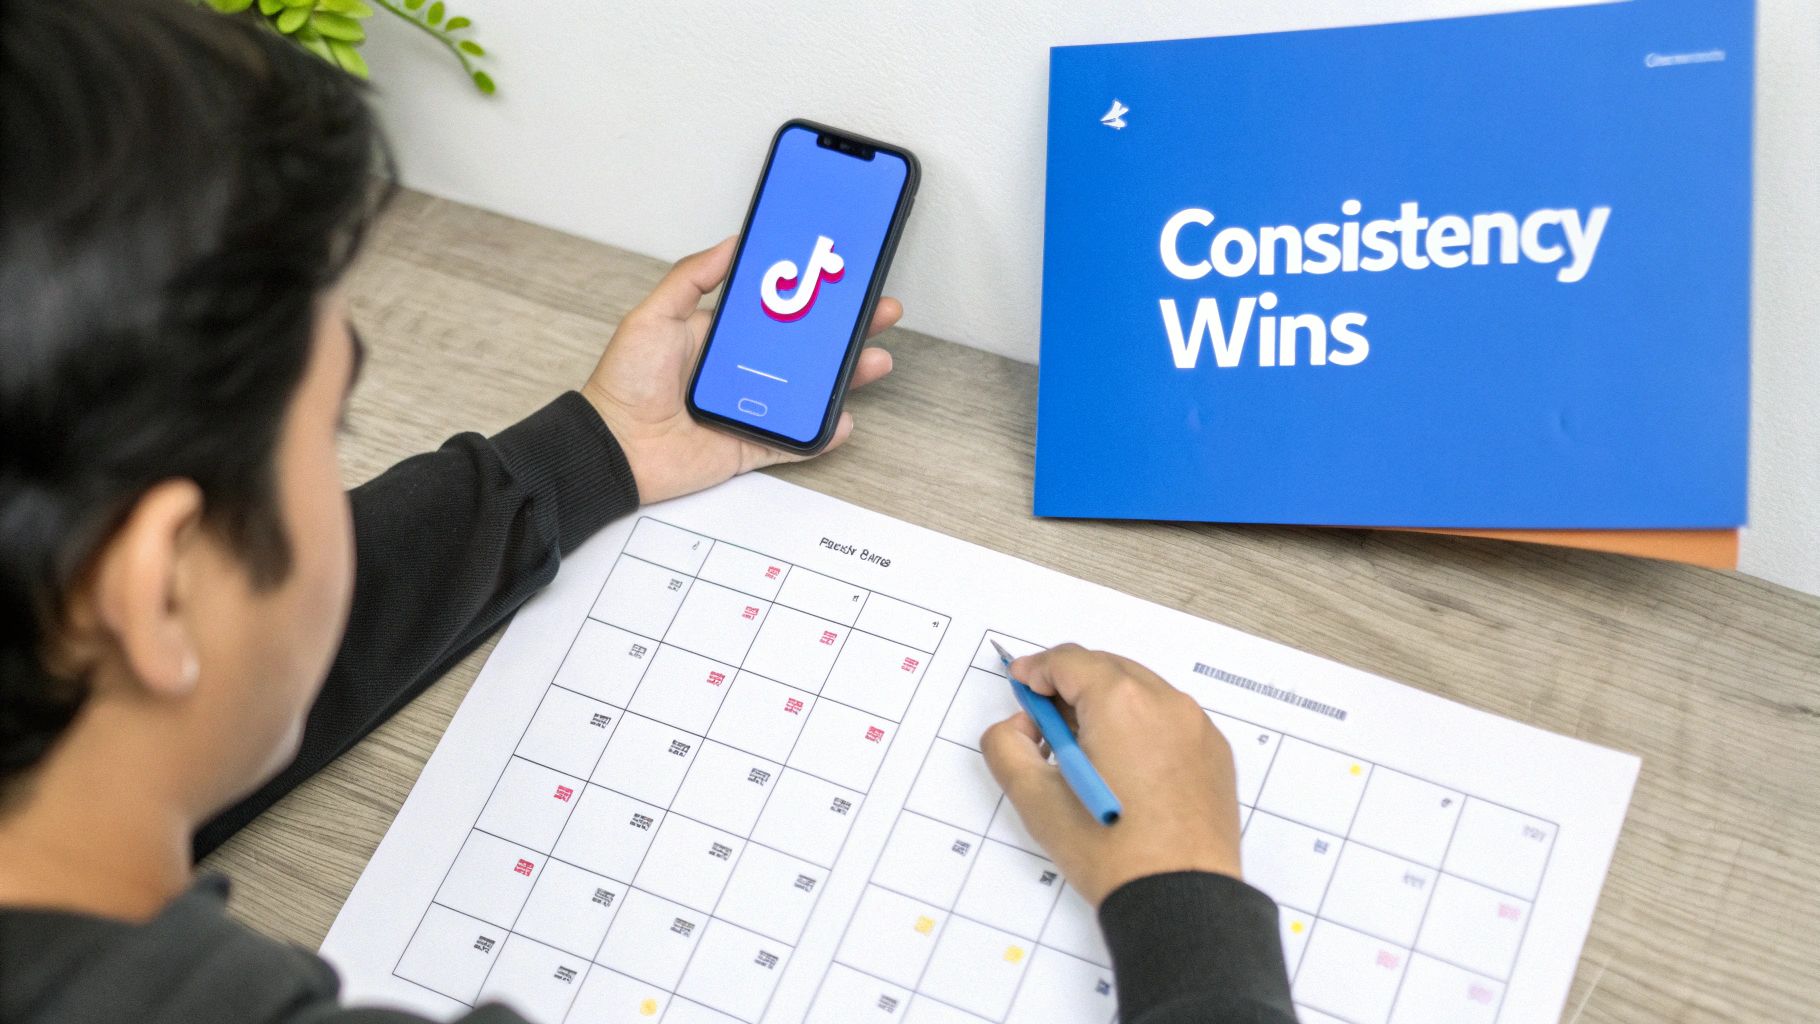
Before we get into the how, it’s important to understand the why. Scheduling your content is so much more than a convenience; it's a real method for gaining a competitive edge. The TikTok algorithm is famous for one thing: it absolutely rewards consistency. Posting sporadically just sends mixed signals, making it tough to build the momentum you need for predictable growth.
When you're posting on the fly, you’re completely at the mercy of your daily schedule. But scheduling ahead flips that script. It ensures your content goes live during peak engagement windows, no matter what you’re doing. This creates a reliable stream of content that keeps your audience coming back and signals to the algorithm that your account is active and worth pushing.
Maintain Algorithmic Momentum
Think of the TikTok algorithm like a wave. A consistent posting schedule lets you catch that wave and ride it. Each post builds on the last, creating a steady rhythm that the algorithm loves. Creators who schedule their content are just better equipped to keep that momentum going, turning those occasional viral hits into sustained, long-term growth.
An unplanned approach almost always leads to posting droughts followed by a sudden burst of content. This kind of inconsistency can completely halt your progress and force you to regain momentum from a dead stop. Scheduling smooths out these peaks and valleys, giving you the steady cadence needed for real success. If you want to go deeper, learning the principles of automated social media posting can offer some great insights into building a hands-off content machine.
Scheduling transforms content creation from a daily chore into a strategic activity. It frees up your mental energy to focus on what truly matters: making incredible videos that connect with your audience.
Reclaim Your Creative Energy
The constant pressure to create and post something right now can be a massive drain on creativity. Instead of brainstorming your next great idea, you find yourself stressing about hitting the "post" button at the perfect time. It's exhausting.
Scheduling completely changes this dynamic. By planning your content calendar in advance, you can batch-produce your videos—filming several in one session—and then schedule them to roll out over the next week or two. This workflow isn't just more efficient; it's liberating. To see how TikTok scheduling fits into a bigger strategy, check out this great guide to social media marketing for small business.
Setting Up Your Account for Seamless Scheduling
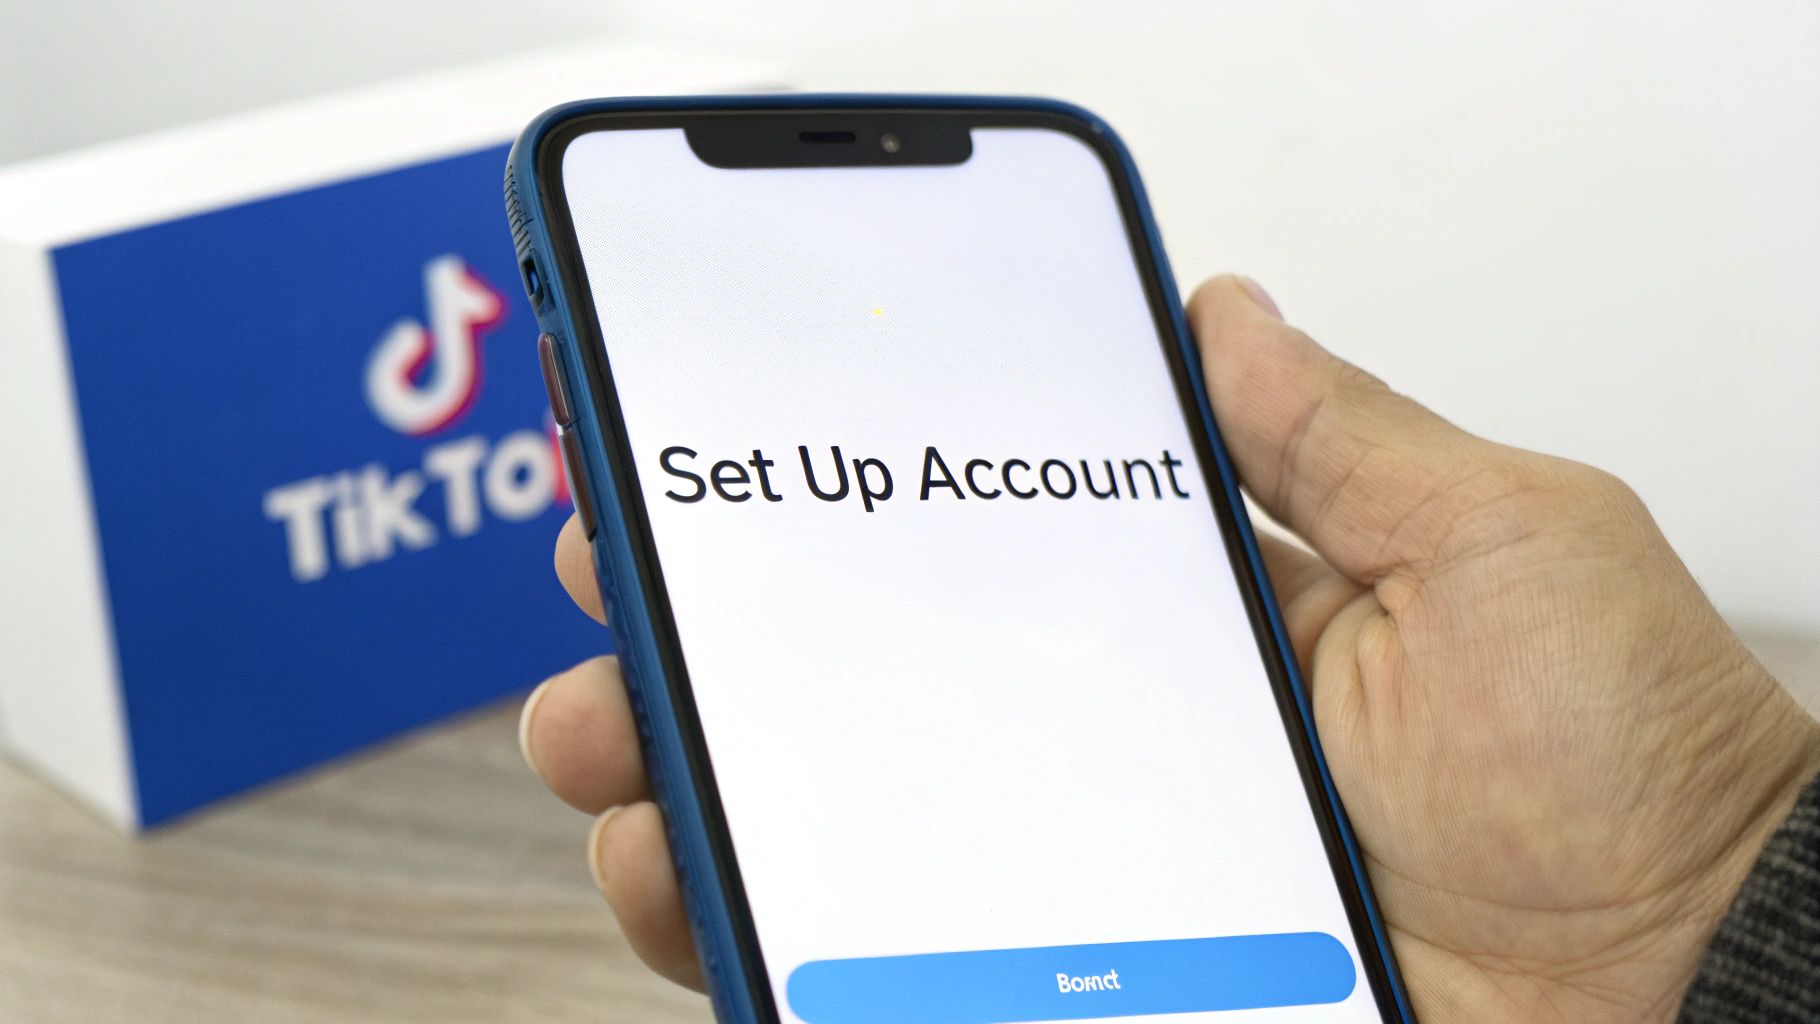
Before you can even think about how to schedule a TikTok post, you need to make sure your account is set up for it. This is a common hurdle where many creators get stuck—they try to schedule content from a standard Personal account and hit a wall.
The bottom line is that scheduling features, whether you're using TikTok's own tools or a third-party app, are only available for Business or Creator accounts. This isn't just a technicality; switching your account type unlocks a whole suite of professional tools designed for serious growth. Think of it as the non-negotiable first step.
Upgrading to a Business or Creator Account
Switching your account type is surprisingly painless and you can do it right inside the TikTok app. If you're a brand, run a business, or represent an organization, the Business account is built for you. For individual content producers and influencers, the Creator account is the way to go.
Here’s the quick path to get it done within your profile settings:
- Head to your Profile and tap the three-line menu in the top-right corner.
- Go into Settings and privacy, then select Account.
- Tap on Switch to Business Account (the option will be similar for Creator accounts).
- Just follow the on-screen prompts, pick the category that best fits what you do, and you're all set.
That’s it. Once you confirm, you instantly get access to better analytics, promotion tools, and—most importantly—the ability to schedule your posts.
Don't overthink the choice between Business and Creator. A Business account leans more into commercial features, while a Creator account gives you access to the full commercial music library. You can always switch between them later if your strategy changes.
Understanding Third-Party App Permissions
When you connect an external scheduler like ShortsNinja, you'll need to give it permission to access your TikTok account. This is a standard, secure process that lets the scheduling tool publish content on your behalf.
Giving an app permission can feel a bit nerve-wracking, but it’s designed with your security in mind. The tool will request specific permissions, usually things like:
- Accessing your public profile info: This is just to confirm it’s the right account.
- Uploading videos to your account: The core permission it needs to actually post your scheduled videos.
- Managing posts: So it can see and manage the content it has published for you.
You'll always be redirected to an official TikTok login screen to grant these permissions. Never enter your login details directly on a third-party site. Make sure you're authenticating through TikTok's own secure portal. Getting this foundation right from the start ensures your scheduling workflow is both efficient and safe.
Using TikTok's Native Scheduler on Desktop
If you prefer to keep things simple and secure, TikTok has a built-in scheduling tool right on its desktop version. It's a clean, straightforward option for creators who don't need the bells and whistles of a third-party app. This is the perfect place to start if you're just dipping your toes into planning content ahead of time.
To get going, you’ll need to log into your TikTok account from a web browser on your computer. Keep in mind, this feature isn't available on the mobile app. Once you're in, hit the Upload button, usually sitting near the top right corner. This will take you to the same interface you’d use to post a video right away.
The Scheduling Workflow
From here, the process is pretty intuitive. Drag and drop your final video file or browse your computer to select it. After it uploads, you'll fill out all the usual details: your killer caption, all the right hashtags, and any @mentions you need. Crucially, you can also select your custom cover image here—a must-do for keeping your profile grid looking sharp.
Now for the magic part. Look for a toggle button labeled Schedule. Flip that switch, and a calendar and time selector will pop right up. This is where you'll pick the exact date and time you want your post to go live.
Here’s a look at the native scheduling interface, so you know exactly what to look for when setting your publish time.
As you can see, the "Schedule video" section is clear and simple. You can set a date up to 10 days out and lock in the precise hour and minute.
Pros and Cons of Native Scheduling
The biggest win for using TikTok’s own scheduler is its simplicity and security. You're not connecting your account to an outside service, so there are no third-party permissions to worry about. It’s direct, clean, and gets the job done.
However, it comes with some significant drawbacks you need to be aware of:
- 10-Day Scheduling Window: You can only schedule posts up to 10 days in the future. This really puts a damper on any long-term content planning.
- No Edits Allowed: Once a video is scheduled, that’s it. You can't tweak the caption, change the cover, or fix a typo. If you spot a mistake, your only option is to delete the scheduled post and start over.
- Desktop Only: The whole process is chained to a computer, which is a real pain for creators who live and breathe on their phones.
- One at a Time: There's no way to bulk upload and schedule multiple videos at once. If you're a fan of batching your content, this will absolutely slow you down.
Key Takeaway: TikTok's native scheduler is a fantastic entry point for planning your posts. It’s ideal for individual creators who just want to make sure their videos land during peak hours without adding another tool to their stack.
Ultimately, when you schedule is just as important as how. Research consistently shows that posting in the evening, roughly between 5–9 PM local time, can lead to much higher video completion rates—sometimes by as much as 1.5x compared to morning slots. Scheduling your posts for these prime-time windows is a simple but powerful move to maximize your reach. For more data on this, Sprout Social has some great insights on optimizing TikTok posting times.
Beyond Basic Scheduling With Third-Party Automation
TikTok's native scheduler is a decent starting point, but if you're serious about growing your account, you'll quickly bump into its limits. The 10-day scheduling window and lack of bulk features just don't cut it for a high-volume content strategy. This is where third-party automation tools come in, turning scheduling from a simple chore into a powerful content engine.
Platforms like ShortsNinja do more than just let you pick a date and time. They build an entire workflow around your content, introducing a level of automation that can save you a staggering amount of time. It shifts the process so your main job is just coming up with the initial idea.
From Idea to Automated Post
The real magic of advanced scheduling tools is how they connect the entire content lifecycle, from creation to publication. Many of these platforms now integrate AI, letting you move from a rough concept to a fully polished, scheduled video without jumping between a dozen different apps.
It usually works something like this:
- You provide the spark: Start with a simple prompt or keyword, like "quick breakfast recipes for busy mornings."
- AI crafts the script: The tool generates a snappy script optimized for short-form video, complete with a hook, key points, and a call-to-action.
- Visuals are generated: AI then pulls or creates relevant video clips and images that match the script. You can hop into a simple editor to make tweaks, add your branding, and get it ready to go.
To really get ahead, it's worth learning how to automate social media posts the smart way, applying these principles across all your platforms, not just TikTok.
The Game-Changing Benefits of Automation Tools
Switching to a dedicated scheduler unlocks features that are simply out of reach with the native tool. You're not just shaving off a few minutes here and there; you're fundamentally changing how you manage your content and engage with your audience. It's about working smarter, not harder.
The biggest win is unlimited scheduling. Forget that 10-day cap—you can plan your content weeks or even months ahead. This is a lifesaver for brands running long-term campaigns or creators who prefer to batch-produce content. You can film 30 videos over a weekend and have your entire month's calendar locked and loaded.
Once your videos are ready, the scheduling flow is incredibly straightforward.
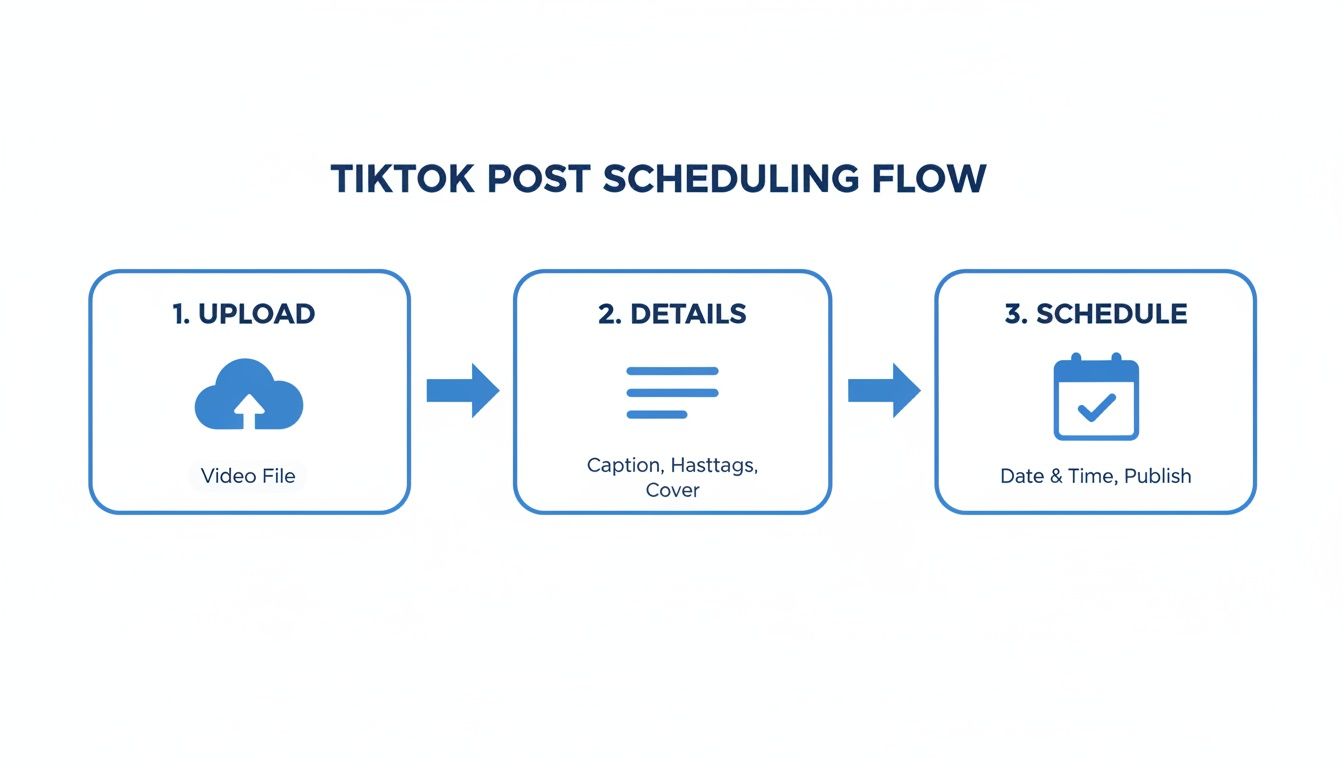
This simple upload-detail-schedule process becomes ridiculously efficient when you're managing it all from a single, powerful dashboard.
A dedicated tool lets you post consistently during peak hours across every major time zone. If you have a global audience, you can schedule a video to post at 7 PM in New York, London, and Tokyo, ensuring you hit the sweet spot everywhere.
TikTok Native Scheduler vs Third-Party Tools (ShortsNinja)
When you're deciding how to manage your TikTok content, it helps to see a direct comparison. Here’s a quick look at how TikTok's built-in scheduler stacks up against a more advanced third-party platform like ShortsNinja.
| Feature | TikTok Native Scheduler | ShortsNinja (Third-Party) |
|---|---|---|
| Scheduling Window | Limited to 10 days in advance | Unlimited; plan months ahead |
| Bulk Upload/Scheduling | No | Yes, upload and schedule dozens of videos at once |
| Multi-Platform Posting | No (TikTok only) | Yes, post to TikTok, Reels, and Shorts simultaneously |
| Timezone Automation | Manual; one universal time | Yes, posts at optimal local times for different regions |
| AI Content Creation | No | Yes, includes AI scripting, voiceovers, and video generation |
| Content Calendar View | Basic list view | Full visual calendar for easy planning |
While the native tool is fine for casual posting, it’s clear that a dedicated platform offers the features needed to scale your content strategy effectively and save significant time.
Expanding Your Reach and Efficiency
Beyond unlimited scheduling, these tools are packed with features built for serious growth. Multi-platform publishing, for instance, lets you schedule one video to go live on TikTok, Instagram Reels, and YouTube Shorts all at the same time. You triple your content's reach with zero extra work.
Timezone-aware posting is another massive advantage for anyone with an international following. Instead of trying to find a one-size-fits-all posting time, the tool can publish your content at the best local time for each target audience. This ensures your videos are hitting the "For You" page when people are most likely to be scrolling.
If you want to explore more options, our guide to the 10 best AI tools for TikTok scheduling breaks down other platforms that can help streamline your entire workflow.
Crafting Your Winning TikTok Scheduling Strategy
Knowing how to schedule a TikTok post is one thing, but building a smart strategy around it is what actually drives growth. Let’s be real—effective scheduling isn’t just about picking a time that feels right. It's a data-driven move that turns your content calendar into a powerhouse for getting more eyes on your videos.
The first step? Stop guessing. Your most valuable insights are waiting for you right inside your TikTok Analytics. This is where you'll find the specific days and hours your followers are most active, taking all the guesswork out of the equation.
Pinpoint Your Peak Posting Times with Analytics
To get to this goldmine of data, you’ll need a Creator or Business account. Once you’re set up, just head to your profile, tap the menu icon, and go to Creator Tools, then Analytics. Under the "Followers" tab, scroll down until you see the "Follower activity" section. Voila—a clear breakdown of when your audience is online.
This data is your single source of truth. If your analytics show a massive spike in activity at 8 PM on Wednesdays, that becomes a non-negotiable posting slot. Don’t just follow generic advice you read online; use your own account’s unique data to make smarter decisions.
A classic mistake is scheduling posts based on when you’re free. Flip that around. Schedule them for when your audience is scrolling. Your analytics give you a direct window into their world.
Embrace Content Batching for Ultimate Efficiency
Trying to hit these peak times every single day can feel like a mad dash. This is where content batching becomes a total game-changer. Instead of scrambling to create a video from scratch daily, set aside a few hours once a week to film multiple videos in one go. It's a simple workflow shift that saves an incredible amount of time and mental energy.
Picture this: you film seven short videos on a Sunday afternoon. With your content for the whole week ready to roll, all that's left is to upload them into your scheduler, plug in your captions, and set them to publish at your peak times. This frees you from the daily pressure of creation and guarantees you never miss an optimal posting window. You can get a head start by mapping out your ideas with a TikTok content calendar template.
Prepare Everything in Advance
To make your batching and scheduling process even smoother, get all your post elements ready ahead of time. I'm talking about:
- Captions: Write compelling captions for each and every video.
- Hashtags: Research and save relevant hashtag sets you can pull from.
- Cover Images: Design or pick out eye-catching covers that keep your profile grid looking sharp.
Having these assets ready turns scheduling into a quick drag-and-drop process. The goal is to build a well-oiled machine that runs in the background, letting you focus on making awesome content instead of getting bogged down in logistics.
Staying consistent with 1-4 posts per day is crucial. This frequency signals to the algorithm that your account is a reliable source of content, which often leads to higher reach. In fact, according to 2025 industry analyses, accounts that maintain this rhythm see significantly better performance. Discover more insights about TikTok posting frequency on meetedgar.com.
Got Questions About Scheduling TikToks? Let's Clear Things Up.
Even when you get the hang of how to schedule a TikTok post, a few questions always seem to surface. It's totally normal. Let's walk through some of the most common worries so you can feel confident your scheduling workflow is solid.
First up, the big one: Does scheduling your content kill your reach? The answer is a hard no. Whether you schedule natively through TikTok or use a trusted third-party tool, it has zero negative impact on your engagement. The algorithm cares about good content that people want to watch, not how you hit the publish button. Honestly, scheduling usually helps your performance by making sure your videos go live when your audience is most active.
Can I Edit a Scheduled TikTok?
This is a huge pain point that catches a lot of people off guard. If you're using TikTok’s own desktop scheduler, you absolutely cannot edit a post once it’s locked in. Spot a typo in the caption five minutes after you scheduled it? Your only move is to delete the whole thing and start over from scratch.
This is where third-party schedulers really shine. Most platforms, including ShortsNinja, let you hop back in and tweak your caption, hashtags, or other details right up until it's set to publish. That kind of flexibility is a massive time-saver and cuts out a ton of last-minute stress.
What Happens if My Scheduled Post Fails?
It's rare, but it can happen. Usually, it's just a temporary hiccup in the connection between the scheduling tool and TikTok's servers. Any reputable scheduler will ping you immediately—typically with an email or a push notification—to let you know the post didn't go through.
This gives you the heads-up you need to log in and post the video manually or just reschedule it. It’s always a good habit to take a quick glance at your TikTok profile right around the scheduled time, just to confirm everything went live as planned.
The bottom line is this: scheduling is a tool to make your content strategy stronger, not a shortcut that hurts it. The TikTok algorithm is obsessed with one thing—the value your video gives the viewer. It couldn't care less if you published it manually or had it scheduled.
A smart scheduling tool just makes sure your amazing content gets in front of the right eyeballs at the right time, every single time.
Ready to stop worrying about logistics and focus on creating? ShortsNinja automates your entire workflow, from AI-powered scripting to auto-publishing, so your channel grows effortlessly. Start your free trial and see the difference.