

Making a great instructional video has less to do with expensive gear and everything to do with a solid plan. I've found the entire process really just boils down to three phases: plan and script the content, record and edit for total clarity, and finally, publish it for your audience. If you can master this simple framework, you're well on your way to making videos that actually teach something and keep people watching.
Crafting Your Video Blueprint Before You Record
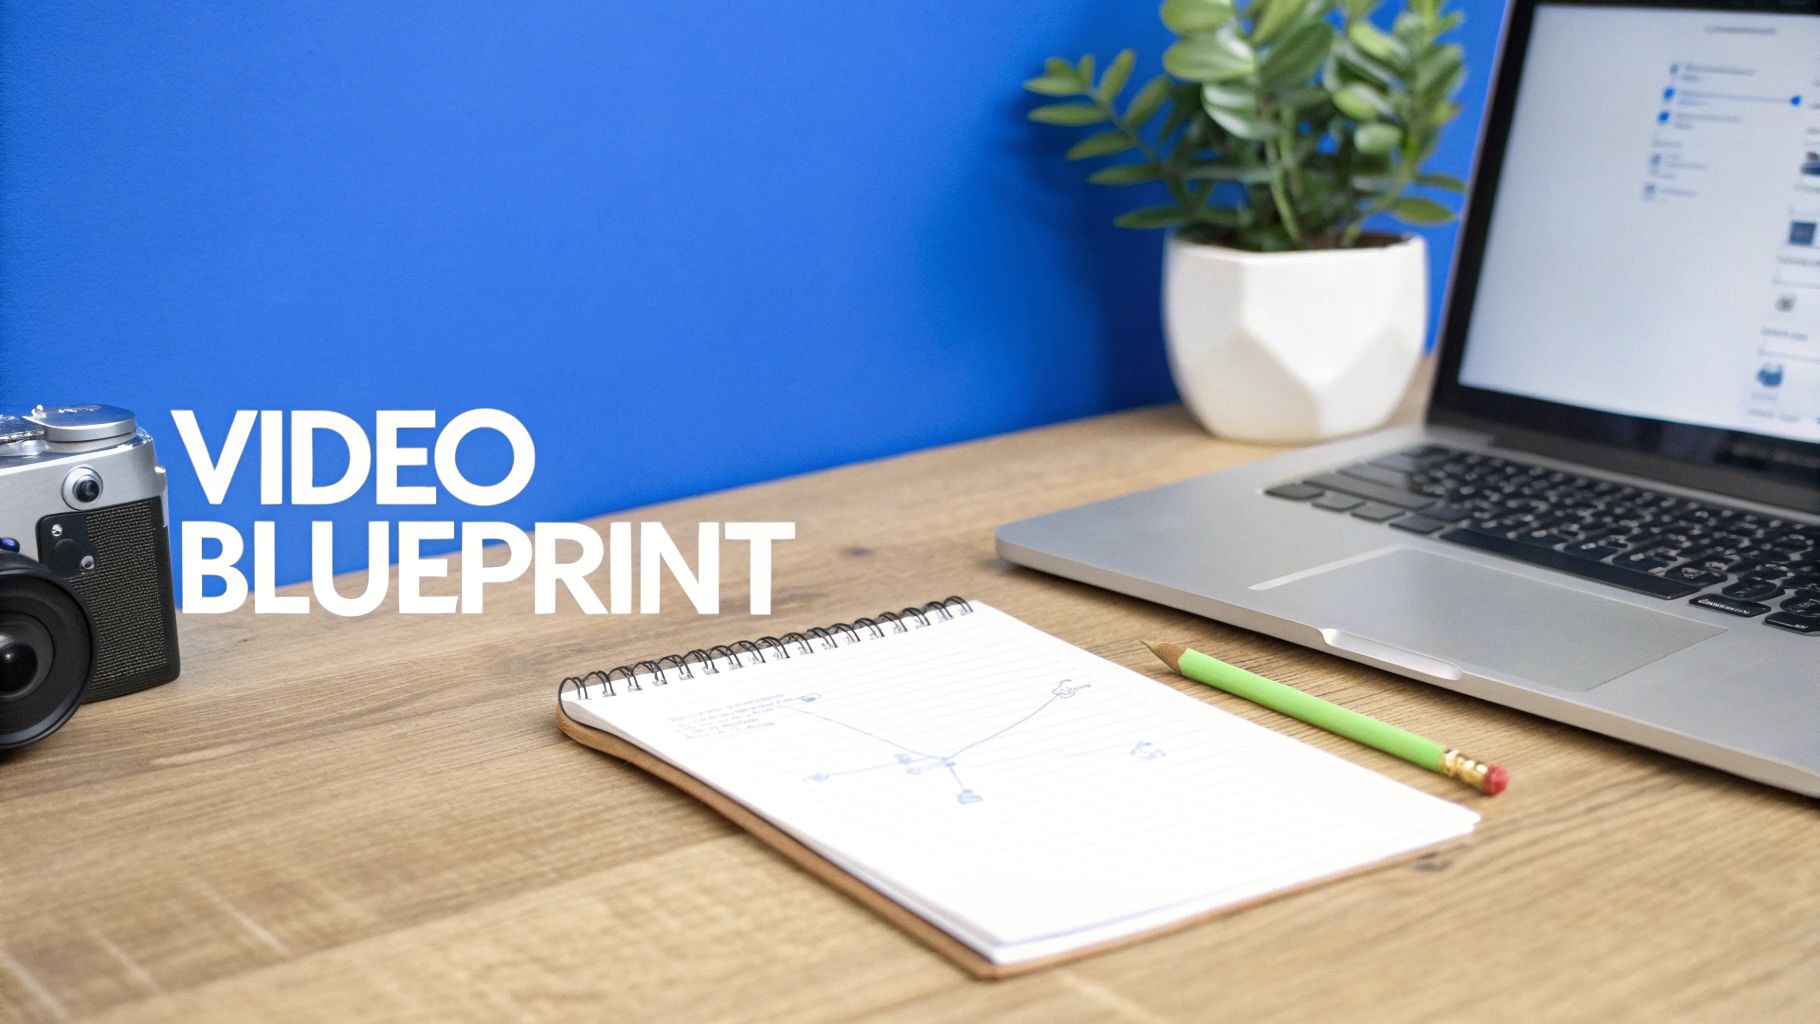
The secret to an amazing instructional video is locked in long before you ever hit the record button. It’s all in the blueprint—that strategic game plan guiding every single decision from start to finish. Rushing into production without one is the number one mistake I see; it’s why so many tutorials end up feeling disjointed, confusing, or just plain boring.
Your very first job is to define one, single, ultra-specific learning goal. Seriously, ask yourself: "What is the one thing I want my viewer to be able to do after watching this?" You have to resist the temptation to cram too much in. A video on "how to use Photoshop" is a recipe for disaster. But "how to remove a background from an image in Photoshop"? That’s perfect.
This sharp focus shows you respect your viewer's time. They showed up with a specific problem, and your video should be the most efficient solution they can find.
Pinpoint Your Target Audience
Knowing who you're talking to is just as critical as what you're teaching. An instructional video for a complete beginner needs to look and sound fundamentally different from one made for a seasoned pro who just wants to learn a new trick.
Think about these things when you're picturing your ideal viewer:
- Skill Level: Are they total novices who need you to spell out every click, or are they experts looking for a quick update on a new feature?
- Prior Knowledge: What can you safely assume they already know? Don't waste their time on basics if you're targeting an advanced crowd.
- Learning Goal: Are they trying to put out a fire right now, or are they learning a new skill for their career? This completely changes the tone and pace of your video.
For example, a tutorial on setting up a Mailchimp campaign for a small business owner should use simple, everyday language. On the other hand, a video for developers about API integration can jump right into the technical weeds. As you start sketching out your video, it also helps to understand the importance of video content marketing in the bigger picture to make sure you're getting the most out of your efforts.
A great instructional video feels like a one-on-one conversation with a knowledgeable friend. It anticipates questions, clarifies potential confusion, and builds confidence by making a complex topic feel manageable.
The Essential Three-Act Structure
Once your objective and audience are crystal clear, you can start building the structure. The most effective how-to videos I've seen all follow a simple but incredibly powerful three-act structure. It’s a classic for a reason—it maximizes engagement and helps people actually remember what you taught them.
1. The Hook (The First 10 Seconds)
Your opening is your one and only shot to convince someone they're in the right place. Don't blow it with a long, flashy intro. Just get straight to the point: state the problem you're solving and promise them the solution.
- Good Hook: "In the next three minutes, I'll show you exactly how to create a pivot table in Excel to analyze your sales data."
- Bad Hook: "Welcome back to our channel! Today, we're going to be talking about a really cool feature in Microsoft Excel…"
2. The Core Lesson (The "How-To")
This is the meat of your video. Here, you deliver the step-by-step goods. Your job is to break the process down into the smallest, most digestible chunks possible. Use clear, simple language and show, don't just tell. If you’re demonstrating software, zoom in on the important clicks. If you’re showing a physical task, get a couple of different camera angles.
3. The Recap and Call-to-Action (The Conclusion)
Wrap things up by quickly summarizing the key steps or takeaways. This little repetition helps cement the learning and makes the information stick. Finally, tell your viewer what to do next. That could be anything from subscribing to your channel to downloading a worksheet or, most importantly, trying the new skill for themselves.
Turn Your Plan into a Killer Script and Storyboard

Okay, you've got a solid blueprint. Now it's time to give your video its voice. A great script is the difference between a video that tells and a video that teaches. This is where you translate your organized plan into a natural, conversational narrative that actually connects with people.
So many creators make the mistake of writing a script that reads like a textbook—stiff, dense, and a total snoozefest. Your goal isn't to sound like a professor giving a lecture; it's to be a helpful expert talking a friend through a problem.
That means you need to write like you speak. Use simple, direct language. Keep your sentences tight. And please, read every single line out loud. If it feels weird or clunky coming out of your mouth, it’s going to sound ten times worse on camera.
Remember, clarity is king. Your viewers aren't here for fancy words; they showed up for a solution. Ditch the industry jargon. If you absolutely have to use a technical term, explain it immediately in the simplest way possible. This one simple habit makes your content way more accessible and builds a ton of trust.
Writing a Script That Hooks ‘Em Fast
The first 5-10 seconds of your video are everything. Attention spans are shot, so your opening needs to grab viewers by the collar and instantly confirm they're in the right place. A killer hook promises a clear benefit and gets straight to the point.
Think about the one burning question your viewer has. A great hook answers it right away.
- Lame Opening: "Hi everyone, and welcome back. In this video, we're going to explore some useful techniques for project management…"
- Killer Opening: "Tired of your projects spiraling out of control? I'm about to show you three dead-simple steps to keep any project on time and under budget."
See the difference? The second one gets right into the value.
This directness should carry all the way through to your conclusion. Don't just let the video fade out. End with a clear, concise call-to-action (CTA) that tells the viewer exactly what to do next. Whether it's subscribing for more tips, downloading a checklist, or trying out the skill themselves, a specific instruction is what turns a passive viewer into an engaged follower.
A script is so much more than words on a page. It's the rhythm of your video. It's the personality. A well-written script anticipates what your viewer is thinking and guides them smoothly from a state of confusion to one of confidence.
If you're just getting your feet wet with this, building a strong foundation is key. We've got a whole guide on script writing for beginners that's worth a read.
Storyboarding: Your Visual Roadmap
Once the script feels solid, it’s time to think visually. A storyboard is your shot-by-shot plan for the video. And no, you don't need to be an artist—stick figures and sloppy sketches work just fine. The whole point is to map out what the viewer will see while they hear your script.
Trust me, this step is a massive time-saver. When you walk into filming with a visual plan, you eliminate the guesswork, which cuts down production time like you wouldn't believe. It also ensures your video has a logical flow instead of just being a random collection of shots.
For each key moment in your script, your storyboard should answer a few basic questions:
- The Shot: What's on screen? Is it you talking head-on, a close-up of your hands doing something, or a screen recording?
- On-Screen Text: Are you adding any text overlays, like titles or bullet points, to drive a point home?
- Graphics & B-roll: Will you cut away to an animation, a stock clip, or maybe a different camera angle to keep things interesting?
Let's stick with the cake-baking example. Your storyboard might be a simple table like this:
| Scene # | Voiceover/Dialogue Script | Visuals (Storyboard Sketch) |
|---|---|---|
| 1 | "First, preheat your oven to 350 degrees Fahrenheit." | Wide shot of you standing by an oven. On-screen text: "350°F / 175°C" pops up. |
| 2 | "Next, combine your dry ingredients in a large bowl…" | A top-down shot of your hands pouring flour into a mixing bowl. Really satisfying. |
| 3 | "…whisking them together until they're fully incorporated." | A medium shot of the whisking action. Maybe quickly cut to B-roll of the beautiful, finished cake. |
This two-step process—scripting, then storyboarding—is the secret sauce behind learning how to make instructional videos that people actually want to watch. It’s what transforms a good idea into a polished, professional video that respects your audience's time and delivers real value.
Recording Professional Video Content on a Budget
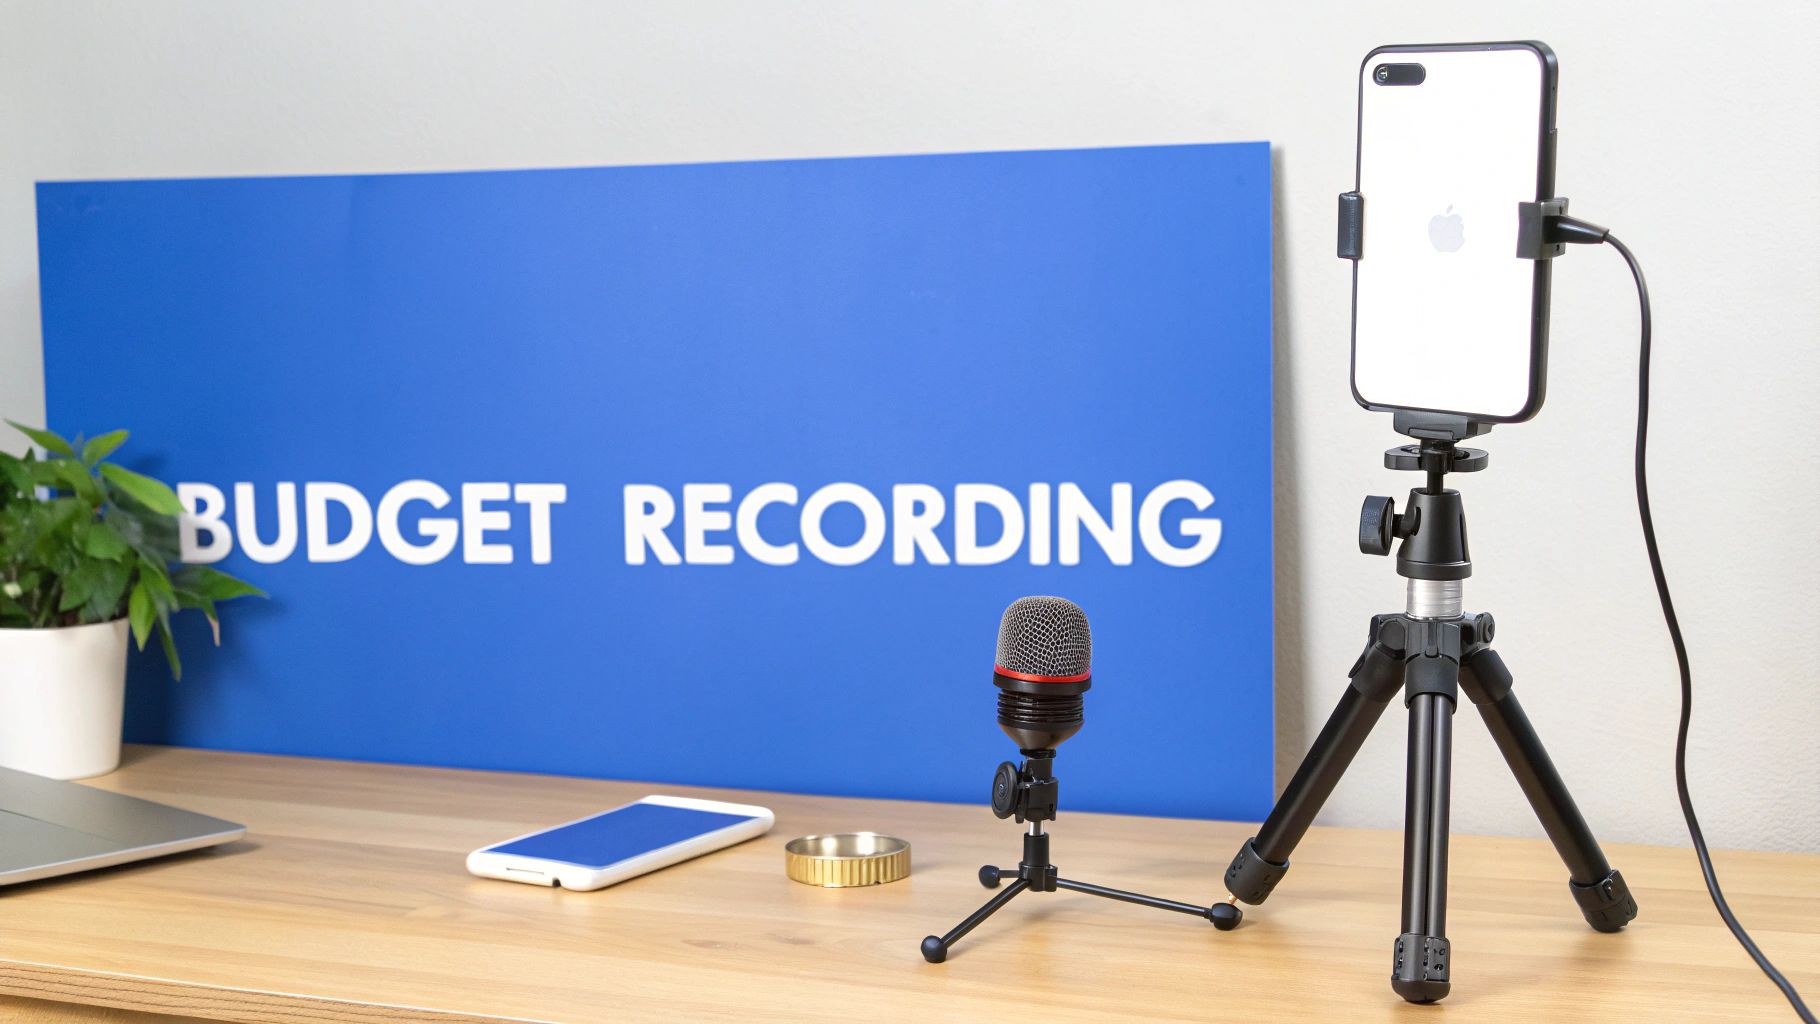
You absolutely do not need a Hollywood-level budget to create instructional videos that look and sound fantastic. Honestly, with just a few smart choices, you can produce professional-quality content using gear you probably already have. The goal is to make the technology disappear so your expertise can shine through.
Let’s just dismantle the myth that you need expensive equipment right now. The smartphone in your pocket is a powerhouse. Modern phone cameras shoot in stunning 4K, which is more than enough for crisp, clear instructional content. The key isn't the camera itself, but how you use it.
If you want to go deeper on gear, you can learn more about finding the camera best for vlogging. But for most people starting out, stabilizing your phone on a simple tripod is the single biggest upgrade you can make. It instantly eliminates shaky footage and gives your video a much more polished, intentional look.
Getting Crystal-Clear Audio
If viewers have to choose between a grainy video and bad audio, they will bail on bad audio every single time. It's just a fact of video. Clear, crisp sound is non-negotiable for instructional videos because if your audience has to strain to understand you, they'll simply click away.
Your phone's built-in microphone is designed to pick up sound from all directions, which means it will also capture echoes, the hum of your air conditioner, and traffic noise. That’s why an external microphone is the most important investment you can make—often for less than the cost of a nice dinner out.
Here are a few budget-friendly microphone options I've used with great success:
- Lavalier Mics: These are the little clip-on mics you see on people's shirts. They get close to your mouth for clear, consistent audio and are perfect for on-camera presentations.
- USB Microphones: If you're doing screen recordings or voiceovers, a good USB mic is your best friend. It plugs right into your computer and provides rich, broadcast-quality sound.
- Shotgun Mics: These mount on your camera (or phone with an adapter) and are great at capturing sound directly in front of them while minimizing noise from the sides.
No matter which mic you choose, always do a quick soundcheck. Just record a few test sentences and listen back with headphones. You’ll be glad you caught that weird buzz before you recorded for an hour.
Mastering Simple Lighting Setups
Good lighting is what separates amateur video from professional content. It makes your image look sharper, kills distracting shadows, and just helps you look your best on camera. The good news? You don't need a complex, expensive lighting kit.
The cheapest and most effective light source is a large window. Position yourself facing the window so that soft, natural light illuminates your face evenly. Never have the window behind you, or you’ll turn into a dark silhouette.
Pro Tip: If direct sunlight is too harsh and creating hard shadows, just hang a thin white sheet over the window. This diffuses the light and creates a beautiful, soft look that's flattering for anyone.
If natural light isn't an option, a simple "three-point lighting" setup using affordable lamps can work wonders. The most important light is the key light, your main source. A simple LED ring light is a popular and inexpensive choice that gives you even, shadow-free illumination. Just place it in front of you, slightly above eye level, and you're off to a great start.
Choosing Your Recording Style
The way you record really depends on what you're teaching. A software tutorial is going to have a completely different feel than a hands-on crafting demo.
- Presenting on Camera: This style is fantastic for building a personal connection with your audience. Remember to look directly into the camera lens—not at yourself on the screen—to create the feeling of eye contact. Speak with energy and let your personality show!
- Screen Recording: For software demos or walking someone through a digital process, tools like Loom, OBS Studio, or QuickTime are essential. Before you hit record, clean up your desktop, close unnecessary tabs, and turn off notifications. Keep the focus entirely on your lesson.
- Voiceover Narration: This is where you record your audio separately and lay it over visuals like animations, slides, or B-roll footage. It gives you maximum control to get your audio perfect without worrying about being on camera at the same time.
The demand for video-based learning is just exploding. A staggering 73% of people prefer watching a short video to learn about something over reading text. This preference highlights exactly why making good tutorials is so critical; you're meeting your audience right where they are. By mastering these simple recording techniques, you’re perfectly positioned to create the exact kind of instructional videos your audience is searching for.
Editing for Maximum Clarity and Viewer Retention
This is where the real magic happens. Post-production is where you take all your raw footage and shape it into a polished, effective instructional video that people actually want to watch. A great edit respects the viewer's time by making every second count, ensuring your message lands perfectly.
The first step is always the most ruthless: trimming the fat. Go through your footage and cut out every unnecessary pause, every "um" and "ah," and any take where you flubbed your words. Be aggressive. What feels like a normal pause in person can feel like an eternity on video. The goal is a tight, clean timeline with zero dead air.
Once your clips are lean and mean, start arranging them in the logical sequence you planned in your storyboard. This creates a smooth, intuitive flow that guides the viewer from one step to the next without any confusion.
Enhancing Your Video with Visual Aids
With the core structure in place, it's time to layer in the elements that boost learning and retention. Visual aids are your best friend in instructional videos, as they reinforce what you're saying and cater to people who learn visually.
Think about how you can use simple on-screen elements to drive home key points:
- Text Callouts: Use these to highlight important terms, keyboard shortcuts, or critical measurements. They give viewers a visual anchor for information they can't afford to miss.
- Simple Graphics: Arrows, circles, and zoom effects are perfect for directing the viewer’s eye, especially in a busy screen recording. They immediately answer the question, "Where should I be looking right now?"
- Checklists or Summaries: For any multi-step process, a quick on-screen list is a fantastic way to recap the steps and help the information stick.
The trick is to keep these elements clean, simple, and consistent with your brand. They should support your lesson, not distract from it. If you're looking for ideas, it's worth exploring the best free video editing software for beginners to see what kinds of built-in tools are at your disposal.
Polishing Your Audio and Pacing
Great audio is non-negotiable. Even if you recorded with a solid microphone, you'll still want to clean it up in the edit. Most editing software has basic tools to remove background hum, even out volume levels, and snip out any distracting clicks or pops. A clean, consistent audio track instantly makes your video feel more professional.
Next up, consider adding some background music. The right track can set the tone and add a layer of polish, but it’s a delicate balance.
Your background music should be an almost unnoticeable supporting element. Choose something instrumental and unobtrusive, and keep the volume low enough that it never competes with your voice. The moment a viewer notices the music more than your instruction, it has become a distraction.
Finally, think about pacing. The rhythm of your cuts is what keeps people engaged from start to finish. You can control this with the speed of your edits and the transitions you choose.
- Jump Cuts: Quickly cutting between different takes of you speaking can inject a ton of energy and keep the pace brisk.
- Transitions: Stick to simple cuts for most of your video. Save the fancier stuff, like fades or wipes, for signaling a change in topic or section. Overusing them can make your video look dated, fast.
By really nailing these editing fundamentals—trimming, adding visual aids, and polishing your audio and pacing—you’ll create an instructional video that’s not just informative but also a pleasure to watch. This is the part of the process that separates a forgettable tutorial from one that truly leaves a lasting impact.
Using AI to Accelerate Your Video Production
Let's be honest: churning out high-quality instructional videos consistently is a massive time sink. Between scripting, recording, and editing, the hours stack up fast, and it’s easy to lose momentum. This is exactly where modern AI tools are stepping in and completely changing the game for creators.
Think of these platforms as a superpower for scaling your content. Instead of staring at a blank page for hours, you can go from a simple idea to a polished, ready-to-publish video in minutes. It's not just about saving time—it’s about unlocking the ability to produce content at the volume you need to keep up on fast-paced platforms.
The New AI-Powered Workflow
Imagine a workflow where all the tedious, repetitive parts of video creation just… disappear. That’s the reality with tools like ShortsNinja. You start with a simple text prompt—your core idea—and the AI handles the heavy lifting, building out the essential components of your video for you.
Here’s what that looks like in practice:
- Input Your Idea: You give the AI a topic or a brief description of the instructional video you want to create.
- Generate a Script: The AI instantly whips up a solid first-draft script, complete with a hook, main points, and a call to action.
- Create Visuals and Voice: With a few clicks, the system generates compelling visual scenes and a realistic, human-sounding voiceover to match the script.
This approach transforms video production from a multi-day slog into a short, focused session. You're no longer the one piecing everything together from scratch. Instead, you become the director, guiding the AI to produce a final product that matches your vision. This is a massive advantage for creating short-form content for TikTok, YouTube Shorts, and Instagram Reels, where consistency is everything.
If you're curious about the nuts and bolts, our guide on how to generate videos with AI breaks down the entire process.
From Hours to Minutes
The shift in production time is nothing short of staggering. Tasks that used to eat up hours—brainstorming, writing, finding B-roll, recording audio, and syncing it all up—are now condensed into a few minutes of review and refinement. You get to focus your energy on high-level strategy and creative direction instead of getting bogged down in repetitive technical work.
This simple graphic shows the core editing stages that AI helps speed up.
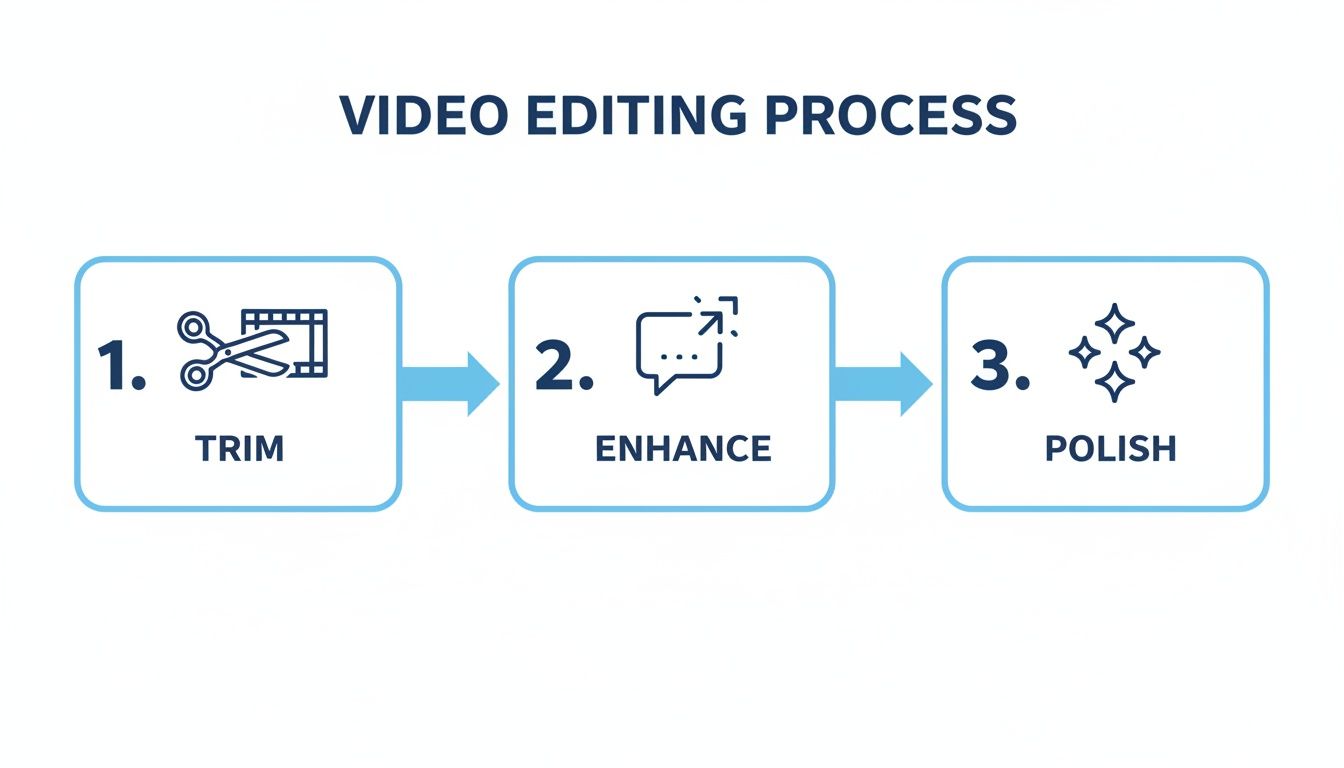
Each of these steps—trimming footage, enhancing with graphics, and polishing the final cut—gets a major boost when an AI handles the initial assembly.
To see just how much of a difference this makes, let’s compare a traditional workflow to one powered by a tool like ShortsNinja.
Traditional Workflow vs AI-Powered Workflow (ShortsNinja)
| Task | Traditional Method (Time) | AI Method with ShortsNinja (Time) |
|---|---|---|
| Scriptwriting | 1-3 hours | 5-10 minutes |
| Voiceover Recording | 30-60 minutes | 2-5 minutes |
| Finding Visuals (B-roll) | 1-2 hours | 5-10 minutes |
| Video Editing & Assembly | 2-4 hours | 10-15 minutes |
| Total Time | 4.5 – 10 hours | 22 – 40 minutes |
The numbers speak for themselves. The time saved isn't just a minor improvement; it's a fundamental change in how you can approach content creation.
The need for this kind of speed is backed by hard data. In 2023, educational videos became a dominant content type. Small businesses averaged 15 videos per year, while large enterprises produced 118. The lesson? Volume and engagement go hand-in-hand.
With 68% of people preferring short videos to learn something new and YouTube users being 3X more likely to watch a tutorial than read instructions, the demand is crystal clear. Creators who can meet this demand by automating their process have a serious advantage.
By automating the most time-consuming parts of production, you're not just making one video faster. You're building a system that allows you to consistently publish valuable content, build an audience, and grow your channel without burning out.
Ultimately, using AI isn't about replacing creativity; it’s about amplifying it. It frees you from the manual labor of content creation, giving you the space to test more ideas, respond to trends faster, and focus on what really matters: delivering clear, valuable instruction to your audience. This makes learning how to make instructional videos a far more scalable and sustainable journey for any creator.
Common Questions on Making Instructional Videos
When you first start making videos, a few questions always seem to pop up.## Common Questions on Making Instructional Videos
When you first start making videos, a few questions always seem to pop up. Getting them sorted out from the get-go will save you a ton of headaches and help you make better content, faster. Let's dig into the big ones.
How Long Should My Instructional Video Be?
There’s no magic number here—it all comes down to the platform you’re on and how complex your topic is. But we do have some solid data to guide us.
For a typical tutorial on YouTube, the sweet spot is usually between 2 and 6 minutes. That’s long enough to deliver real value but short enough to hold someone's attention. After the six-minute mark, you’ll start to see a significant drop-off in viewership for most how-to content.
But if you’re creating for TikTok, YouTube Shorts, or Instagram Reels, you need to think much, much shorter. Videos under 60 seconds are king. You have to get straight to the point and deliver a quick, impactful lesson.
My rule of thumb is simple: make your video as long as it needs to be, but not a second longer. Be thorough, but ruthless about cutting fluff. The best way to keep viewers engaged is to respect their time.
What Is the Best Software for Beginners?
The sheer number of video editors out there can feel pretty overwhelming. The trick is to find a tool that fits where you are now but has room for you to grow. You definitely don’t need a film degree or a massive budget to get started.
Here are a few of my go-to recommendations for anyone new to video:
- CapCut: This free editor is a powerhouse on both desktop and mobile. It’s incredibly intuitive and comes loaded with features like auto-captions, templates, and dead-simple text tools. It’s my top pick for creating polished videos without a steep learning curve.
- DaVinci Resolve: Don't let the pro-level features intimidate you. DaVinci Resolve offers a free version that’s more powerful than most paid software, covering everything from editing and color grading to audio mixing. It takes a bit more time to learn, but you’ll never outgrow it.
- Canva: Most people know Canva for graphics, but its video editor is surprisingly good and incredibly easy to use. If you're already in the Canva ecosystem, it's a fantastic choice for creating simple, visually clean instructional videos with animated text and graphics.
How Can I Make a Boring Topic Engaging?
Let's be real, not every topic is naturally thrilling. But you can make any subject interesting if you approach it the right way. It’s less about the topic itself and more about how you present it.
First, bring some energy. Your tone of voice is infectious. If you sound bored, your audience will be bored. Speak clearly, vary your pitch, and let your passion for the subject shine through.
Next, keep it moving visually. Nobody wants to stare at a static screen for five minutes straight. Use simple zooms, text callouts, and arrows to guide the viewer’s eye. Even cutting away from a screen recording to a quick shot of you talking to the camera can work wonders to reset attention and add a human connection.
Finally, lean on analogies and real-world examples. Connect the "boring" concept to something your audience already knows and cares about. This simple trick makes the information far more relatable and a whole lot easier to remember.
Ready to stop spending hours on video production and start scaling your content? ShortsNinja uses AI to turn your ideas into engaging short videos in minutes. Create a script, generate visuals, add a voiceover, and publish—all in one streamlined workflow. Get started with ShortsNinja today!