
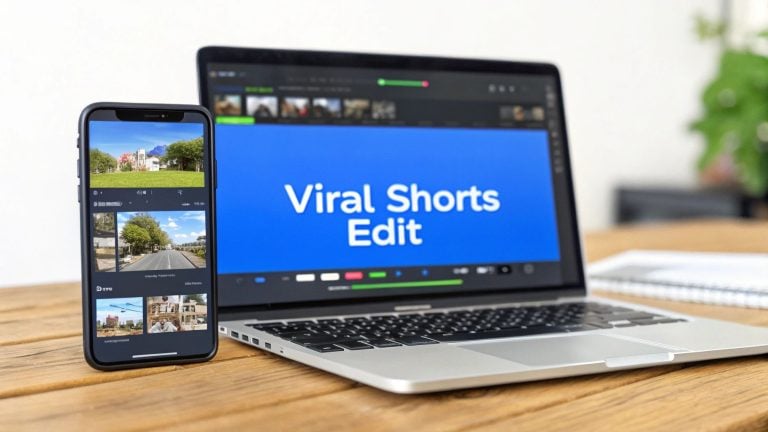
Editing a YouTube Short is so much more than just trimming the ends of a clip. It's about crafting a lightning-fast experience that grabs someone's attention immediately. The secret sauce? Quick cuts, trending audio, and bold on-screen text that tell a story in under 60 seconds. If you can master these, you'll stop the scroll and keep people glued to your content.
Why Your YouTube Shorts Editing Matters
Before we jump into the "how," let's talk about the "why." In the wild world of short-form video, your editing choices aren't just for show—they're your main weapon in a high-speed battle for attention. The YouTube algorithm loves content that holds people's focus, and sharp editing has a direct impact on your watch time and engagement.
Something as simple as a perfectly timed jump cut or a surprising sound effect can be the difference between a viewer swiping away and watching your Short on a loop. Every single second counts.
The Power of Engagement in a Crowded Feed
The scale of YouTube Shorts is just staggering. The platform pulls in over 90 billion daily views and has an engagement rate of 5.91%, which actually edges out other top short-form video apps. Those numbers show a massive opportunity, but they also scream fierce competition with every video you upload.
This is where your editing chops become a real advantage. You’re not just making a video look pretty; you’re building an experience designed to be watched again and again.
Think about it this way:
- Algorithm Fuel: High watch duration and repeat views are like rocket fuel for the algorithm. They signal that your content is worth showing to a much wider audience.
- Viewer Brains: Quick, snappy edits are perfectly suited for the short attention spans of people endlessly scrolling their feeds. A seamless loop can even trick the brain into re-watching, giving your metrics a nice little bump.
- Monetization Path: Building an engaged audience is the first step toward making money. For a deeper dive on this, check out our guide on how to monetize YouTube Shorts.
Your goal isn't just to trim clips. It's to become a master of controlling the viewer's focus. You want to guide their eyes and deliver a satisfying punchline—all in under a minute.
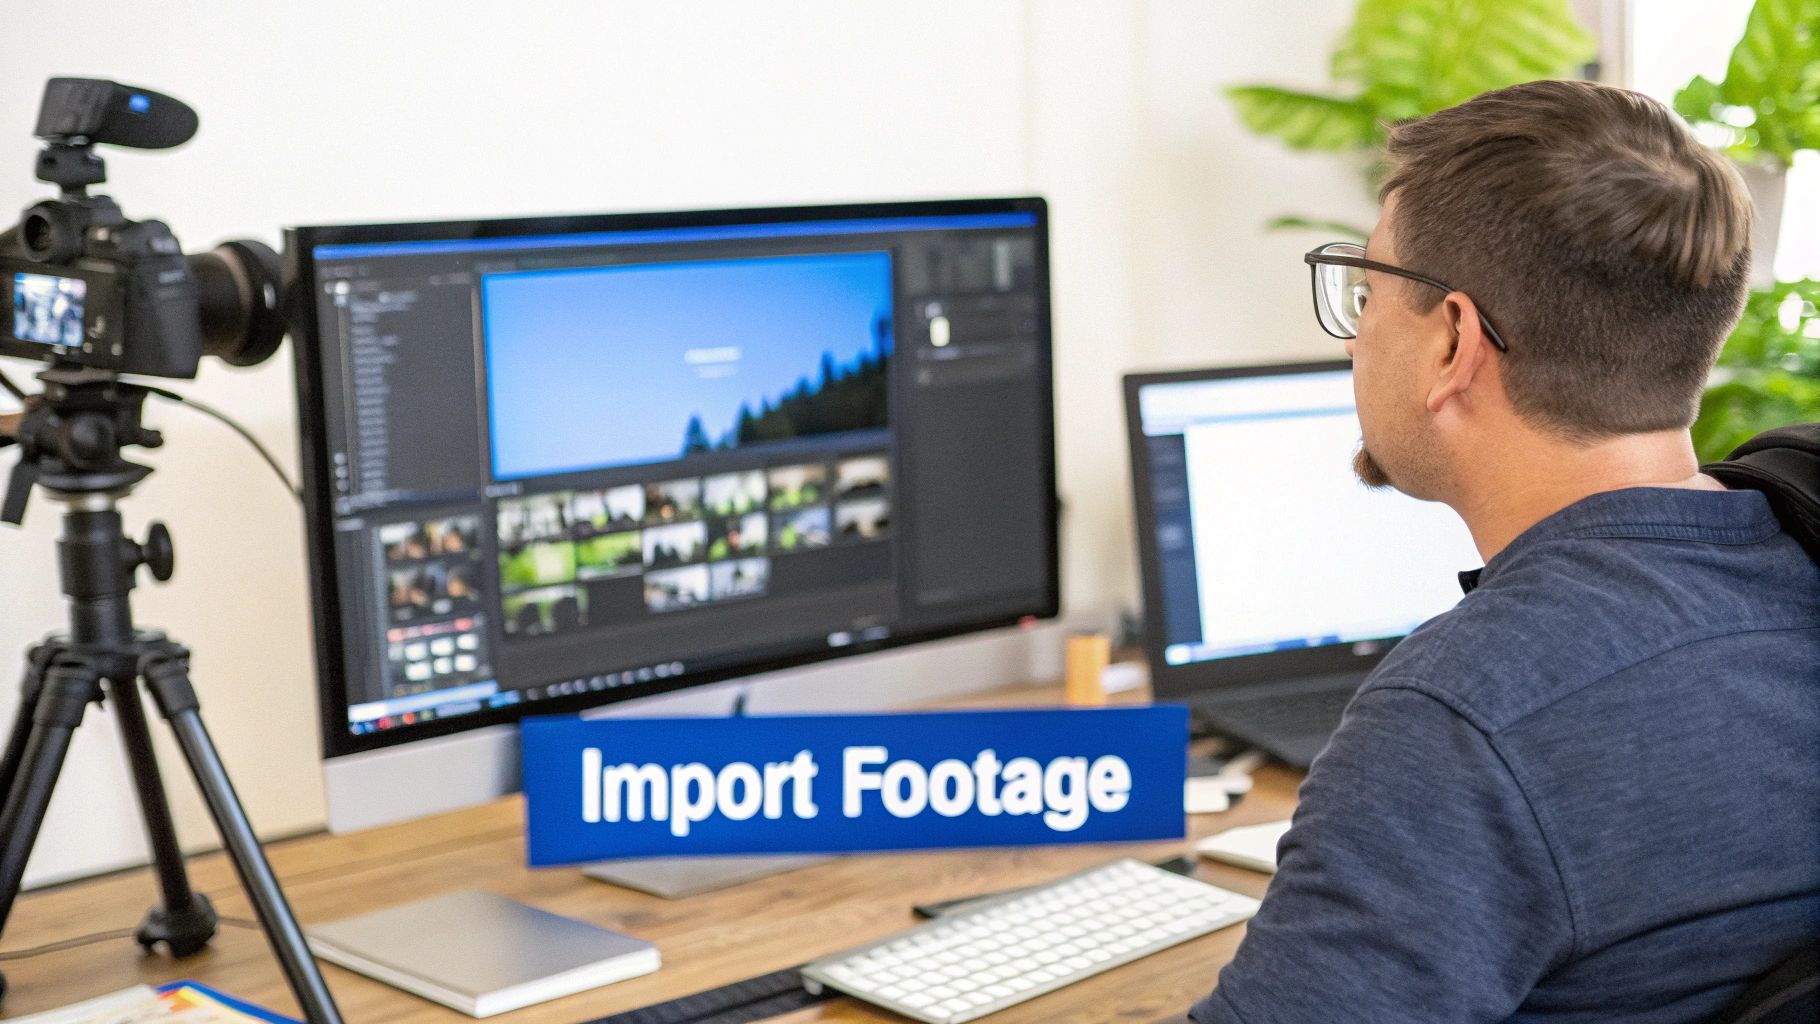
Choosing Your Shorts Editing Toolkit
Picking the right tool can make or break your editing flow, saving you a ton of time while opening up new creative doors. It really boils down to a simple trade-off: do you need speed and convenience, or are you after deep creative control? You don't always need the most complex software; sometimes, the best tool is just the one that gets your idea published the fastest.
For quick, in-the-moment content, the built-in YouTube Shorts camera is surprisingly solid. It’s perfect for creators who need to shoot, edit, and get a Short live in just a few minutes, all without leaving the app.
- Multi-Segment Recording: This lets you film different clips one after another, creating dynamic cuts right as you record.
- Speed Controls: Easily add slow-motion or time-lapse effects to inject a little drama or humor.
- Timer Function: A must-have for hands-free recording. Just set up your shot, hit the timer, and jump in frame.
No matter which editor you use, trimming your clips is the first fundamental step you'll take, as this graphic shows.
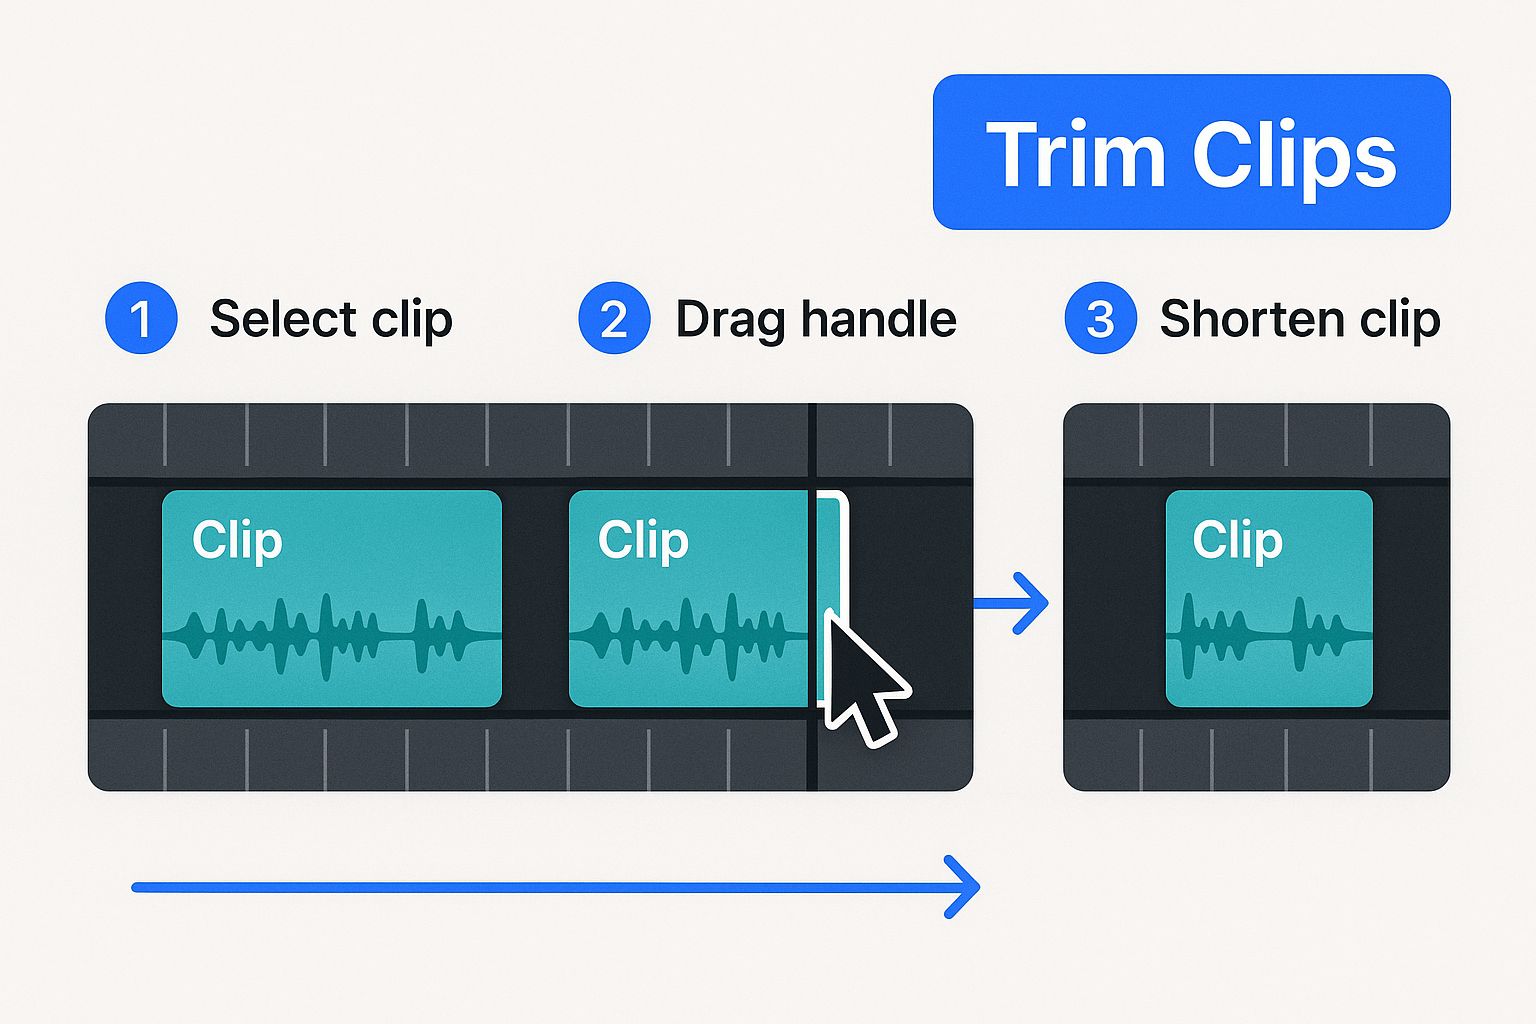
Getting this basic function down is crucial for nailing the pacing of your Short.
When to Use Third-Party Apps
While the native editor is fantastic for speed, third-party apps like CapCut or InShot bring professional-level features to the table, giving you way more creative freedom. These are your go-to when your Shorts edit needs an extra layer of polish and precision.
The real power of external apps lies in their advanced timelines. They allow for intricate audio mixing, custom font imports, and complex animations that the native editor simply can't handle.
Think about using these apps when you need features like keyframing to make text and graphics move, or if you need to do some detailed color correction. They also open the door to more advanced content, like creating tutorials. If you're putting together a solid toolkit, consider specialized software for capturing your screen and high-quality audio—it’s a game-changer for many types of Shorts. You can learn more about Choosing Screen Recording Software with Voice to see what’s out there.
And if you want to push efficiency even further, check out our list of the https://shortsninja.com/blog/top-12-ai-video-editing-tools/ for creators.
Deciding between the YouTube editor and an external app can be tricky. Here’s a quick comparison to help you figure out which one is the right fit for your workflow and creative goals.
YouTube Editor vs Third-Party Apps A Quick Comparison
| Feature | YouTube Built-in Editor | Third-Party Apps (e.g., CapCut, InShot) |
|---|---|---|
| Ease of Use | Very High. Perfect for beginners and quick edits. | Medium to High. More features mean a slightly steeper learning curve. |
| Speed | Excellent. Shoot, edit, and publish all within the YouTube app. | Good. Requires exporting and uploading, adding an extra step. |
| Advanced Editing | Limited. Basic trims, filters, text, and music. | Excellent. Multi-layer timelines, keyframing, advanced effects, and color grading. |
| Audio Control | Basic. Add music from the library or record a simple voiceover. | Advanced. Mix multiple audio tracks, use custom sound effects, and fine-tune levels. |
| Customization | Low. Limited fonts, effects, and transitions. | High. Import custom fonts, graphics, and use a vast library of effects and transitions. |
| Best For | Spontaneous content, quick trends, and simple vlogs. | Polished content, detailed tutorials, and highly stylized or branded Shorts. |
Ultimately, many creators use both. The native editor is perfect for jumping on a trend, while a third-party app gives you the power to craft a masterpiece. There's no single "best" choice—only the best choice for the specific video you're making right now.
Nail the Pacing and Flow in Your Edits
This is where your Short really starts to take shape. Good pacing isn't just about chopping up clips; it’s about controlling how the viewer feels time and building a rhythm that keeps them hooked. In the fast-and-furious world of Shorts, every single frame has a job to do.
First things first: be ruthless with your trimming. Go through every clip and slash anything that doesn't add value. Cut out every awkward pause, every moment of hesitation, and every dead second before the action kicks in. Even a one-second delay can be the difference between a swipe and a watch.
Stop thinking of your timeline as just a bunch of clips. It’s a mini-story. Your job is to arrange your shots to tell a story that grabs the viewer instantly and pays off in the end—all in under 60 seconds.
Craft a Narrative With Your Cuts
Making your edits flow is all about making them feel invisible yet powerful. The way you sequence your clips should guide the viewer's eye without them even noticing. When you get it right, the pace feels natural and the energy stays high.
Let's say you're doing a classic "before and after" reveal. You can build suspense by using a few quick, successive cuts of the "before" state from different angles. This little trick builds anticipation right before you hit them with the big reveal. The final result feels way more dramatic because the pacing built up to that moment.
Your editing timeline is your storytelling canvas. Every cut is a brushstroke that either adds to the picture or distracts from it. Make each one count.
Another great example is a fast-paced montage. Imagine you're showing a quick recipe. Instead of one long, boring shot of you cooking, use a series of punchy one-second clips: hands cracking an egg, flour dusting a surface, a whisk blurring into action. This rapid-fire sequence makes the whole process feel dynamic and super satisfying to watch.
Use Alignment for Seamless Transitions
The Align tool is your secret weapon for creating those smooth, professional-looking transitions that make people wonder, "How'd they do that?" It's available in the native Shorts editor and most third-party apps. It works by overlaying a ghost image of your last frame onto your live camera view, letting you perfectly line up objects from one clip to the next.
This is gold for creating cool visual tricks that keep people watching:
- The Magic Outfit Change: Hold a shirt up to the camera, cut the clip, then use the Align tool to perfectly position yourself in the new outfit before you hit record again.
- The Instant Object Swap: Place an object on a table, end the clip, and use Align to swap it with something else in the exact same spot for a seamless transformation.
Getting a handle on these core techniques is a huge part of learning how to edit YouTube Shorts that feel polished and hold attention. Pacing isn't just a technical skill; it's the art of making 60 seconds feel like a complete, can't-miss experience.
Layering in the Magic: Sound, Text, and Effects
A well-cut video is the foundation, but the creative layers you add on top are what make a Short truly memorable. This is where you get to transform a simple clip into something special, using sound, text, and visual effects to really drive your point home.
The right audio can completely flip the vibe of your video. YouTube’s built-in audio library is a goldmine for this, packed with everything from trending meme sounds to atmospheric music that adds a professional touch.
Don't just slap a song on it; pick a sound that actually adds to your story. A perfectly timed sound effect can make a joke land ten times harder, while jumping on a trending track can help your Short ride the wave of discovery and reach a much wider audience.
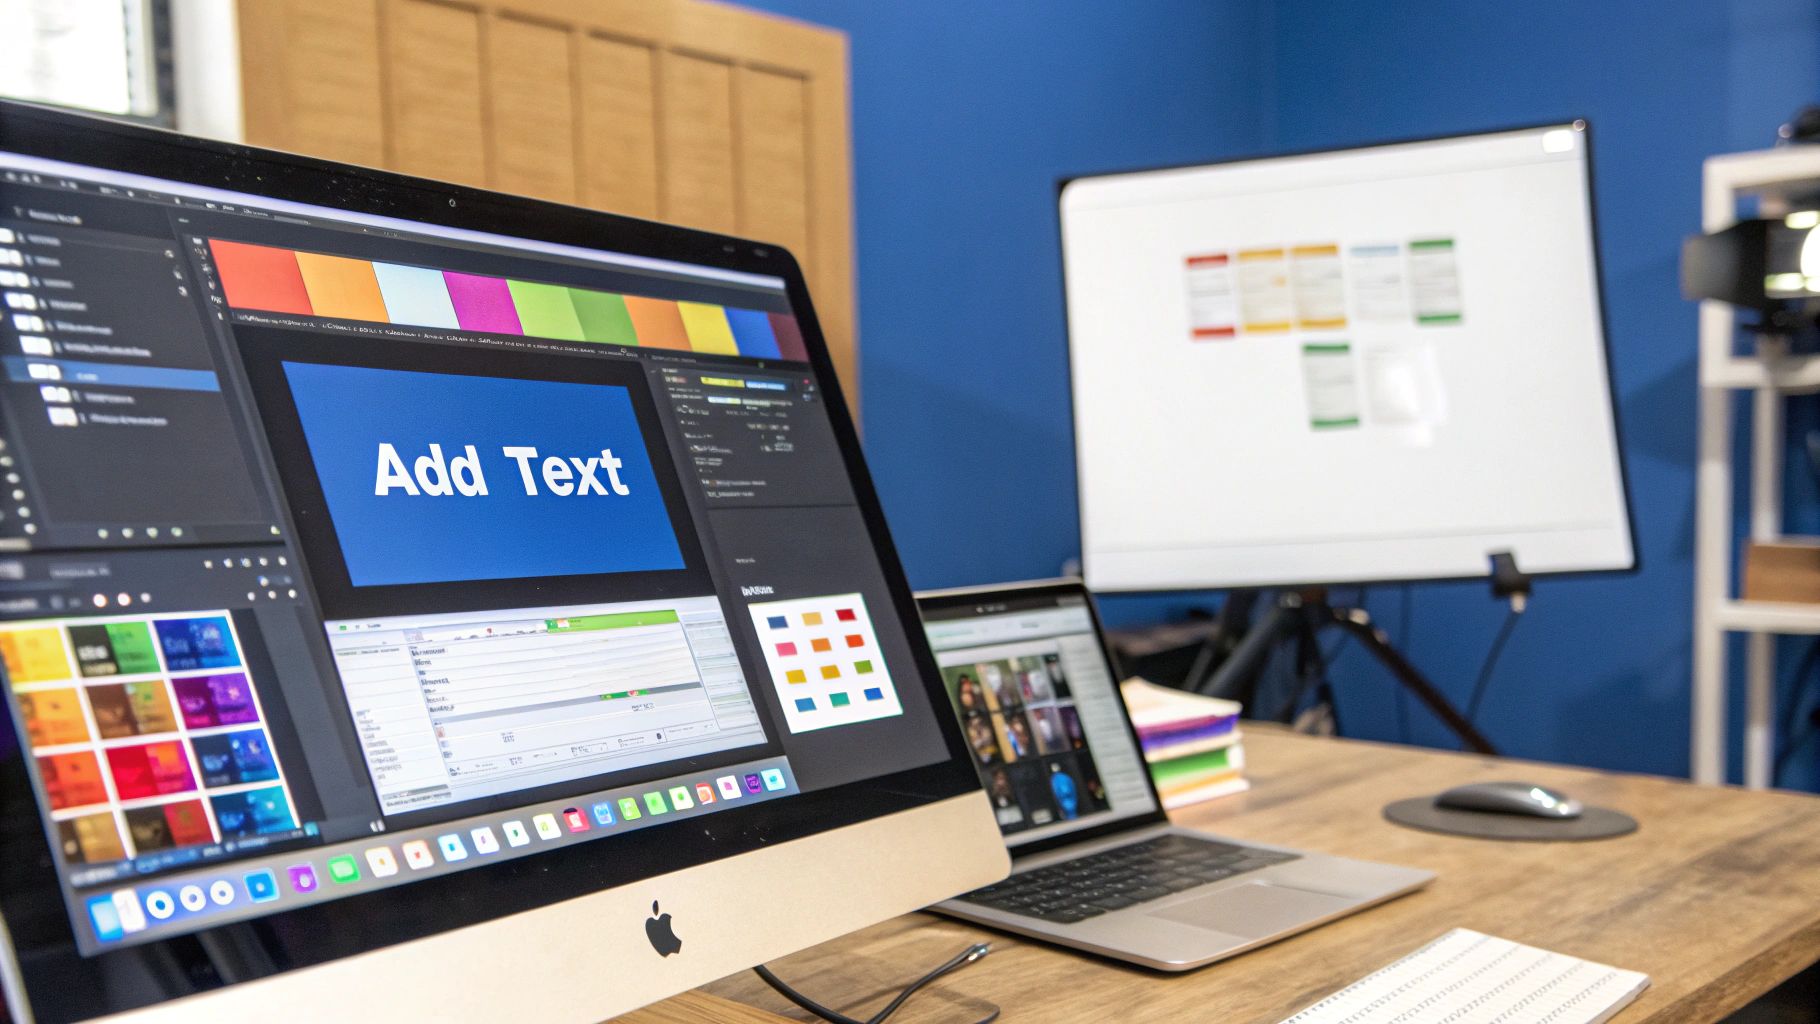
Making Your Text Pop
On-screen text is one of the most powerful tools in your entire editing kit, especially since so many people watch videos on mute. It’s not just for subtitles—use it for emphasis, for humor, or to direct the viewer’s eye exactly where you want it.
Timing is everything. Jump into the timeline editor and make your words appear and disappear right in sync with your actions or narration. For instance, if you're filming a quick recipe, have the ingredient names pop up on screen the exact moment you add them to the bowl. It makes the whole thing feel more dynamic.
Strategic on-screen text isn't just about sharing information. It’s about injecting personality and rhythm into your edit, keeping viewers locked in from the first second to the last.
This approach turns a passive watch into an active, engaging experience.
Applying Filters and Visual Effects
Finally, think of filters and effects as the final coat of paint. They can smooth out lighting issues, add a stylistic flair, or just give your videos that polished, professional look that builds a consistent visual identity for your channel.
Your choice of filter is a branding decision. Are you going for a bright, vibrant look, or something more moody and cinematic? Sticking to a consistent aesthetic helps viewers instantly recognize your content as they scroll through an endless feed.
Here are a few quick tips for getting effects right:
- Subtlety is Key: A filter should enhance your video, not overpower it. More often than not, a gentle color correction does more for your shot than a dramatic, high-contrast effect ever could.
- Match the Mood: Use effects that support the emotional tone you’re going for. A glitch effect is perfect for a tech reveal, while a soft glow just feels right for a lifestyle clip.
Finding the right balance between these creative elements is where the real skill comes in. When you nail it, every sound, word, and visual effect works together to create a Short that’s not just compelling but re-watchable. This is a critical skill when learning how to edit YouTube Shorts that actually get noticed.
Advanced Editing Tricks That Boost Engagement
Once you have the basics down, it’s time to dig into the techniques that separate an average Short from a viral one. These aren't just about fancy tools; they're about understanding the psychology of what keeps a viewer glued to their screen. This is the secret sauce top creators use to push their watch time through the roof.
Those first three seconds are everything. You absolutely need an irresistible hook that stops the scroll cold. This could be a bold text overlay asking a provocative question, a jarringly quick cut to the most dramatic part of your video, or a visual that just makes people think, "Wait, what was that?" Don't build up to the action—start right in the middle of it.
Create Seamless Loops and Ride Trends
Have you ever found yourself watching the same Short three times before you even realized it started over? That's the power of a seamless loop. If you can make the very last frame of your video look identical to the first, you can trick viewers into re-watching without a second thought. This is a massive signal to the YouTube algorithm that your content is sticky.
Another pro-level move is creatively using YouTube’s built-in features to jump on existing trends.
- The Green Screen Effect: This tool is your ticket to anywhere. You can instantly transport yourself into a historical photo, a movie scene, or a trending meme background. It’s an incredibly easy way to add context and humor without needing a fancy film setup.
- The Remix Feature: See a Short with a popular audio clip or a format that’s blowing up? Use the "Remix" function to put your own spin on it. This plugs your content directly into a trending conversation, giving its discovery potential a huge boost. The core principles of what makes a video go viral are pretty similar everywhere, which you can see in guides on how to make TikTok videos.
The whole point of these advanced tricks is to increase watch duration. Whether it’s through a clever loop or a perfectly timed trend, every extra second a viewer spends on your Short tells the algorithm to show it to more people.
A lot of these engagement-boosting techniques are universal to short-form video. For more ideas, it's worth learning how to make a compelling social media Reel, as many of the same concepts will help you on Shorts.
Got Questions About Editing Shorts? I've Got Answers.
Even with the best editing apps, you’re bound to hit a few snags when you're just starting out with Shorts. Getting these little details right can be the difference between a video that looks amateur and one that looks polished and professional.
Let’s clear up some of the most common questions I hear from creators.
One of the most frustrating moments is spotting a mistake after you’ve already hit publish. We’ve all been there—a glaring typo or a jump cut that just doesn't land right.
Unfortunately, once a Short is live on YouTube, you can't go back and edit it. Your only move is to delete the original, fix the mistake in your editor, and re-upload the corrected version. This is why a final, eagle-eyed review before you publish is so incredibly important. Make it a non-negotiable part of your workflow.
Nailing the Technical Details: Aspect Ratio and Audio
Getting the tech specs right from the jump will save you a world of headaches. To give your viewers the best possible experience on mobile, you need to create your Shorts with a specific format in mind.
-
What’s the best aspect ratio and resolution? Always shoot for a vertical 9:16 aspect ratio. To make sure your video is crisp and fills the whole screen without any ugly black bars, export it at a 1080×1920 pixel resolution.
-
How do I add my own music or a voiceover? You can record a voiceover right inside the YouTube Shorts editor, which is super handy for quick narrations. But if you want to use custom music or a sound effect that isn't in YouTube's library, you have to add it with a third-party video editing app before you upload the final video file.
Pro Tip: Want to boost your watch time? Master the seamless loop. The trick is to make the very last frame of your video look almost identical to the very first frame. A quick cut on an action or a clever visual match can make the transition from end to beginning feel invisible, tricking viewers into watching again (and again).
Ready to stop spending hours editing and start publishing consistently? ShortsNinja uses AI to turn your ideas into engaging, ready-to-post Shorts in just minutes. Try ShortsNinja for free and see how fast you can grow.