
Editing TikTok clips is a game of speed and strategy. It's a rapid-fire process: get your raw footage into the editor, chop it up and rearrange it to tell a killer story, then layer on text, effects, and a trending sound to stop the scroll.
Crafting Your Foundation for Viral Edits
Staring at a folder full of raw footage can feel like staring at a blank page. It's easy to get overwhelmed. But before we get into the nuts and bolts of editing clips on TikTok, let's get our heads in the right space. A great edit is your single biggest advantage on a crowded platform—it turns a basic clip into something memorable that the algorithm absolutely eats up.
Editing isn't just about flashy transitions. It's the art of storytelling in seconds. This is where you call the shots: what viewers see, when they see it, and how it all makes them feel. Getting this right is the first real step toward creating content that performs. If you want a deeper dive, our guide on the TikTok algorithm breaks down how edits directly feed into your video's reach.
Choosing Your Editing Playground
You’ve got two main paths here: edit right inside the TikTok app or level up with an external tool like CapCut.
- TikTok's In-App Editor: This is your go-to for quick, spontaneous content. It puts all the trending sounds, viral filters, and popular effects right at your fingertips. It’s fast, convenient, and built for reacting to what's happening right now.
- External Apps (like CapCut): When you need more polish or complexity, this is the way to go. These apps offer multi-layer timelines, granular audio controls, custom animations, and advanced effects that you just can't get inside TikTok itself.
Here's a pro-level workflow I see top creators use all the time: Do the heavy lifting and structural edits in an app like CapCut. Once the video is polished, import it into TikTok to add the final touches, like a trending sound or native captions. This gives you the best of both worlds—total creative control and trend-tapping relevance.
To really make your edits count, they need to fit into a bigger picture—your overarching content marketing strategy. The competition is no joke. With a projected 2.3 billion users on the platform by 2029, just winging it isn't an option anymore. That sheer volume is exactly why having a clear plan for every single edit is non-negotiable.
The TikTok mobile app is designed for speed, making it incredibly easy for anyone to jump in and start creating.
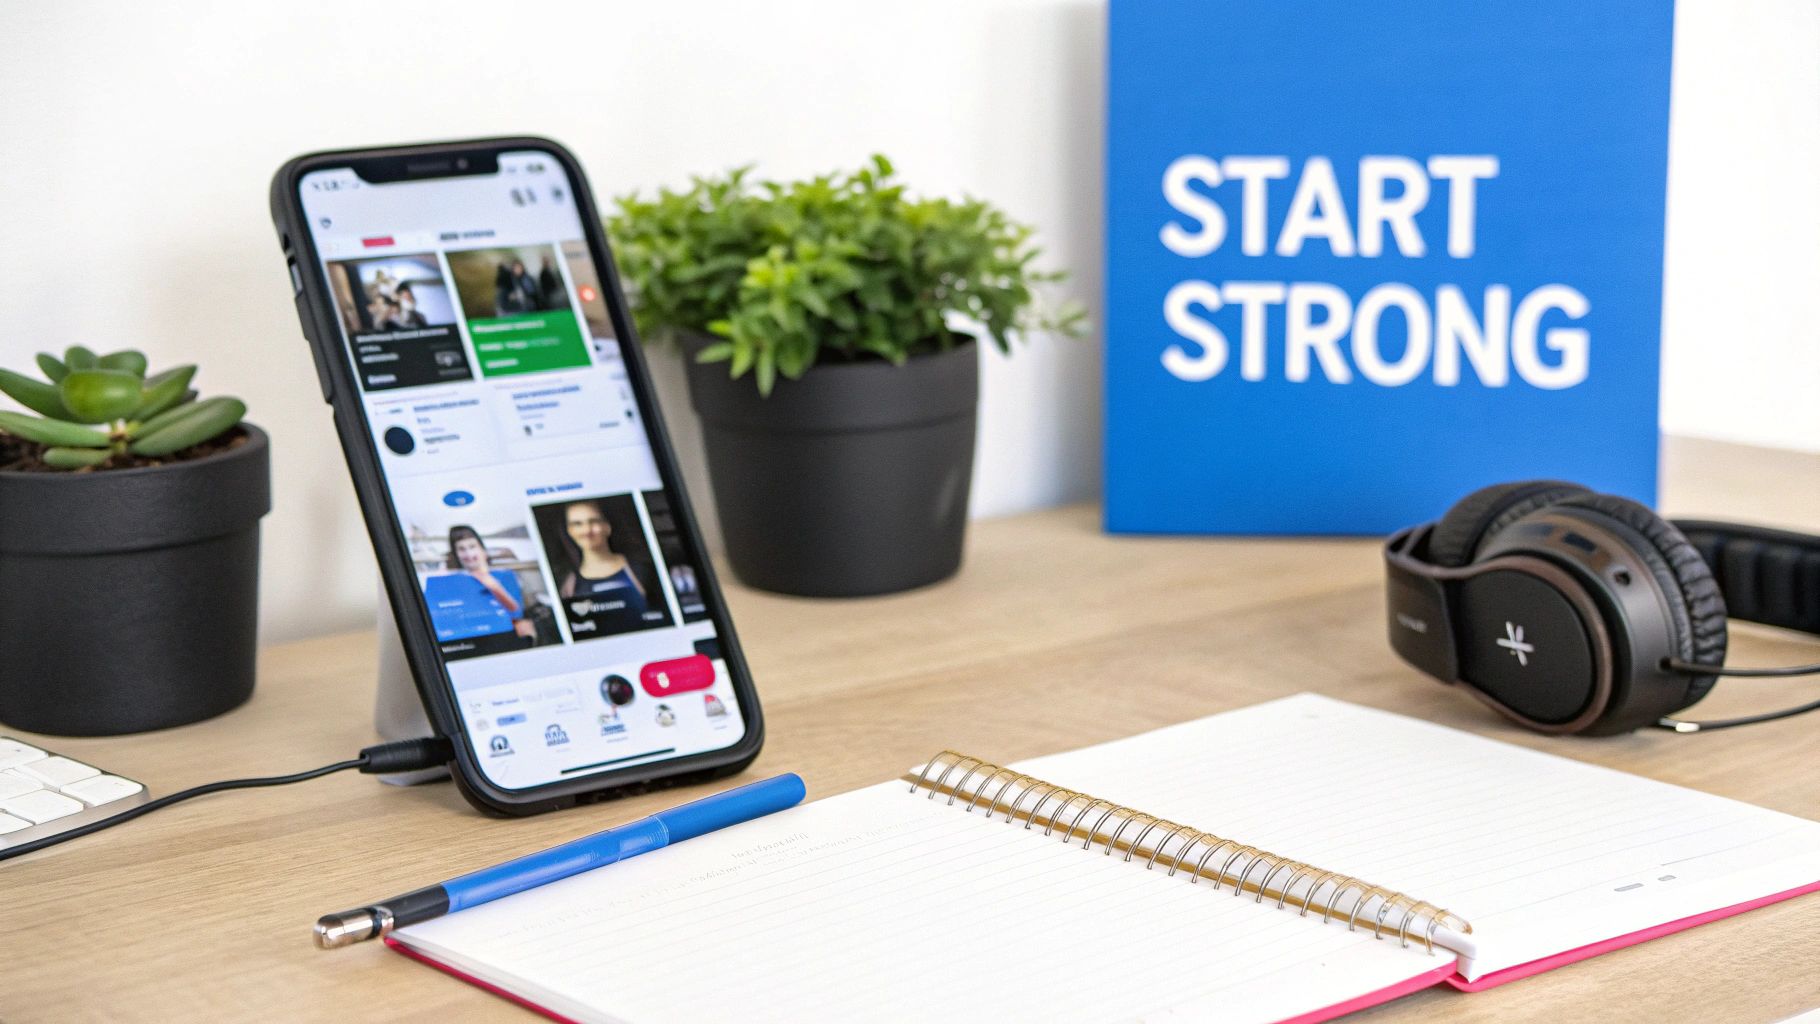
A simple setup like this is all you need. The most powerful editing tools are sitting right there on your smartphone, ready to go.
Mastering the Essential Editing Workflow
Once your footage is loaded up, it’s time to start piecing your story together. This is the fun part—where a jumble of raw clips transforms into a cohesive, compelling video. The real goal here isn't just to glue videos end-to-end. It's to build an experience that feels deliberate, energetic, and perfectly paced for a TikTok audience that has zero patience for fluff.
Think of your timeline like a rough draft or a storyboard. The very first thing I do is drag all my clips onto the timeline in the general order I think they'll appear. This simple step is a massive timesaver. It gives you a bird's-eye view of your video's structure before you make a single cut, preventing that dreaded "Wait, where did that clip go?" moment that can totally derail your creative flow.
Trimming and Splitting for Perfect Pacing
With your clips in a row, the real work begins. You'll spend most of your time on two fundamental actions: trimming and splitting. This is the bread and butter of editing.
- Trimming: This is just nipping the start or end of a clip. Say you're filming a cooking tutorial. You'd trim off the awkward seconds of you walking to the counter, so the video starts right as you begin chopping the onion. No dead air.
- Splitting: This is about cutting a clip into two distinct pieces. Imagine you're shooting a "get ready with me" video in one long take. You'd use the split tool to slice out the boring parts, like when you're fumbling around looking for a specific makeup brush.
Mastering these two actions is the secret to great pacing. Quick, sharp cuts inject energy and keep people watching, which is everything on a platform where the next video is just a swipe away. Before you get fancy, it's worth getting comfortable with the basics. You might even want to learn about adjusting videos on your iPhone to clean up your clips before they ever hit your editing software.
A huge lesson I've learned is to always cut on action. If someone is opening a door, make the cut the exact moment their hand touches the knob—not a second before or after. This creates an invisible, seamless flow that keeps the viewer completely immersed in your story.
Adding Visual Flair with Text and Transitions
Once your core story feels solid, you can start layering in the extras that really make it pop. Transitions, text, and stickers aren't just for show; they're powerful tools for adding clarity and emphasis when used right.
A quick zoom-in transition can pull the viewer's eye to a critical detail. A simple fade can signal a shift in time or mood. Just don't go overboard. Slapping flashy transitions between every single clip is distracting and looks amateurish. Honestly, a clean jump-cut is often your best bet.
Text overlays are non-negotiable, especially since so many people watch videos with the sound off. Use them to:
- Label key steps in a DIY or tutorial.
- Flash important info or a call-to-action on screen.
- Create those slick, dynamic lyric videos that sync perfectly with the music.
Syncing Audio for Emotional Impact
The last piece of the puzzle is sound. Whether it's a trending audio clip, your own voiceover, or a few subtle sound effects, the audio is what truly sets the emotional tone of your video.
If you're adding a voiceover, record it after you've locked in your visual edits. This lets you time your narration to match the on-screen action perfectly. When using trending sounds, listen closely for the beats, drops, and unique moments in the track. Timing your cuts and transitions to hit those audio cues creates a super satisfying, professional rhythm that viewers absolutely love.
And if you're looking to really scale up your production, check out our guide on AI video editing tools. Many of them can help automate parts of this workflow, saving you a ton of time.
Advanced Techniques for Unforgettable Clips
Once you have the fundamentals locked down, it's time to add that signature flair that turns good content into something people can't stop watching. Advanced editing is how top creators build a style that's instantly recognizable and keeps viewers hooked from the very first frame. This is where you graduate from simple cuts and start manipulating video to create a truly dynamic experience.
Think of it as adding layers of polish. Mastering a trick like speed ramping, for instance, can instantly inject drama into a scene. You can slow a clip way down to build anticipation for a big reveal, then snap it back to normal speed for maximum impact. It's a classic technique you see everywhere, from fashion transitions to sports highlights.
The right techniques can transform a simple clip into a powerful marketing tool. In fact, 61% of TikTok users say they discover new brands through well-edited videos, and an incredible 92% take action afterward, like sharing the video or following the account. For businesses and creators, this proves that learning how to edit clips on TikTok is directly tied to growth. You can dive deeper into these trends by exploring the full TikTok statistics report.
Creating Professional Visual Effects
You don't need a Hollywood budget to create mind-bending visuals. Many of the most popular effects on TikTok are totally achievable right on your phone with a little know-how.
- The Clone Effect: Ever seen a creator talking to themselves on screen? It's easier than it looks. Just film yourself in different spots against a static background, then use the masking tools in an app like CapCut to layer the clips. Suddenly, there are multiple versions of you in the same shot.
- Green Screen Magic: The green screen effect (officially called chroma key) is a total game-changer. It lets you swap out your background for any image or video you want. A small business could use this to showcase a product on a tropical beach or in a bustling city—all without leaving the office.
- Keyframing for Custom Animation: Keyframing gives you precise control over a clip's movement, size, and even transparency over time. You can make text slide into view, have a sticker follow a moving object, or create a slow, dramatic zoom to build tension.
The best editing is built on a solid foundation. This simple workflow breaks down the core stages of any project, from gathering your clips to finalizing the masterpiece.
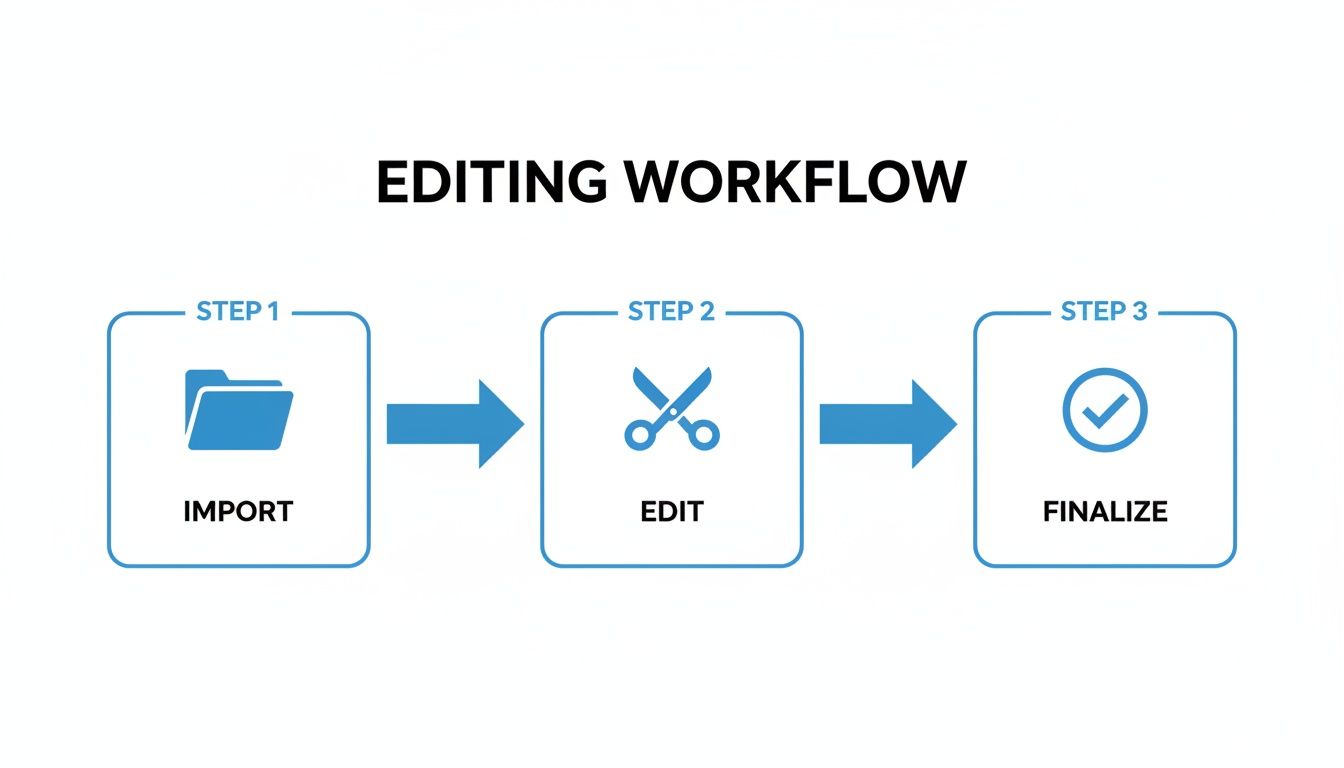
This process isn't just a single step but a structured approach that ensures every video you produce is high-quality and polished.
Elevating Your Audio and Color
Visuals are only half the battle. Truly professional clips also pay close attention to sound design and color to nail a specific mood or feeling.
The biggest mistake I see new creators make is neglecting audio. Layering subtle sounds—like a "swoosh" for a fast transition or the gentle hum of a coffee shop—adds a layer of immersion that viewers feel, even if they don't consciously notice it.
Beyond adding sound effects, make sure to clean up your main audio. If you recorded a voiceover, use your editing software to remove background noise and normalize the volume so it's always crisp and clear.
Finally, think about color grading. This is so much more than just slapping on a generic filter. Color grading is the art of adjusting highlights, shadows, and hues to create a cohesive, cinematic look. A warm, golden tone might be perfect for a travel vlog, while a cool, bluish tint could feel right for a tech review. Developing a consistent color palette is one of the most powerful ways to make your content instantly recognizable in a crowded feed.
Knowing which editing techniques to focus on can feel overwhelming. This table breaks down a few advanced methods and shows how they typically influence viewer behavior, helping you prioritize what to learn next.
How Editing Techniques Impact Viewer Engagement
| Technique | Primary Goal | Impact on Watch Time | Impact on Shares and Saves |
|---|---|---|---|
| Speed Ramping | Create drama and suspense | High. Keeps viewers guessing and glued to the screen to see the payoff. | Medium. Makes for visually interesting moments people might share. |
| Advanced Transitions | Maintain flow and visual interest | High. Seamless transitions prevent jarring cuts that can make viewers scroll away. | High. Unique or "magic" transitions often get saved so others can learn them. |
| Color Grading | Establish a mood and brand identity | Medium. A consistent, professional look builds trust and encourages longer viewing sessions. | Low. While important for quality, it's rarely the primary reason for a share. |
| Sound Design (SFX) | Enhance immersion and emotional impact | High. Subtle sounds make the video feel more real and complete, holding attention longer. | Medium. A well-placed, funny, or satisfying sound effect can make a clip more shareable. |
Ultimately, the best creators mix and match these techniques to develop a style that's all their own. Start by mastering one or two, then gradually add more to your editing toolkit as you get comfortable.
Common Editing Mistakes and How to Fix Them
You can have the most brilliant video idea in the world, but a few simple editing mistakes can kill its chances before the algorithm even knows what hit it. Getting good at editing TikTok clips is as much about knowing what not to do as it is about mastering the latest flashy effect. Let’s walk through the most common pitfalls I see and how you can sidestep them to make sure your hard work actually pays off.
First up is pacing. This is a huge one. Videos that drag with long, awkward pauses or, on the flip side, feel like a chaotic mess of rapid-fire cuts will get viewers to swipe away in a heartbeat. The sweet spot is a rhythm that feels intentional. It respects the viewer's time, keeps them locked in, but doesn't give them whiplash.
Another classic mistake is going overboard with the edits. It’s so tempting to throw in every transition, sticker, and filter TikTok offers, but that usually just creates a distracting, amateurish mess. A video cluttered with visual noise completely buries your message. Trust me, a clean, simple cut is almost always more powerful than a flashy, spinning transition that adds nothing to the story.
Pro Tip: When in doubt, simplify. Before adding any effect, ask yourself: Does this actually serve a purpose? Does it clarify my point, enhance the mood, or guide the viewer’s attention? If not, ditch it.
Fixing Critical Audio and Caption Errors
Nothing screams "amateur" louder than bad audio. Mismatched sound levels are a major turn-off. If your voiceover is drowned out by loud background music or that trending sound you used is barely a whisper, you’ve lost your audience. Always, always check your audio mix to make sure every element is clear and balanced before you hit post.
But maybe the single biggest missed opportunity is skipping captions. For e-commerce brands or course creators, this is non-negotiable. For your audience, adding captions can boost brand affinity by 95% and recall by 58%. Why? Because a staggering 50% of viewers watch content on silent.
Think about the scale here. In a massive market like the US, which is projected to hit 121.1 million users by 2027, these numbers matter. Well-edited clips with clear captions are what drive 92% of user actions like follows and likes. You can dive deeper into this in the 2026 Creator Strategy Guide.
To get ahead of these issues, build a quick quality-check routine for every video:
- Watch for Pace: Do a final watch-through specifically looking for slow spots. A good rule of thumb is to cut a clip right before it feels like it’s about to drag.
- Audit Your Effects: Take one last look at your transitions and stickers. Are they adding value or just creating noise? Be ruthless and remove anything that doesn't have a clear job.
- Listen with Headphones: Before you export, pop in some headphones. You'll catch subtle volume imbalances that your phone’s tiny speakers would completely miss.
- Proofread Your Captions: Never trust auto-generated captions completely. Double-check them for weird errors and make sure the text is easy to read against your video's background.
By consciously avoiding these common blunders, you’ll be putting out polished, professional content that not only performs better but also keeps your audience hitting that follow button.
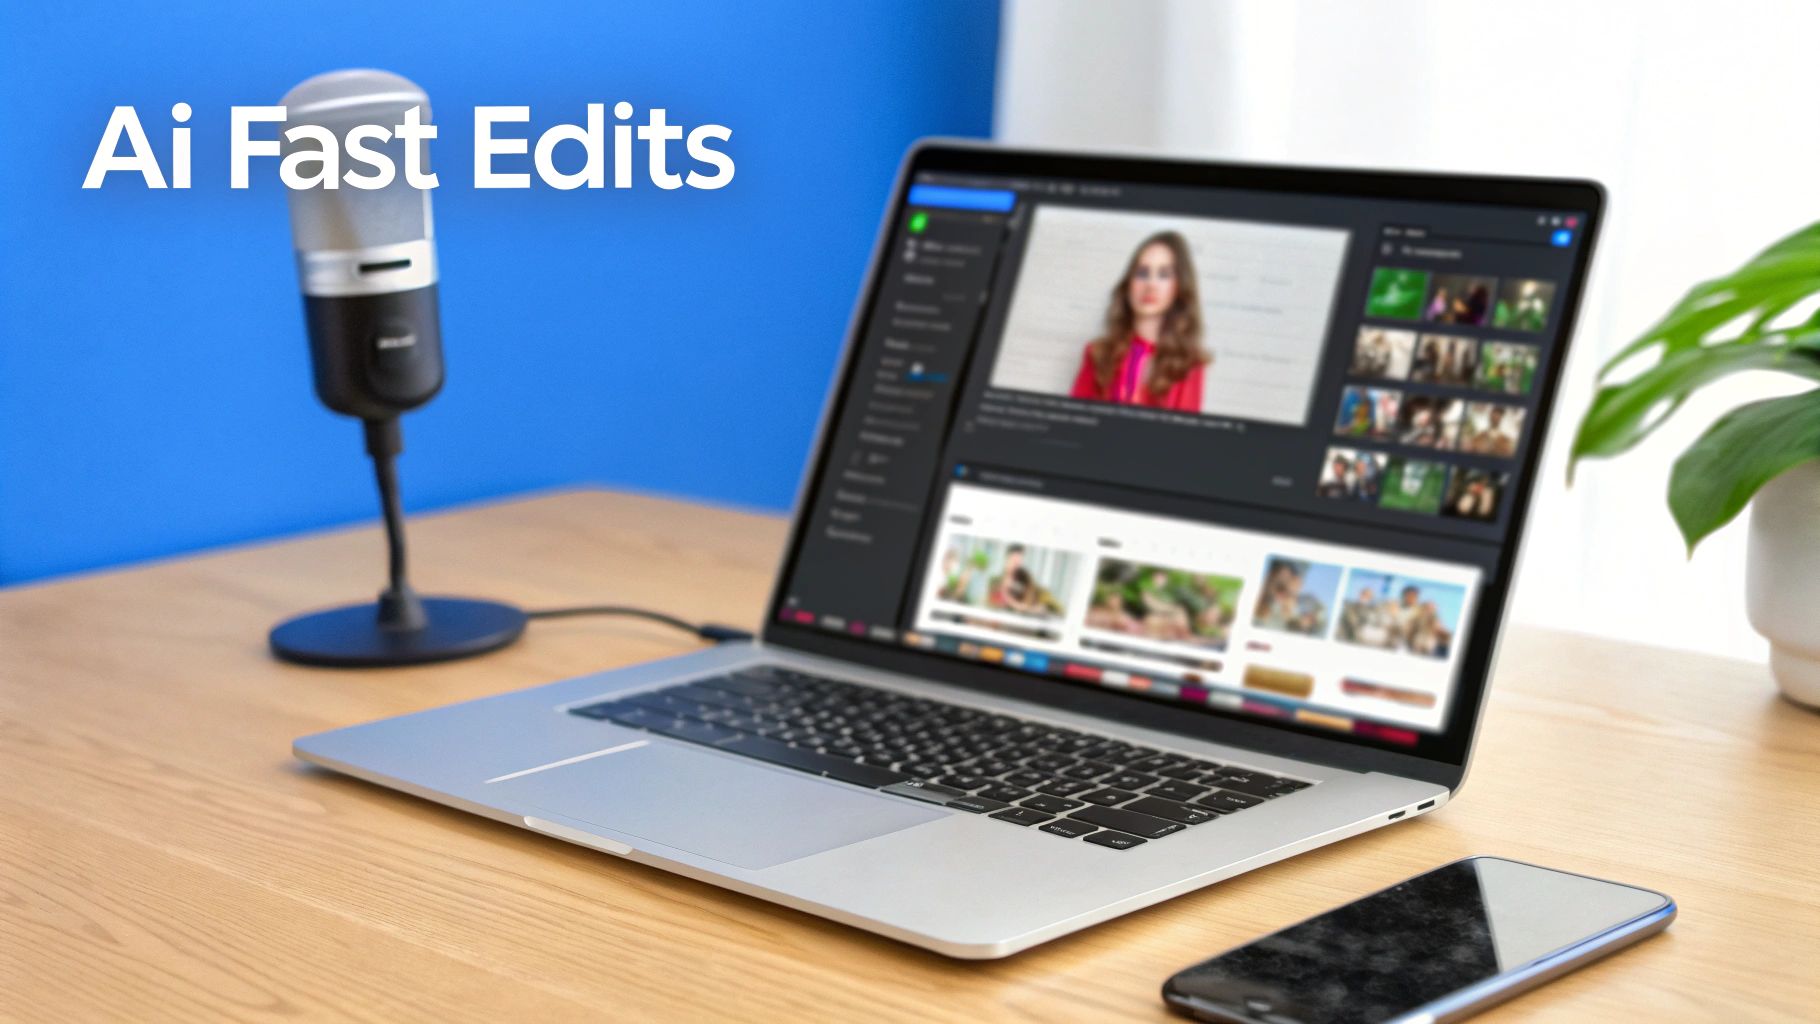
Using AI to Accelerate Your Editing Workflow
Imagine turning a video idea into a polished, ready-to-post TikTok in just a few minutes. What once took hours of meticulous work—scripting, finding visuals, recording voiceovers, and editing—can now be done with astonishing speed thanks to AI.
This isn't about replacing your creativity. It’s about amplifying it, letting you produce more content with less friction.
Modern AI tools have completely changed the game for creators. Platforms can now generate a full video script from a single prompt, create stunning and relevant visuals from scratch, and even produce realistic voiceovers in dozens of languages. This shifts your role from a hands-on editor to more of a creative director.
The Modern AI-Powered Workflow
The process has become incredibly direct. Instead of spending hours staring at a blank timeline, you start with a concept and let the AI handle the heavy lifting.
- Input Your Idea: Start with a simple prompt, like "five tips for better sleep" or "a quick review of the new coffee maker."
- Generate Script and Visuals: The AI writes a concise, engaging script and then pulls together (or generates) video clips and images to match each point.
- Refine and Schedule: From there, you just make quick adjustments, add your branding, and schedule the video to go live.
This workflow condenses the entire production cycle into a fraction of the time it used to take.
A pivotal shift happened around 2025 when AI video tools began cutting production time by as much as 80%. This has enabled creators and small businesses to compete on a more level playing field, with 80% of marketers agreeing that AI drastically streamlines their workflows. For anyone looking to edit clips on TikTok more efficiently, using these tools is a massive competitive advantage.
From Idea to Published Video in Minutes
Platforms like ShortsNinja showcase how this automated process works in the real world. You can automate nearly the entire creation process for faceless content, freeing you up to focus on strategy.
By automating the most time-consuming parts of video production, you can focus on what truly matters: connecting with your community and growing your brand. This technology allows you to maintain a consistent posting schedule without burning out, which is key to winning on algorithm-driven platforms like TikTok. For those interested, our deep dive into using an AI TikTok video maker provides a closer look at these powerful tools.
The real power of AI in editing isn't just speed; it's consistency. When you can reliably produce high-quality videos every single day, you build momentum that the algorithm rewards. This technology removes the production bottleneck that holds so many creators back.
Ultimately, integrating AI into your editing workflow allows you to scale your content output without sacrificing quality. For anyone serious about growing their presence, it's an essential part of the modern creator's toolkit.
Your TikTok Editing Questions Answered
Once you get into a rhythm with editing TikToks, a few specific questions always seem to pop up. It’s a natural part of the process. Let’s tackle some of the most common ones so you can keep creating without getting tripped up.
What Is the Ideal Length for a TikTok Video?
This is the big one. While TikTok lets you upload longer videos now, the algorithm still loves content that keeps people watching right to the very end.
For most videos, the sweet spot for engagement lands somewhere between 21 and 60 seconds. Clips in the 21-34 second range often get the highest completion rates, which sends a huge positive signal to the algorithm. If you’re doing a deeper tutorial or telling a more involved story, pushing toward that 60-second mark can help you get seen by more people.
The golden rule? Be ruthless. Cut every ounce of fluff. Make sure every single second earns its place and keeps your audience hooked.
Should I Edit Inside TikTok or Use CapCut?
Ah, the classic debate. Honestly, the best tool depends entirely on what you’re trying to create. Your choice here really shapes your whole workflow.
- The TikTok App: This is your go-to for speed and jumping on trends. It’s perfect for quick, simple edits where you want to slap on a viral sound or use an effect that’s blowing up right now.
- A Dedicated App like CapCut: When you need more muscle, this is the move. For anything involving multiple video layers, custom keyframe animations, or fine-tuning your audio, a dedicated app gives you way more control.
Here’s a pro tip: most top creators use a hybrid workflow. They’ll do the heavy lifting and complex edits in CapCut, then import that polished video into TikTok to add the final touches like trending audio and native text. It’s the best of both worlds—creative power and platform relevance.
How Many Hashtags Should I Use?
It’s tempting to spam your caption with every hashtag you can think of, but resist that urge. A focused strategy almost always beats a shotgun approach. Aim for 3 to 8 relevant hashtags.
A winning combo usually looks something like this:
- Broad, high-traffic tags like #fyp or #foryoupage.
- Niche-specific tags that speak directly to your video's topic, like #videoeditingtips or #smallbusinessmarketing.
- A branded hashtag that’s unique to you or a specific series you’re running.
Spend a few minutes checking out what other successful creators in your space are using. The Discover page is also a goldmine for fresh ideas.
Ready to stop spending hours on editing and start scaling your content production? ShortsNinja uses AI to turn your ideas into dozens of high-quality, faceless videos for TikTok, YouTube, and Instagram in minutes. Generate scripts, create stunning visuals, and schedule everything to post automatically. Try ShortsNinja today and see how fast you can grow.