
Adding a video to TikTok is pretty straightforward. You can either hit the '+' icon in the mobile app to record something on the spot or upload a clip you already have. Or, you can use the desktop site, which is perfect for videos you've already polished up.
Both methods get your content live, but they serve totally different creative vibes.
Your Quick Guide to Posting Videos on TikTok
Jumping into TikTok can feel like a lot at first, but figuring out how to post a video really just comes down to picking the right tool for the job. You have two main options: the mobile app or the desktop uploader.
The mobile app is built for spontaneity. It's perfect for capturing in-the-moment trends, recording a quick thought, or filming a dance challenge right then and there.
On the other hand, the desktop uploader is your best friend for more polished, professionally edited content. If you're creating videos in software like Adobe Premiere Pro or Final Cut Pro, uploading from your computer is the way to go. It helps you keep the highest possible quality without having to move huge files over to your phone.
With users posting around 34 million videos daily, knowing which method fits your workflow is key to staying consistent. For more stats like this, check out what Dreamgrow has to say about TikTok.
This simple decision tree can help you visualize which path to take.
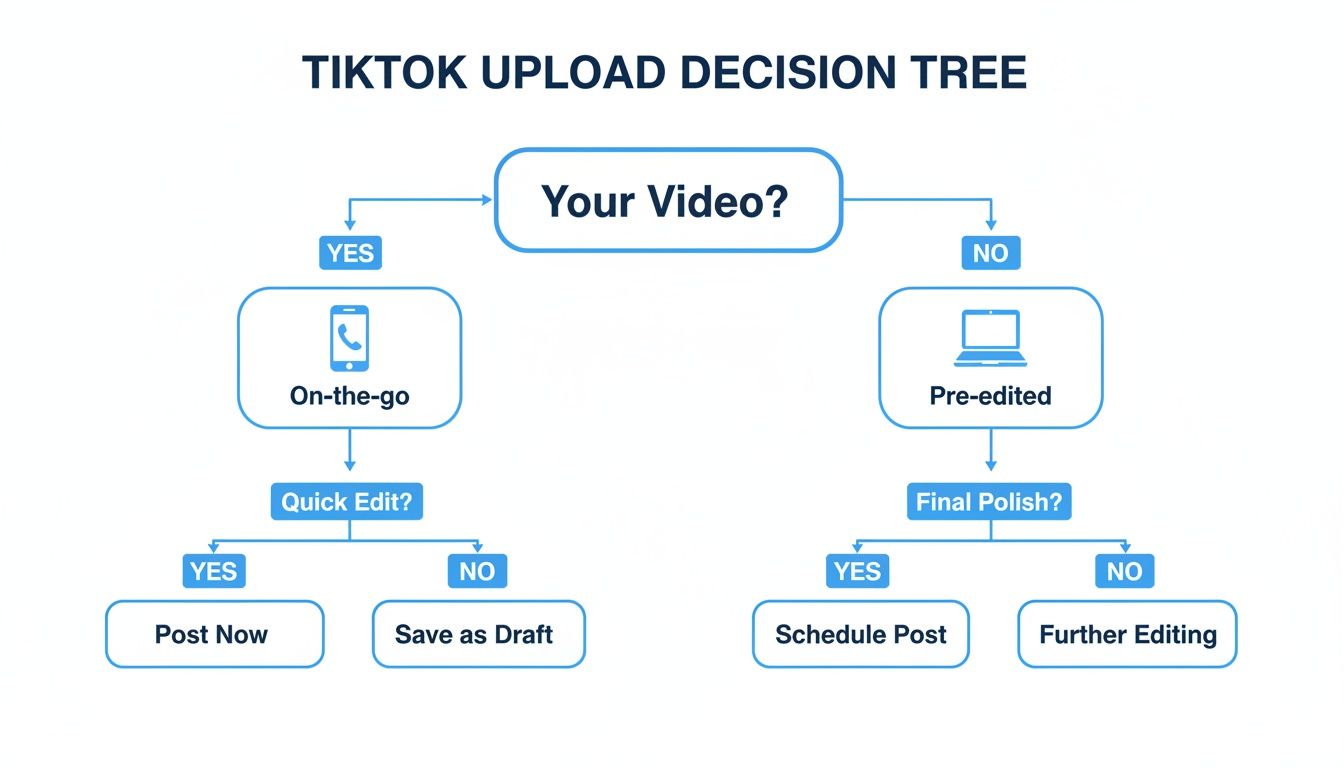
Ultimately, the choice between mobile and desktop depends entirely on your content strategy and how you like to make your videos.
Mobile vs. Desktop TikTok Uploads At a Glance
To make the choice even clearer, let's break down the key differences between uploading on your phone versus your computer. Each has its strengths and is built for a different kind of creator workflow.
| Feature | Mobile App Upload | Desktop Uploader |
|---|---|---|
| Primary Use Case | In-the-moment recording, quick edits, and trend participation. | Uploading high-quality, pre-edited videos from professional software. |
| Editing Tools | Full access to TikTok's native editor: filters, effects, sounds, stickers, text-to-speech. | No native editing tools. Video must be finalized before uploading. |
| Video Length | Up to 10 minutes (for most users). | Up to 30 minutes. |
| File Size Limit | Varies by device, but generally smaller. | Up to 10 GB. |
| Convenience | Highly convenient for on-the-go content creation. | Best for planned, studio-quality content. |
| Best For | Spontaneous creators, trend-hoppers, and anyone filming directly in the app. | Professional creators, brands, and anyone using external editing software. |
As you can see, if you live and breathe TikTok trends and love creating on the fly, the mobile app is your playground. But if your process involves more planning and external editing, the desktop uploader will be a much smoother experience.
Creating Content Directly in the TikTok Mobile App
The heart of TikTok beats right inside the mobile app—it's where most creators bring their ideas to life. Whether you're reacting to a trend in real-time or piecing together a story you've already filmed, the app gives you two main ways to get your content in. It all starts with a tap on that big + icon at the bottom of your screen.
Hitting that button opens up your creative command center, giving you a choice: record a new video on the spot or pull one from your phone’s camera roll.
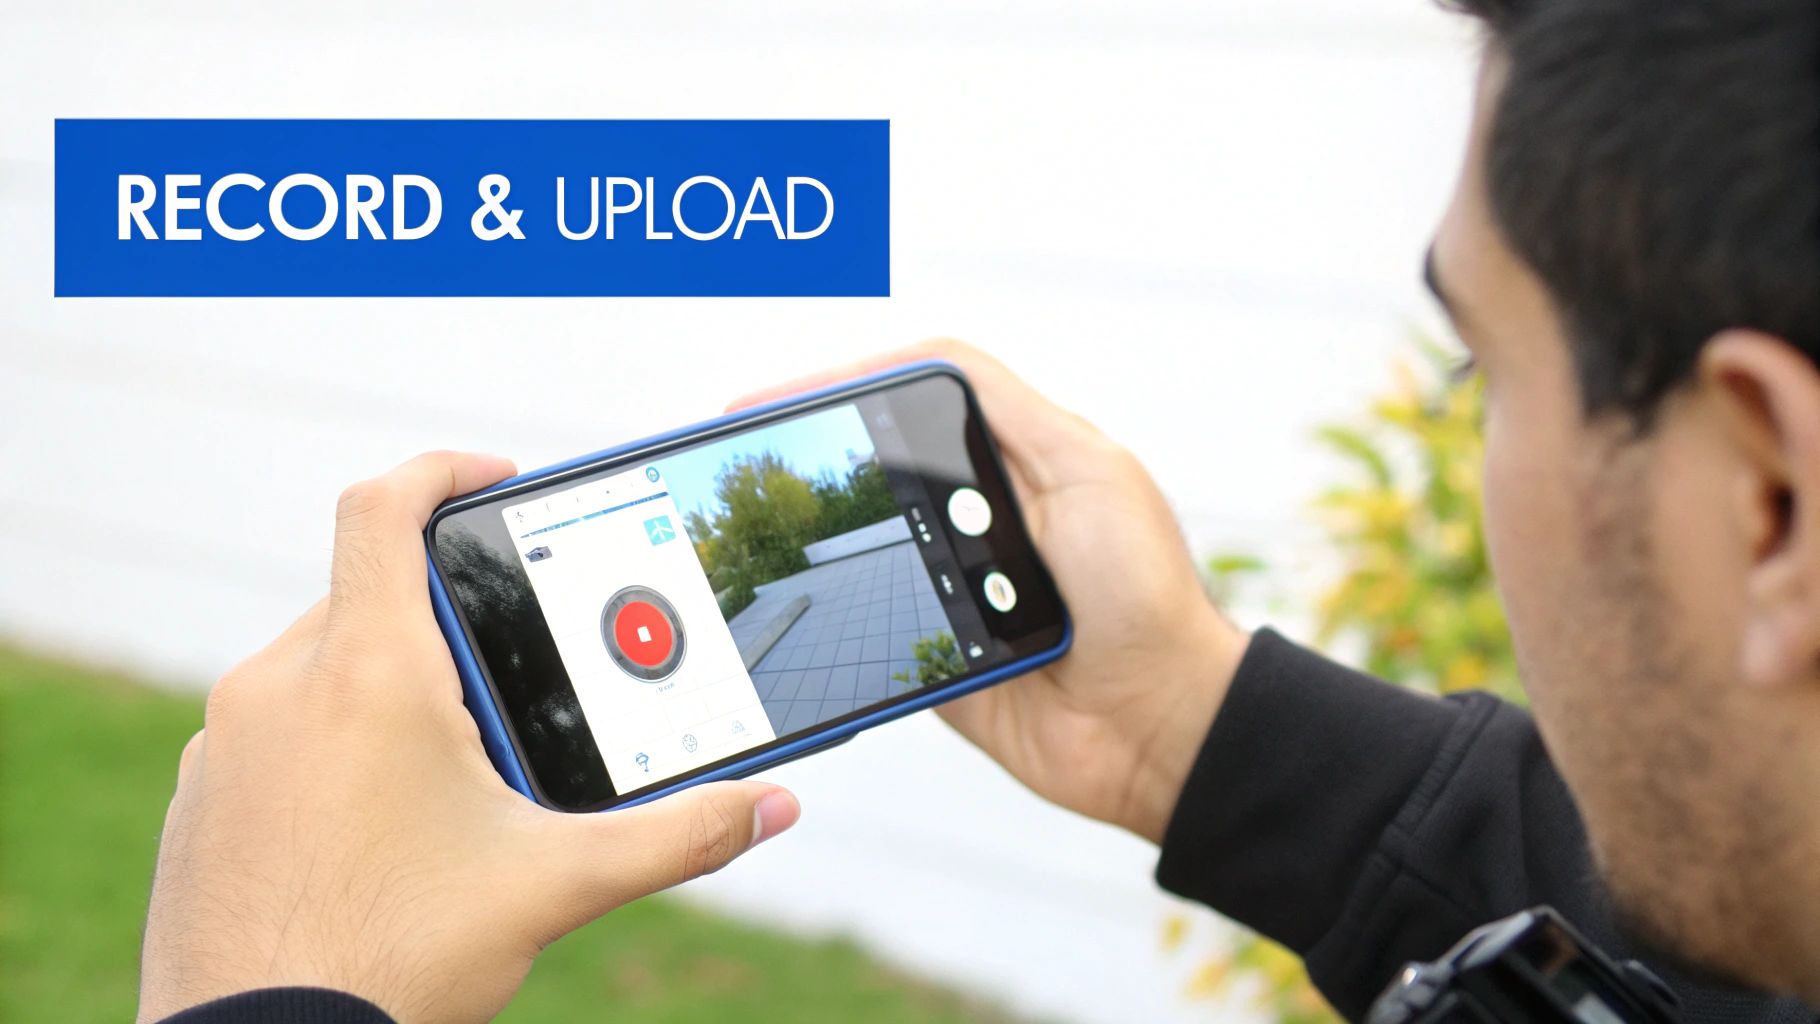
Recording a New Video on the Fly
When you want to capture something spontaneous, recording directly in the app is definitely the way to go. The recording screen is packed with tools, so you can often create a great video without ever leaving TikTok.
Before you hit that big red record button, take a look at the options lining the right side of the screen. You can:
- Flip your camera: Easily switch between your front-facing and rear cameras.
- Adjust speed: Create cool slow-motion or fast-forward effects.
- Set a timer: Give yourself a 3 or 10-second countdown for hands-free filming.
- Apply filters and effects: Dive into the massive library of AR effects and color filters to set a vibe before you even start recording.
This method is perfect for jumping on a viral challenge or sharing a quick, in-the-moment update because all of TikTok’s signature creative tools are right there at your fingertips.
Pro Tip: For a more dynamic video, you don't have to film in one continuous shot. Press and hold the record button for your first segment, release it to stop, and then press it again to start the next one. TikTok will automatically stitch them together for you.
Uploading from Your Camera Roll
If you’ve already filmed your video and it’s saved on your phone, the upload feature is your best friend. Instead of the record button, just tap Upload to its right. This opens your phone’s gallery, letting you select one or more video clips to bring into the app.
This approach is perfect for creators who prefer to shoot with their phone's native camera or do some initial editing in another app like CapCut. Once you've picked your clips, TikTok lets you trim their start and end points and rearrange them before moving into the main editor.
Uploading Polished Videos From Your Desktop
While the mobile app is perfect for on-the-fly, spontaneous content, uploading from your computer is a totally different ballgame. This is the workflow you want for high-quality, pre-edited videos that have been polished in professional software like Adobe Premiere Pro or DaVinci Resolve.
Frankly, it's a game-changer for brands, agencies, and any creator who wants their video to look its best without the hassle of transferring massive files to a phone.
Getting started is a piece of cake. Just head over to TikTok.com on your web browser and hit the Upload button in the top right corner. You'll be greeted by a super clean, straightforward interface where you can drag and drop your finished video right in.
Preparing Your Desktop Upload
Before you hit upload, it’s smart to double-check that your video meets TikTok's specs. This little bit of prep work will save you from frustrating errors later on. While the desktop uploader is pretty forgiving, a few key details matter.
- File Format: Stick with MP4 or WebM files. They're the most compatible and cause the fewest issues.
- Video Length: Your video can be anywhere from 3 seconds to 30 minutes long.
- File Size: You've got a lot of room to play with here—the max file size is a generous 10 GB.
- Resolution: Aim for a resolution of 720×1280 or higher. Getting the TikTok aspect ratio right is what separates amateur-looking content from the pros.
Once your video processes, you can knock out the rest right there in your browser: write a catchy caption, add your hashtags, and pick a cover image. You also have all the same privacy settings as the mobile app, letting you control who can view, comment on, or Duet your video.
The desktop workflow is all about efficiency. You finalize your video in an external editor and upload it directly, completely bypassing the mobile editor. This is the secret for any scheduled, high-production content that needs to be perfect.
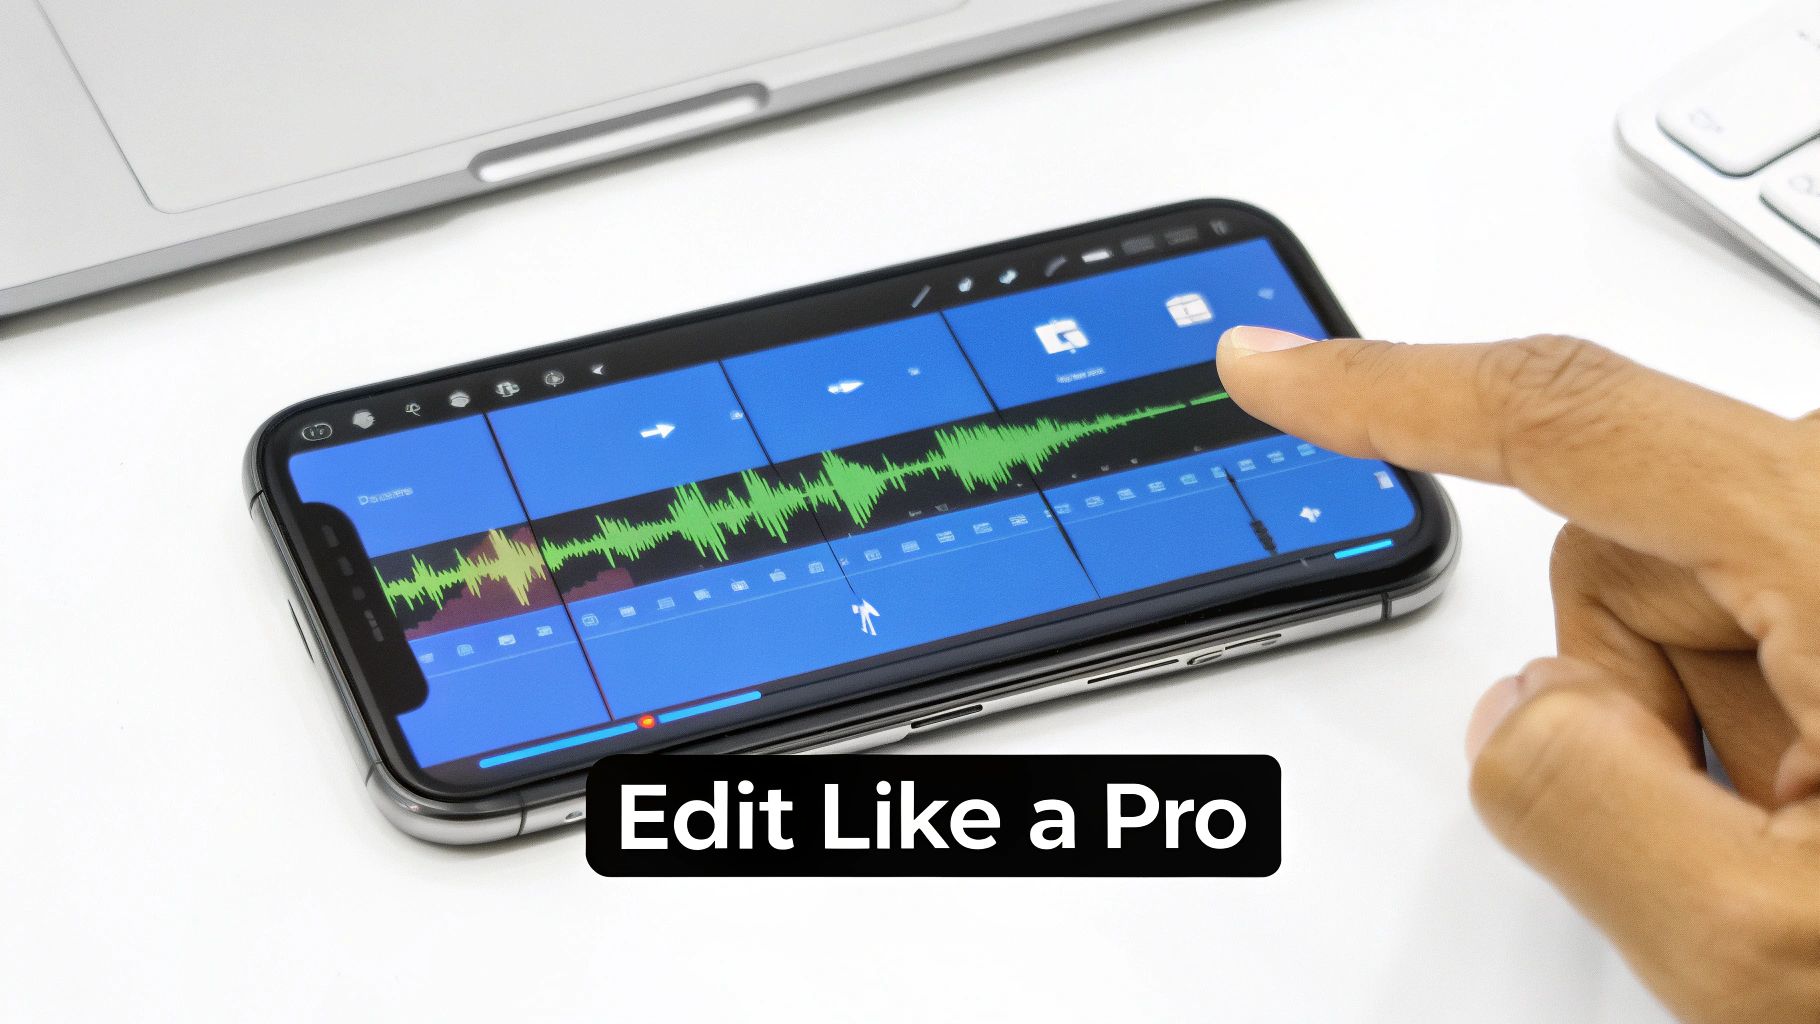
Using TikTok's Editor to Make Your Video Pop
Getting your clip into the app is just the beginning—the real magic happens in the editor. Once you’ve either recorded a new video or uploaded one from your camera roll, you'll land on the editing screen. This is your playground for turning a simple clip into something that feels right at home on TikTok.
The interface is packed with tools, but don't let it intimidate you. Honestly, mastering just a few key features is all it takes to make your video stand out.
Essential Editing Functions
Before you start throwing flashy effects on your video, it’s smart to nail down the fundamentals. Think of these tools as the foundation for controlling your video's pace and flow.
- Adjust clips: This is your main timeline. Tap it to trim the start or end of your video, split a clip into multiple segments, or even duplicate a section for extra emphasis.
- Speed: Use this to create those dramatic slow-motion moments or high-energy, fast-paced sequences. A well-timed speed change can make a simple action so much more interesting.
- Rotate: Filmed a clip sideways by accident? It happens. This is the quick fix to get your video oriented the right way.
Getting these basic adjustments right ensures your video is clean and well-paced before you dive into the more creative stuff. For a much deeper look into the editing process, our complete guide on https://shortsninja.com/blog/how-to-edit-tiktoks/ is loaded with advanced tips and tricks.
Adding Sounds and Effects
Sound is the absolute heartbeat of TikTok. Let's be real, a video with a trending audio track is far more likely to get noticed by the algorithm.
Hit the Add sound button at the top of your screen to dive into TikTok’s massive library. You’ll find everything from trending songs to viral soundbites and original audio from other creators. Try syncing your video cuts to the beat of the music—it’s a simple trick that makes your content feel way more professional.
Next up, explore the Effects tab. This is where you find all the viral filters and AR features that define so many TikTok trends. You can apply effects to specific parts of your video just by dragging the timeline selector.
Pro Tip: Don't go overboard. A common mistake I see is people layering on too many effects, making the video feel chaotic and messy. Pick one or two that genuinely add to your story or match the vibe of the sound you've chosen.
Final Touches with Text and Captions
Text overlays are surprisingly powerful. You can use them to add context, tell a story, or just make your video funnier. Tap the Text icon to add your message, then play around with the font, color, and how long it stays on screen.
Most importantly, always use the Captions feature. It automatically transcribes the audio, making your video accessible to people watching without sound (which is a lot of them!) and those with hearing impairments. Videos with captions almost always see higher engagement because they're just easier to follow.
While TikTok's built-in editor is powerful, many creators use external apps to get a unique edge. It's worth exploring the best apps to make a reel, as many of them work perfectly for creating standout TikToks, too.
How to Finalize and Publish Your TikTok Video
You’ve recorded and edited, but the screen right before you hit “Post” is where the magic really happens. This is your pre-flight checklist, and nailing these details can be the difference between a few dozen views and landing on the For You page.
First up, your caption. This isn’t just a description; it’s the hook that stops the scroll. You have up to 2,200 characters to work with, so make it count. Ask a provocative question, state a bold opinion, or create a curiosity gap that gets people talking in the comments. A good caption sparks conversation, which is a massive signal to the algorithm.
Next, you need to get your hashtag strategy right. This is all about discoverability, but just slapping on the biggest tags is a rookie mistake.
Choosing the Right Hashtags
A balanced mix of hashtags is your best bet for maximizing reach. Think of it as casting a net wide, then narrow.
- Broad Hashtags: Start with 1-2 massive tags like
#fypor#tiktok. These give your video a shot at an initial push into a huge pool of viewers. - Niche Hashtags: Next, add 2-3 tags that are super specific to your community, like
#booktokfor literary content or#cleantokfor satisfying cleaning videos. This connects you with a highly engaged, targeted audience. - Trending Hashtags: Finally, if it makes sense for your video, throw in 1-2 tags tied to a current trend or sound. This tells the algorithm your content is timely and relevant right now.
With users watching a staggering 167 million videos every single minute, you have to master every part of the process to stand out. It's this sheer volume of content that has pushed many creators toward AI tools; some platforms can generate visuals and add voiceovers, turning hours of work into a few quick minutes. You can find more stats on TikTok's incredible scale on Sendshort.ai. And if you're curious about AI voiceovers, check out our guide on how to add a voiceover on TikTok.
Don’t forget your cover! Your cover image is the first impression someone gets when they land on your profile grid. Make sure you pick a dynamic, eye-catching frame from your video that makes people want to tap and see more.
Finally, give your settings a quick once-over. You can tag other accounts, add a location, and control who can view, comment on, or Duet your video. Once you publish, keeping an eye on your TikTok creator analytics is key to understanding what's working.
After you’ve double-checked everything, you're ready to share your masterpiece with the world.
Common Questions About Adding Videos to TikTok
Even after you get the hang of uploading videos to TikTok, a few common roadblocks can pop up. Knowing about these issues ahead of time can save you a ton of frustration and keep your content looking sharp. Let's walk through some of the most frequent questions I hear from creators.
Probably the biggest headache is video quality. If you've ever uploaded a crystal-clear video only to see it turn into a blurry mess on the app, you're definitely not alone.
Why Did My Video Quality Drop?
TikTok has to compress videos to make sure they load quickly for millions of users, often on shaky mobile connections. Unfortunately, this compression can sometimes crush the visual quality of your beautiful upload.
To fight back, always try to record in 1080p and, most importantly, upload over a strong, stable Wi-Fi connection. Uploading over cellular data is often the biggest culprit for quality loss.
Another pro tip? Use good lighting when you film. A well-lit video just holds up much better against compression. If you're editing your video beforehand, I've found that uploading from a desktop can sometimes preserve a little more of that original quality.
Can I Upload Videos Longer Than 60 Seconds?
Yes, you absolutely can. TikTok might have built its name on super-short clips, but the platform now supports video uploads of up to 10 minutes for most users.
If you aren't seeing this option, the first thing to do is pop over to the app store and make sure your TikTok app is fully updated. A simple update usually unlocks the feature if it's available for your account. This longer format is fantastic for deeper storytelling, detailed tutorials, or any content that needs a bit more breathing room.
Just because you can upload a 10-minute video doesn't always mean you should. Remember, the TikTok algorithm loves a high watch completion rate. If you go long, make sure every second is engaging enough to keep people from swiping away.
Ready to create stunning TikToks in a fraction of the time? ShortsNinja uses AI to turn your ideas into engaging, faceless videos in minutes. Automate your content creation and schedule posts directly to TikTok. Try it now at https://shortsninja.com and watch your channel grow.