

When it comes to YouTube, the best aspect ratio is 16:9 for standard widescreen videos and 9:16 for YouTube Shorts.
Think of it like picking the right canvas for a painting. A 16:9 canvas is perfect for those sprawling landscape scenes you want to show on TVs and monitors. But if you’re creating for mobile, a vertical 9:16 canvas is essential for grabbing attention in the Shorts feed.
Getting this right from the very beginning is what separates amateur videos from professional, engaging content.
Your Quick Guide to YouTube Aspect Ratios
Choosing the right aspect ratio for your YouTube video isn't just some minor technical detail—it’s a huge decision that shapes how people experience your content.
Get it wrong, and you’re stuck with those distracting black bars or awkward, unintentional cropping. Get it right, and your videos look clean, professional, and keep people watching longer. It all comes down to matching your video's shape to how it’s going to be watched.
This simple visual breaks down the two main paths for modern YouTube content.
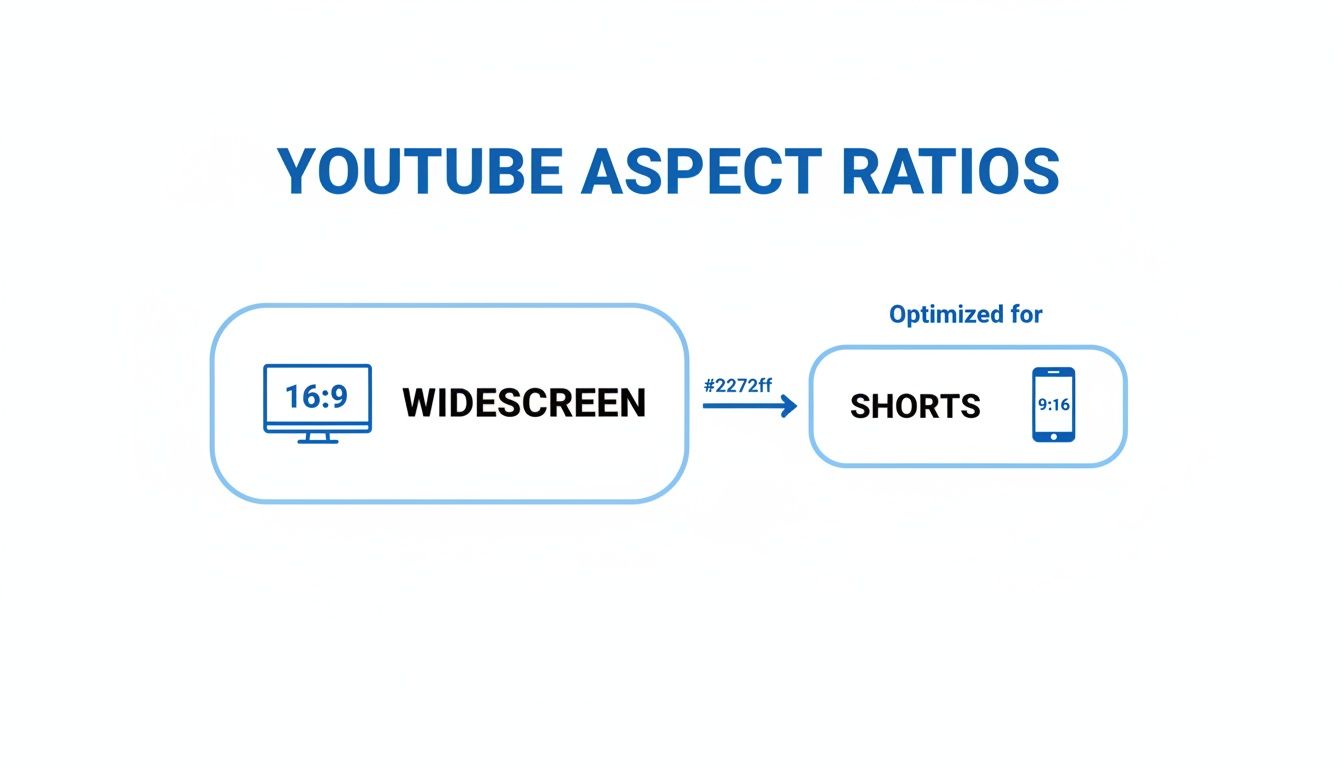
As you can see, there’s a clear split: widescreen for the big screens and vertical for the "phone-first" world of Shorts.
The Two Most Important Ratios
The 16:9 aspect ratio is the undisputed king of video. It’s the standard for everything from Hollywood movies to your favorite vlogger's latest upload, offering that cinematic feel that perfectly fills a TV or computer monitor.
On the flip side, 9:16 is built for the way we actually hold our phones. It creates an immersive, full-screen experience that’s designed to stop thumbs from scrolling in the Shorts feed.
To make things even easier, here’s a quick-glance cheat sheet with the best settings for the most common YouTube videos you’ll be making.
YouTube Aspect Ratio Cheat Sheet
Use this table as a quick reference to make sure you're always exporting with the right settings for the job.
| Content Type | Best Aspect Ratio | Recommended Resolution (HD/4K) | Best For |
|---|---|---|---|
| Standard Videos | 16:9 | 1920×1080 or 3840×2160 | Vlogs, tutorials, reviews, live streams |
| YouTube Shorts | 9:16 | 1080×1920 | Short-form vertical content, mobile clips |
This should cover about 99% of the content you'll ever create for the platform.
Why 16:9 Remains The Widescreen King
For years, the 16:9 aspect ratio has been the dominant standard for YouTube, and for good reason. It’s the default format for desktop viewing, long-form videos, and pretty much any content you expect people to watch on a larger screen.
This versatile format scales beautifully, supporting resolutions from 1280×720 (HD) all the way up to 3840×2160 (4K). If you’re a creator aiming for that polished, professional look on TVs, monitors, and even tablets, mastering 16:9 is non-negotiable.
Of course, matching your format to the platform is just as critical on other networks. For a deeper dive, check out our complete guide on the best aspect ratios for TikTok, YouTube, and Instagram for 2025.
Why Aspect Ratios Are Crucial for Your YouTube Success
Ever clicked on a YouTube video and been immediately turned off by thick, ugly black bars on the sides or top? That’s what happens when the aspect ratio is wrong, and it’s a silent channel killer. It instantly makes even the most amazing content feel amateurish and out of place, screaming to the viewer that something just isn't right.
Think of it like this: your video is a square peg, and the YouTube player is a round hole. A 16:9 widescreen video slides perfectly into the widescreen "hole" on a desktop monitor or TV. A vertical 9:16 Short fits flawlessly into the tall, narrow "hole" of a smartphone screen held upright.
When the shapes don’t match, YouTube has to fill the empty space with padding—those distracting black bars. This doesn't just look sloppy; it actually shrinks your video, making all your hard work appear smaller and less impactful.
This image shows just how different aspect ratios are, from the old-school 4:3 of classic TVs to the super-wide cinematic formats. It’s a great visual reminder of why trying to force one shape into a player built for another feels so jarring to the eye.
How The Right Ratio Boosts Your Channel
Getting the aspect ratio right is about so much more than just looking good—it directly impacts your channel’s growth. The YouTube algorithm is built to reward videos that keep people watching. A clean, full-screen experience is a huge part of that puzzle.
When your video fits the screen perfectly, it creates an immersive experience that holds attention. Higher viewer retention sends a powerful signal to the YouTube algorithm that your content is high-quality, leading to more recommendations.
On the flip side, a poorly formatted video creates friction. Viewers are far more likely to click away if the presentation feels clumsy or unprofessional. That drop in watch time can tank your video's chances of getting discovered. Every single second of viewer attention is gold, and you can’t afford to lose it over a simple formatting mistake.
Optimizing for Every Device
Your audience isn’t just sitting at a desk. They're watching on a 60-inch smart TV in the living room, on a tablet at the kitchen counter, and on a 6-inch phone screen on the bus. A winning YouTube strategy means making your content feel native to every single one of these platforms.
- For Desktops and TVs: Stick to the 16:9 standard. This delivers that polished, cinematic experience viewers have come to expect on big screens.
- For Mobile and Shorts: Go all-in on 9:16 vertical. This format fills the entire phone screen, creating immersive, thumb-stopping content that dominates the Shorts feed.
And it’s not just about your raw footage. If you're creating motion graphics for visual platforms like YouTube, you have to bake aspect ratio into your design from the very beginning. By treating aspect ratio as a fundamental part of your production process, you set every single video up for success, no matter where it ends up being watched.
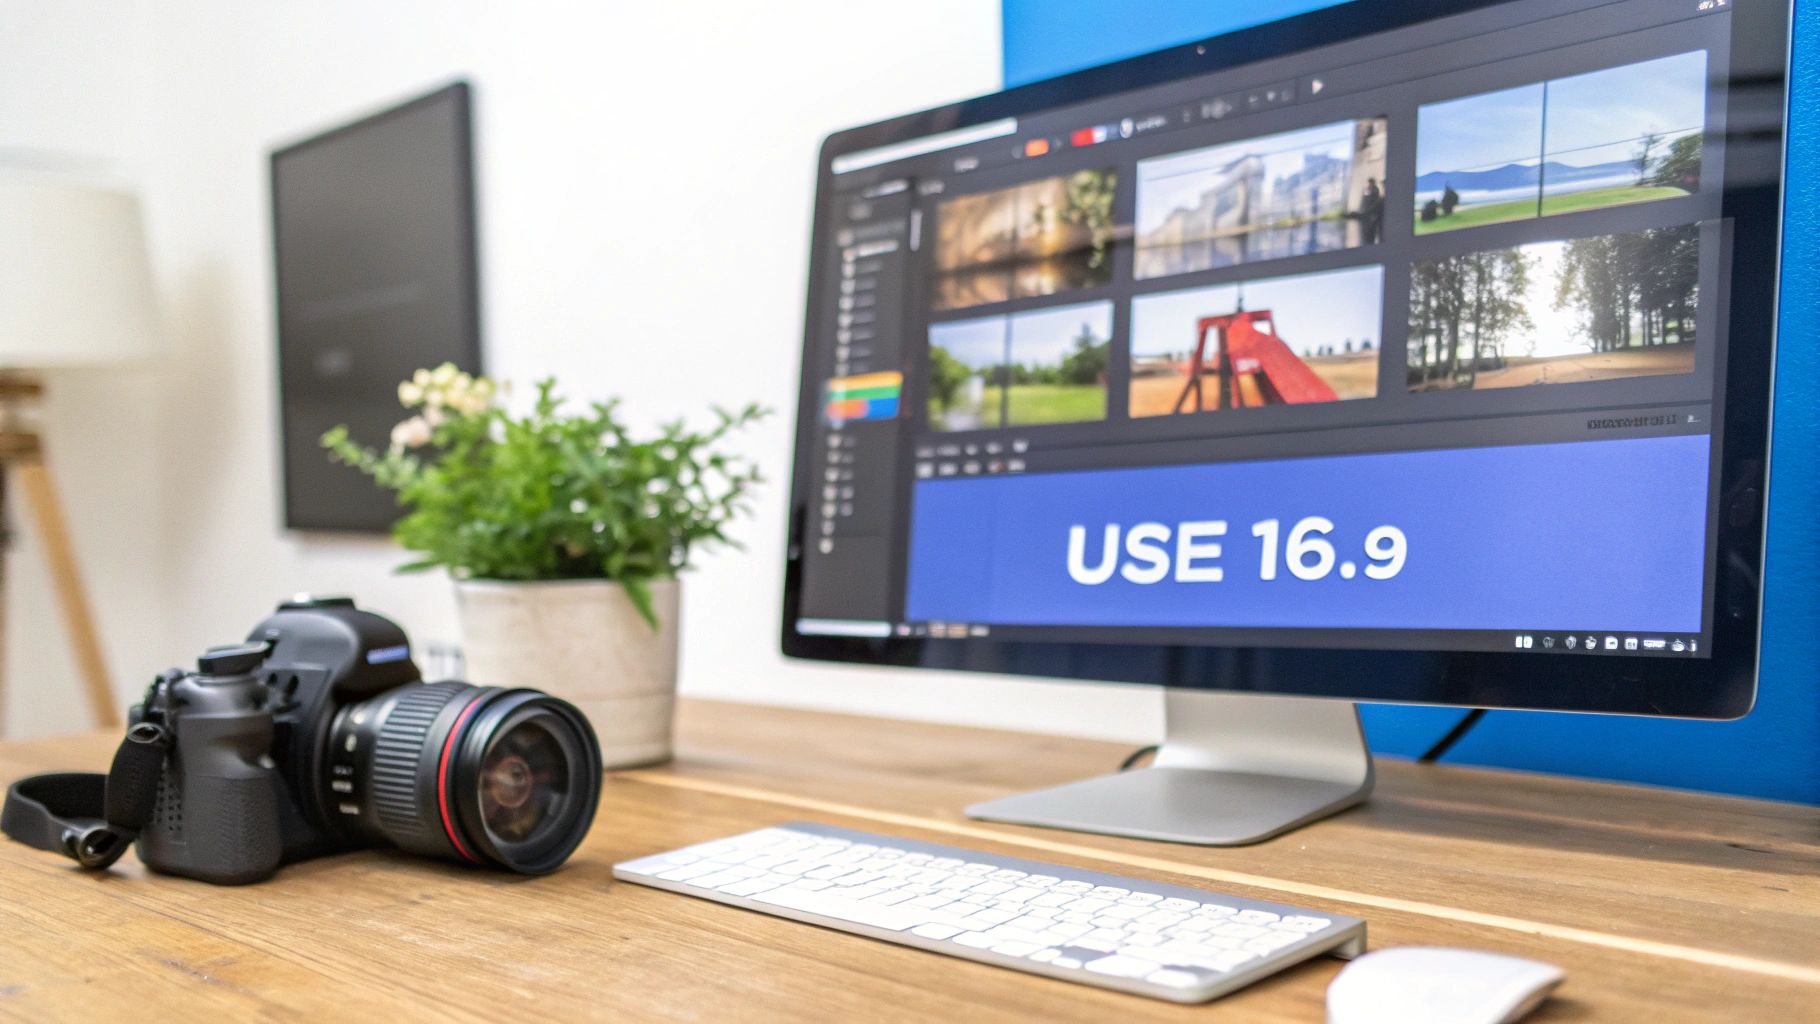
Mastering the 16:9 Standard for Widescreen Videos
When you think of a classic YouTube video—a detailed tutorial, a cinematic travel vlog, or a product review—you're almost certainly picturing the 16:9 aspect ratio. This widescreen format is the undisputed king for standard YouTube content. It's the native shape of your computer monitor and your TV, making it the default language for most videos on the platform.
The 16:9 ratio didn't become the standard by accident. It just works. It offers an immersive, expansive view that pulls the audience right in. Unlike taller or squarer formats that can feel boxed in on a big screen, 16:9 fills the entire frame without any weird compromises, giving you that professional, polished look viewers expect.
This format is the bedrock YouTube was built on, and getting it right is your first real step toward producing high-quality, professional-looking content.
Understanding Resolution Within 16:9
So you’ve got the shape down, but what about the quality? That's where resolution comes in. While the aspect ratio defines the shape of your video, resolution defines its clarity. They're two different things, but they work together.
Think of it like this: your 16:9 aspect ratio is the canvas size, and the resolution is the number of pixels you get to paint with. The more pixels, the sharper the picture.
Here are the two heavy hitters for 16:9 resolutions:
- 1080p (Full HD): This is the workhorse of YouTube, clocking in at 1920 pixels wide by 1080 pixels tall. It delivers a crisp, clear image that looks fantastic on most devices without creating monstrous file sizes that take forever to upload and process.
- 4K (Ultra HD): At 3840 pixels wide by 2160 pixels tall, 4K is the premium option. It packs four times the pixel punch of 1080p, resulting in incredibly sharp footage that truly shines on larger screens. Pro tip: uploading in 4K can even make your 1080p version look better on YouTube, thanks to how the platform handles compression.
For most creators, 1080p is the sweet spot—a perfect balance of quality and practicality. But if your content is all about stunning visuals, like nature docs or cinematic shorts, shooting and exporting in 4K will give you a serious competitive edge.
How to Lock in the 16:9 Ratio
Getting your video perfectly formatted isn't something you fix at the end; it's a three-step process that starts before you even hit record. Nailing this from the get-go saves you from the headache of black bars or awkward cropping later on.
The key to a perfect 16:9 video is consistency. Your camera, your editing project, and your final export settings must all be set to the same widescreen format. A mismatch at any stage will lead to black bars or unwanted cropping.
Here's the simple workflow to follow:
- Set Your Camera: Before you start shooting, dive into your camera or smartphone settings. Make sure you're recording in a 16:9 resolution like 1920×1080 or 3840×2160.
- Configure Your Editing Software: When you create a new project in your video editor, the first thing you should do is set the sequence or timeline settings to a 16:9 aspect ratio. This ensures your editing canvas perfectly matches your footage.
- Verify Your Export Settings: Finally, when you're ready to export, double-check that the output resolution is locked into a 16:9 format. This final step seals the deal, ensuring your video looks exactly how you intended on YouTube's player.
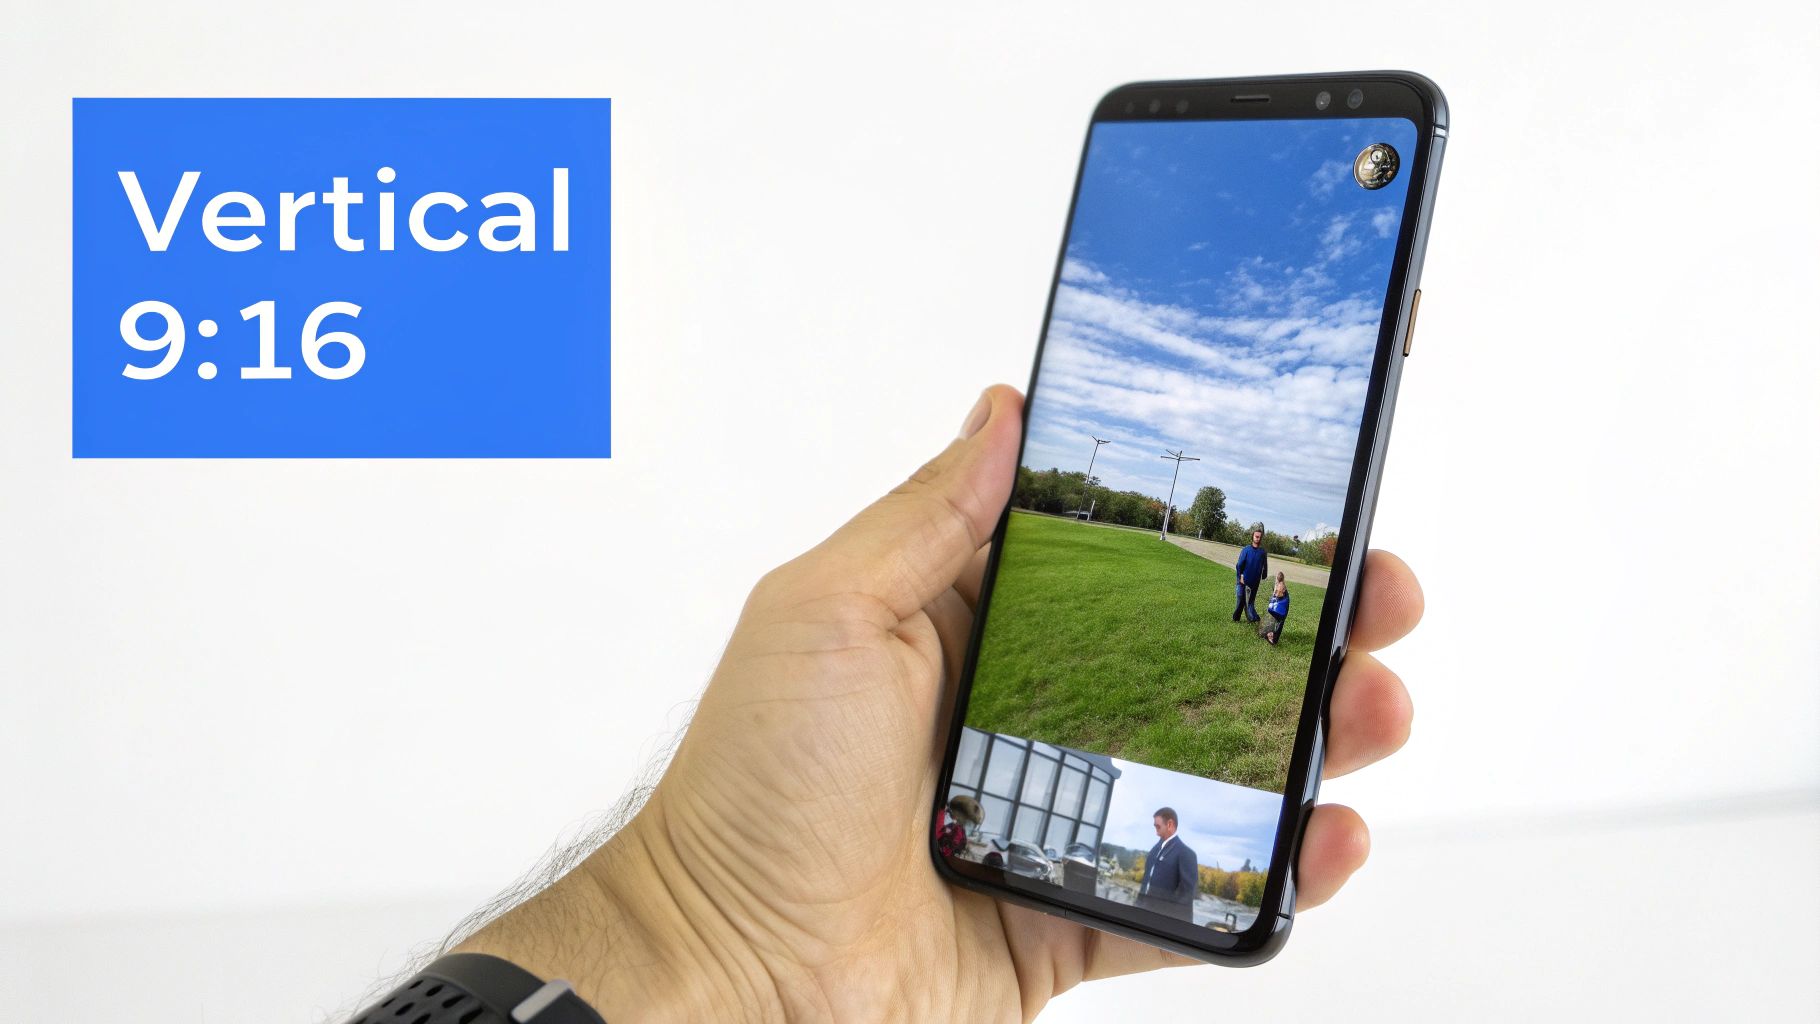
Dominating Mobile with 9:16 for YouTube Shorts
Welcome to the vertical video revolution. If the classic 16:9 ratio is the language of your living room TV, then 9:16 is the native tongue of the smartphone. For any creator serious about YouTube Shorts, this tall, narrow format isn’t just a nice-to-have—it's essential.
The whole point is to fill every single pixel of a phone screen held the way people actually hold them: vertically. This creates an immersive, thumb-stopping experience that grabs a viewer and doesn't let go.
Think about how you scroll through Shorts. It’s a rapid-fire, split-second decision-making process. A video that fills the screen commands your full attention, pulling you right in. But a horizontal video? It shows up as a tiny little rectangle sandwiched between huge black bars, basically screaming, "I don't belong here." It’s an instant pattern break that just makes people scroll on by.
Why Full-Screen Vertical Is Non-Negotiable
The psychology here is simple: vertical video just works with how we use our phones. We hold them vertically 94% of the time. Trying to make someone rotate their phone for a 15-second clip is a battle you will lose every time. The 9:16 format removes all that friction.
YouTube Shorts didn't just create a new feature; it fundamentally changed the game for mobile content by cementing 9:16 as the vertical standard. It’s built for the way people naturally consume video now, and it’s far more engaging than trying to shoehorn a horizontal clip into a vertical feed.
The Ideal Resolution for Shorts
To make sure your 9:16 videos look sharp and professional, you'll want to aim for a resolution of 1080×1920 pixels. This is basically the vertical version of standard Full HD. It delivers fantastic clarity on mobile screens without making your file sizes ridiculously huge.
- Width: 1080 pixels
- Height: 1920 pixels
Sticking to these dimensions guarantees your Shorts look crisp and get processed correctly by YouTube's system. And if you're looking to streamline your workflow, knowing how to properly upload YouTube Shorts from PC is a huge advantage for keeping that perfect 9:16 ratio intact.
The Problem with Square 1:1 Videos
Sure, a square video (1:1 aspect ratio, usually 1080×1080 pixels) will technically count as a Short. But you're leaving a massive opportunity on the table. A square video leaves big, empty black bars at the top and bottom of the screen, completely killing that immersive, full-screen feeling the best Shorts deliver.
By choosing a 1:1 ratio, you are voluntarily giving up valuable screen real estate. This makes your content appear smaller and less immersive, putting you at a direct disadvantage against creators who use the entire 9:16 canvas to grab and hold viewer attention.
In the fast-paced world of short-form video, every pixel counts. Don't settle for "good enough" with a square format. Go all-in with the full 9:16 aspect ratio to give your content the best possible chance to stand out, stop the scroll, and win on the Shorts feed.
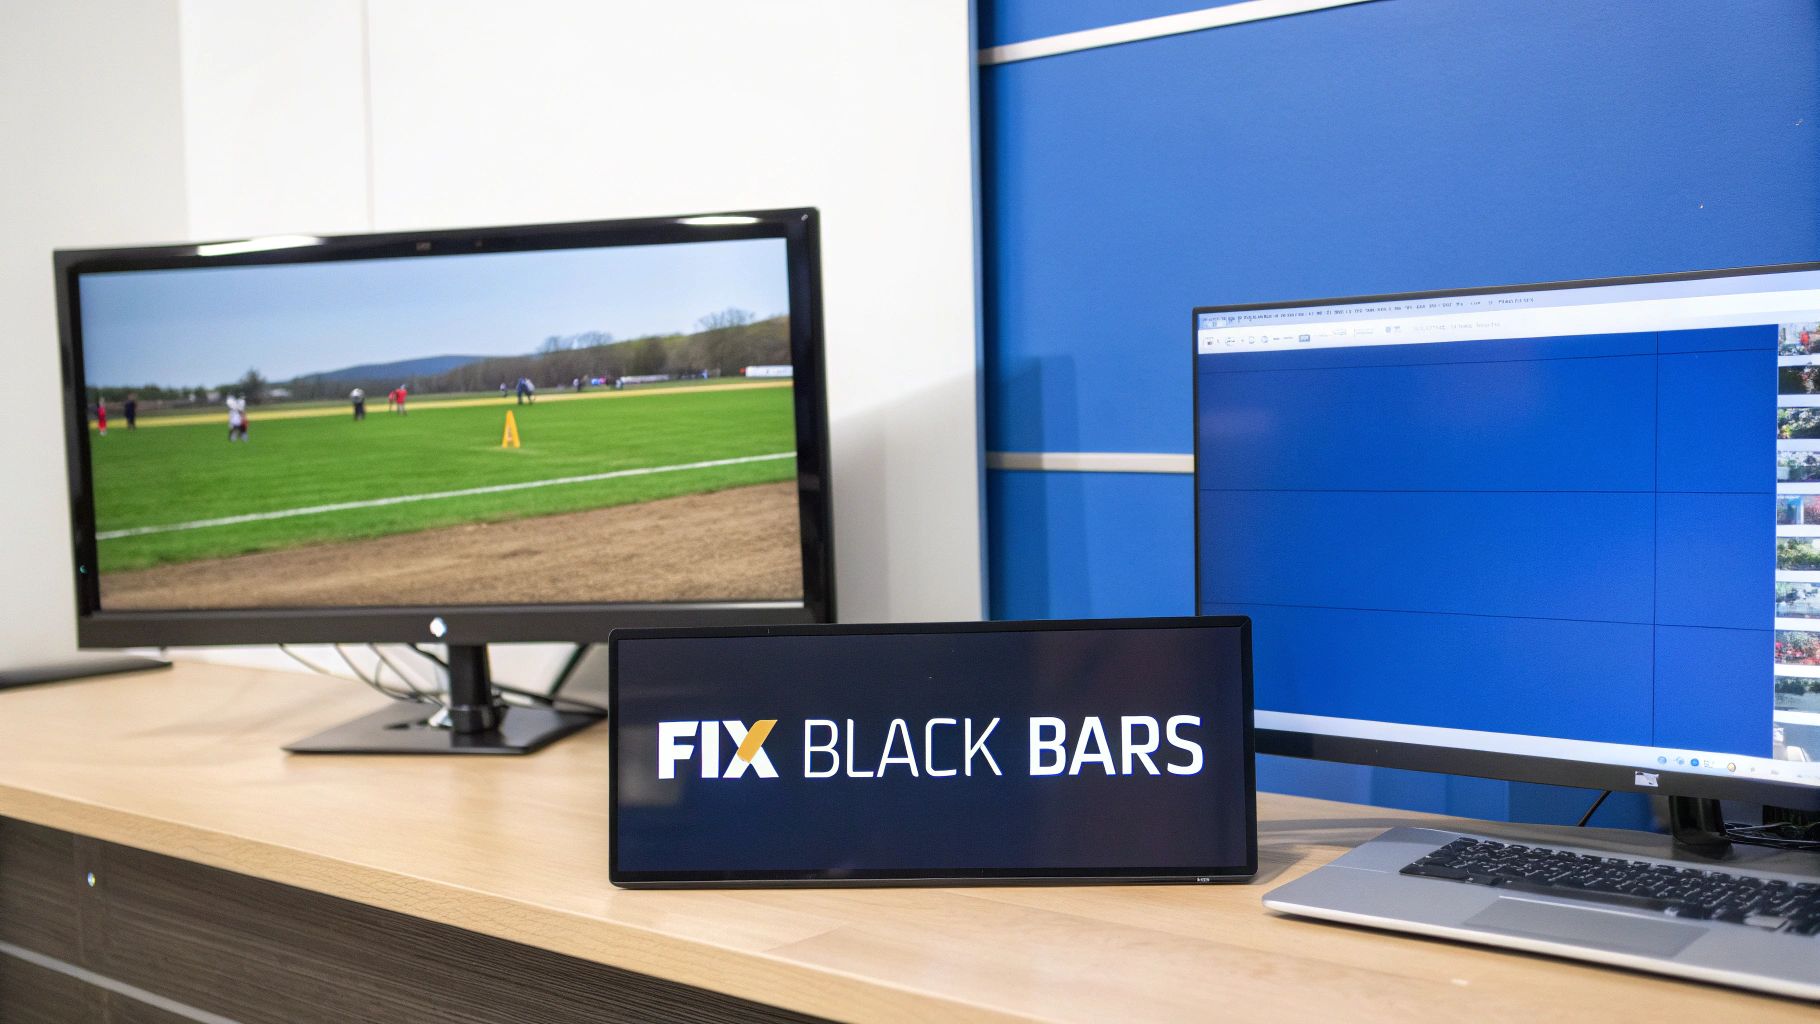
How to Fix Common Aspect Ratio Mistakes
Nothing torpedoes a great video faster than those dreaded black bars. You know the ones—the empty voids on the top and bottom (letterboxing) or on the sides (pillarboxing). They’re a dead giveaway that the shape of your video doesn’t match the YouTube player.
It’s more than just a visual hiccup. It shrinks your content, distracts your audience, and instantly makes your hard work look unprofessional.
These issues pop up when there's a disconnect between your source footage, your editing project settings, and your final export. For example, dropping a vertical 9:16 phone clip into a standard 16:9 timeline and hitting export will guarantee you get massive black bars on the sides. The good news? It’s completely fixable. Better yet, it’s preventable.
Correcting Mismatches in Your Editor
The best time to tackle aspect ratio problems is right inside your video editing software, before you even think about exporting. The whole game is about making sure your project’s canvas matches the final product you want, whether that’s a widescreen 16:9 video or a vertical 9:16 Short.
Here’s how to do it in the most popular editors:
- Adobe Premiere Pro: In the Project panel, right-click your sequence, hit "Sequence Settings," and just type in the right Frame Size (like 1920×1080 for 16:9 or 1080×1920 for 9:16).
- DaVinci Resolve: Head to the Media Pool, right-click the timeline, and select "Timelines" > "Timeline Settings." From there, uncheck "Use Project Settings" and plug in your target resolution.
- Final Cut Pro: Just select your project in the Browser, pop open the Inspector, and click "Modify." You can change the video format to the correct resolution right there.
Once you’ve updated the settings, you’ll probably need to adjust your clips a bit—scaling or reframing them to fit the new canvas perfectly.
Proactive Strategies to Avoid Black Bars
Fixing a problem is one thing, but avoiding it entirely is where the pros play. The secret is to think about the best aspect ratio for YouTube from the moment you get an idea, long before you hit the record button.
The most effective way to prevent aspect ratio errors is to ensure consistency across all three production stages. Your camera settings, editing project, and final export settings must all share the same aspect ratio to guarantee a flawless, full-screen upload.
Get it right every time with this simple workflow:
- Shoot for Your Target: First, decide if you're making a standard video or a Short. Then, set your camera or phone to record in that native aspect ratio (16:9 for standard, 9:16 for Shorts).
- Frame with Intention: As you're filming, compose your shots for the final frame. Keep your main subject clear of the edges where they might get cropped, especially if you think you might repurpose the footage later.
- Start with the Right Timeline: This is the big one. Always, always set up your editing project or sequence to your target aspect ratio before you drag a single clip into it. This step alone prevents almost every common formatting headache.
Your Final Checklist for Perfect YouTube Uploads
You’ve filmed your footage, navigated the tricky waters of aspect ratios, and edited your masterpiece. Now it’s time to stick the landing. The final export is the last hurdle between your editing software and a flawless YouTube video, and messing this up is simply not an option.
Think of these export settings as your pre-flight checklist. Skipping them can lead to all sorts of headaches—nasty compression artifacts, fuzzy audio, or YouTube butchering your video with weird bars. This isn't just about the aspect ratio; it's about the core technical details that guarantee a smooth upload and a professional-looking final product.
The Core Export Settings
Before you dare hit that "Render" button, take a minute to run through these settings. These are the industry standard for a reason: they give you the best possible balance of quality and file size, ensuring your video looks sharp on everything from a smartphone to a smart TV.
- Format/Container: Always, always choose MP4. It’s the universal language of online video, offering great quality without creating monstrously large files.
- Video Codec: Stick with H.264 (AVC). This is the undisputed champion for web video. It compresses your video beautifully, and YouTube's servers know exactly how to handle it.
- Frame Rate: Keep it simple—match your export frame rate to whatever you filmed in. The most common options are 24, 30, or 60 FPS. If you mix and match, you're asking for jittery, unnatural-looking motion.
- Audio Codec: For audio that sounds crisp and clear, use AAC-LC (Advanced Audio Coding). A sample rate of 48kHz and a bitrate of 384 kbps (stereo) is the sweet spot.
The whole point of exporting isn't just to make a video file. It's to create a file that YouTube can process efficiently without destroying all your hard work. Sticking to standards like H.264 in an MP4 container is the most reliable way to make that happen.
Bitrate: The Secret to Sharpness
So, what’s bitrate? In a nutshell, it dictates how much data is packed into every second of your video. A higher bitrate means more data, which translates to a sharper, cleaner image—but also a bigger file. Go too low, and things start to look blocky and pixelated.
YouTube has its own recommendations, but here’s a quick-and-dirty guide for standard SDR uploads that will get you great results.
| Resolution | Recommended Bitrate (SDR) |
|---|---|
| 1080p (Full HD) | 8-12 Mbps |
| 1440p (2K) | 16-24 Mbps |
| 2160p (4K) | 35-50 Mbps |
Picking a bitrate in these ranges ensures your video has enough information to look crisp without taking forever to upload.
Once you’ve nailed these export settings, all that's left is the upload itself. To make sure that final step goes off without a hitch, check out our complete guide on how to publish a video on YouTube for a full walkthrough. Following this checklist ensures your masterpiece looks just as good on YouTube as it did on your timeline.
Got Questions About YouTube Aspect Ratios? We've Got Answers.
Even when you think you have it all figured out, video formats have a way of throwing a curveball. Let's tackle some of the most common questions that pop up, so you can solve those nagging issues and get back to creating.
What Happens If My Video Isn’t 16:9 or 9:16?
If you upload a video that doesn't fit the standard aspect ratios, YouTube's player won't just reject it. Instead, it’ll force your video to fit by adding black bars. It's a quick fix on their end, but it comes at a cost to you.
- Letterboxing: This is what happens when you upload a cinematic video that's wider than 16:9. You'll get those classic black bars at the top and bottom.
- Pillarboxing: If you put a square or vertical video into a standard horizontal player, you’ll see black bars on the left and right sides.
Sure, the video is still watchable. But those bars shrink your content on the screen and can make your video feel unprofessional. It's a dead giveaway to your audience that something's off with the formatting, which can pull them right out of the experience.
Can I Change an Aspect Ratio After Uploading?
Nope. Once a video is live on YouTube, its aspect ratio is locked in. You cannot change it using YouTube's built-in editor.
The only real fix is to go back to the source. You'll need to open your original project in your video editing software, adjust the sequence settings to the correct aspect ratio (like 1920×1080), re-export the entire video, and upload the new file. It's a hassle, but it's the only way to get it right.
Should I Ever Bother With the 4:3 Aspect Ratio?
For anything you're creating today, the answer is almost always no. The 4:3 aspect ratio is a relic from the era of old, square-ish CRT televisions. On almost any modern screen—from your phone to your TV—it's going to look out of place and be surrounded by massive black bars.
The only time you'd really want to use 4:3 is if you're uploading archival footage or creating something with a deliberately retro vibe. For any new content, do yourself a favor and stick to 16:9 for standard videos and 9:16 for Shorts.
Ready to create perfectly formatted Shorts in minutes? ShortsNinja uses AI to handle the entire creation process, from scripting to generating visuals and scheduling posts, so you can focus on growing your channel. Start creating with ShortsNinja today