
It's simpler than you might think to get your long-form YouTube videos in front of a whole new audience on Instagram. The basic idea is to download your video, reformat it for a vertical 9:16 view, and then post it as an eye-catching Reel, Story, or Feed video. This single move turns one big content effort into several chances to connect with people.
Why Repurposing YouTube Videos for Instagram Is a Growth Hack
Treating your YouTube content as a source for Instagram posts is more than just a clever shortcut; it’s a powerful way to tap into a massive, highly engaged audience that’s already primed for your content. Instead of starting from scratch on every platform, you create a growth flywheel. One high-effort video fuels engagement everywhere. This isn't just about saving time—it's about building a stronger brand presence and giving people more opportunities to discover your work.
The real magic here comes from understanding how people use different platforms. Your audience doesn’t just live on one app. Almost no one does. That means your potential viewers are already scrolling through Instagram, looking for the kind of short-form, vertical content they love there. By meeting them where they are, you amplify your message and build a direct path back to your main YouTube channel for those who want to dive deeper.
The Audience Overlap Advantage
The data on user behavior really brings this strategy to life. It’s not just a hunch; the numbers show why this works so well. The chart below gives you a clear look at how many Instagram users are also hanging out on other major platforms.

This overlap is huge. A big chunk of your target audience is already on both YouTube and Instagram, making cross-promotion feel completely natural. You aren't chasing a cold audience; you’re connecting with people who already get video and are likely open to what you have to say.
Key Takeaway: The goal isn't just to dump content everywhere. It's to build a bridge. A snappy Instagram Reel can be the perfect teaser to make curious viewers jump over to your YouTube channel for the full story, boosting your numbers on both platforms at the same time.
Maximizing Your Content’s Lifespan
This tactic really shines when it's part of a bigger plan. For those serious about growth, developing a comprehensive content strategy is the next logical step to mapping out your goals. By repurposing, you squeeze every last drop of value from the time and energy you put into that original YouTube video. What was once a single piece of content now becomes:
- An engaging Reel that pulls in new followers.
- A series of Stories to generate some timely buzz.
- A permanent Feed post for your existing community.
The stats back this up. An incredible 76.9% of Instagram's audience also uses YouTube, while only 0.2% of users are exclusively on Instagram. That crossover potential is massive. On top of that, Instagram Reels currently boast an average 1.23% engagement rate with over 30% reach, making them the best-performing format on the platform for getting noticed.
Want to learn more? Check out our guide on other powerful https://shortsninja.com/blog/content-repurposing-strategies/ to grow your brand.
Getting Your YouTube Video Ready for Instagram
Let's be real: just dropping a horizontal YouTube video onto Instagram is a surefire way to get ignored. If you want to actually succeed when you post YouTube videos on Instagram, you have to do some prep work. This is your essential pre-launch checklist to make sure your content feels like it belongs on the platform, grabbing attention instead of looking like a misplaced ad.
The first hurdle is getting the video file itself. If you’re working with your own content, the absolute best move is to dig up the original high-resolution source file from your computer. This guarantees you're starting with the highest possible quality, skipping the compression that YouTube applies during an upload.
Can't find the original? No problem. The next best thing is to download it directly from YouTube. You’ll find plenty of online tools for this, but make sure you pick one that lets you download in at least 1080p to keep things looking sharp. Screen recording is another handy option, especially if you only need a specific, short clip and don't want the whole file. Just be aware that it can sometimes lead to a slight dip in quality.
Reshaping Your Video for a Mobile World
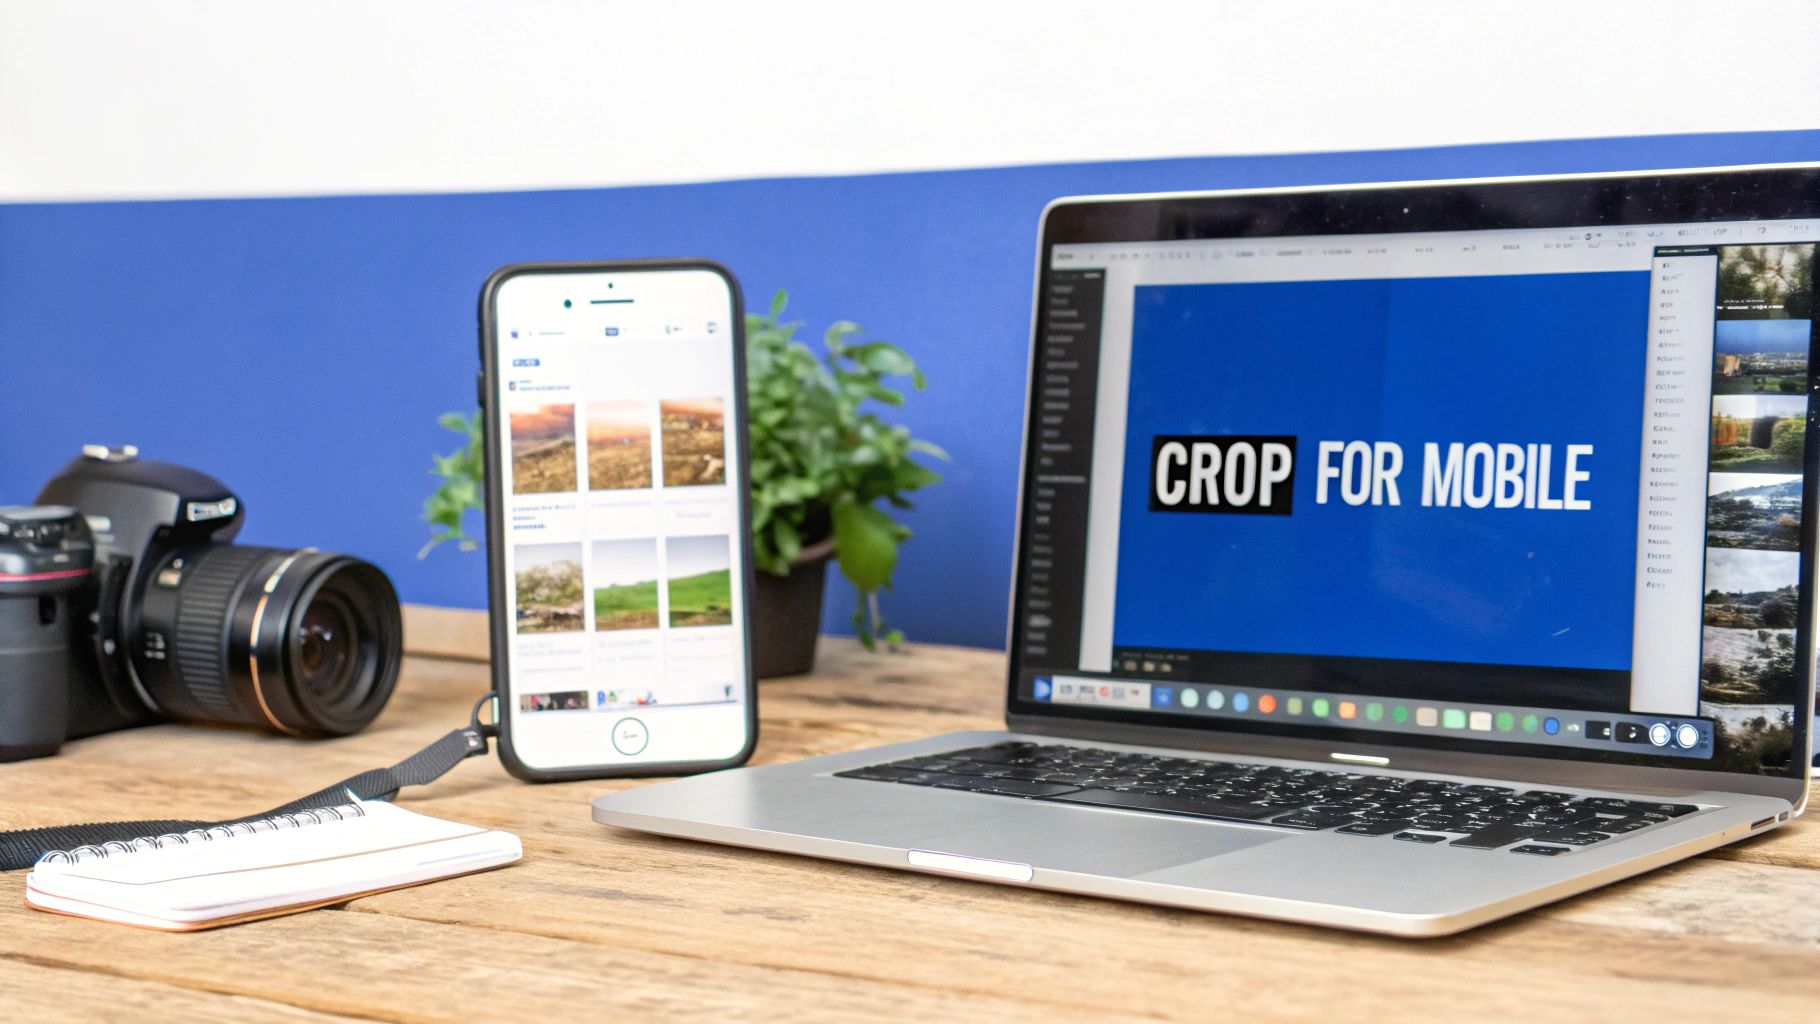
Once you have the file, this next step is the most important one: adjusting the aspect ratio. Your typical YouTube video is in a widescreen 16:9 format. On a vertical phone screen, that format either creates massive, ugly black bars or gets cropped so badly that the main action is lost. Instagram is built for mobile, through and through.
For Reels and Stories, the gold standard is a vertical 9:16 aspect ratio. It’s what viewers expect, and it fills the entire screen for a totally immersive feel. For a classic Instagram feed post, a square 1:1 ratio is still a fantastic and popular choice that performs really well.
Expert Tip: Whatever you do, don't just stretch your video to fit the new dimensions. That's a rookie mistake. Instead, use a video editing app like CapCut or InShot to properly reframe your shot. You'll likely need to move the focal point of your video to the center of the new vertical frame so nothing important gets cut off.
Understanding how these different sizes affect the viewing experience is a game-changer. For a deeper dive into the technical side, check out our complete breakdown of the best aspect ratios for TikTok, YouTube, and Instagram, where we get into the nitty-gritty for each platform.
Trimming for Tiny Attention Spans
With your video properly reshaped, the last piece of the puzzle is trimming it down to the right length. Each of Instagram's formats has its own time limits, and if you ignore them, your video will get cut off at an awkward moment.
Here’s a quick rundown of what you need to know about Instagram's video length limits:
- Instagram Reels: Your clip has to be 90 seconds or less. Honestly, shorter is almost always better here. Many of the most viral Reels are only between 7 and 15 seconds long.
- Instagram Stories: Each individual Story slide can be up to 60 seconds long. You can always string multiple clips together to create a longer narrative.
- Instagram Feed Videos: These have a much wider range, from 3 seconds up to 60 minutes. But don't let that fool you—shorter videos (well under a minute) almost always perform better in the feed.
Your goal here is to find the single most compelling, high-impact segment of your YouTube video. Think of it like you're creating a movie trailer. It needs to grab attention instantly, deliver value fast, and leave people wanting to check out the full-length version on your channel.
Your Guide to Publishing on Instagram Reels, Stories, and Feed
Alright, you've got your YouTube clip trimmed and resized. Now for the fun part: deciding where it's going to live on Instagram. This isn't just about hitting "post." It's a strategic move.
Where you publish your video—Reels, Stories, or your main Feed—completely changes who sees it and how they interact with it. Each one has its own vibe and serves a totally different purpose.
Let's break down the playbook for each format. Think of it as turning one piece of content into three unique chances to grab your audience's attention.
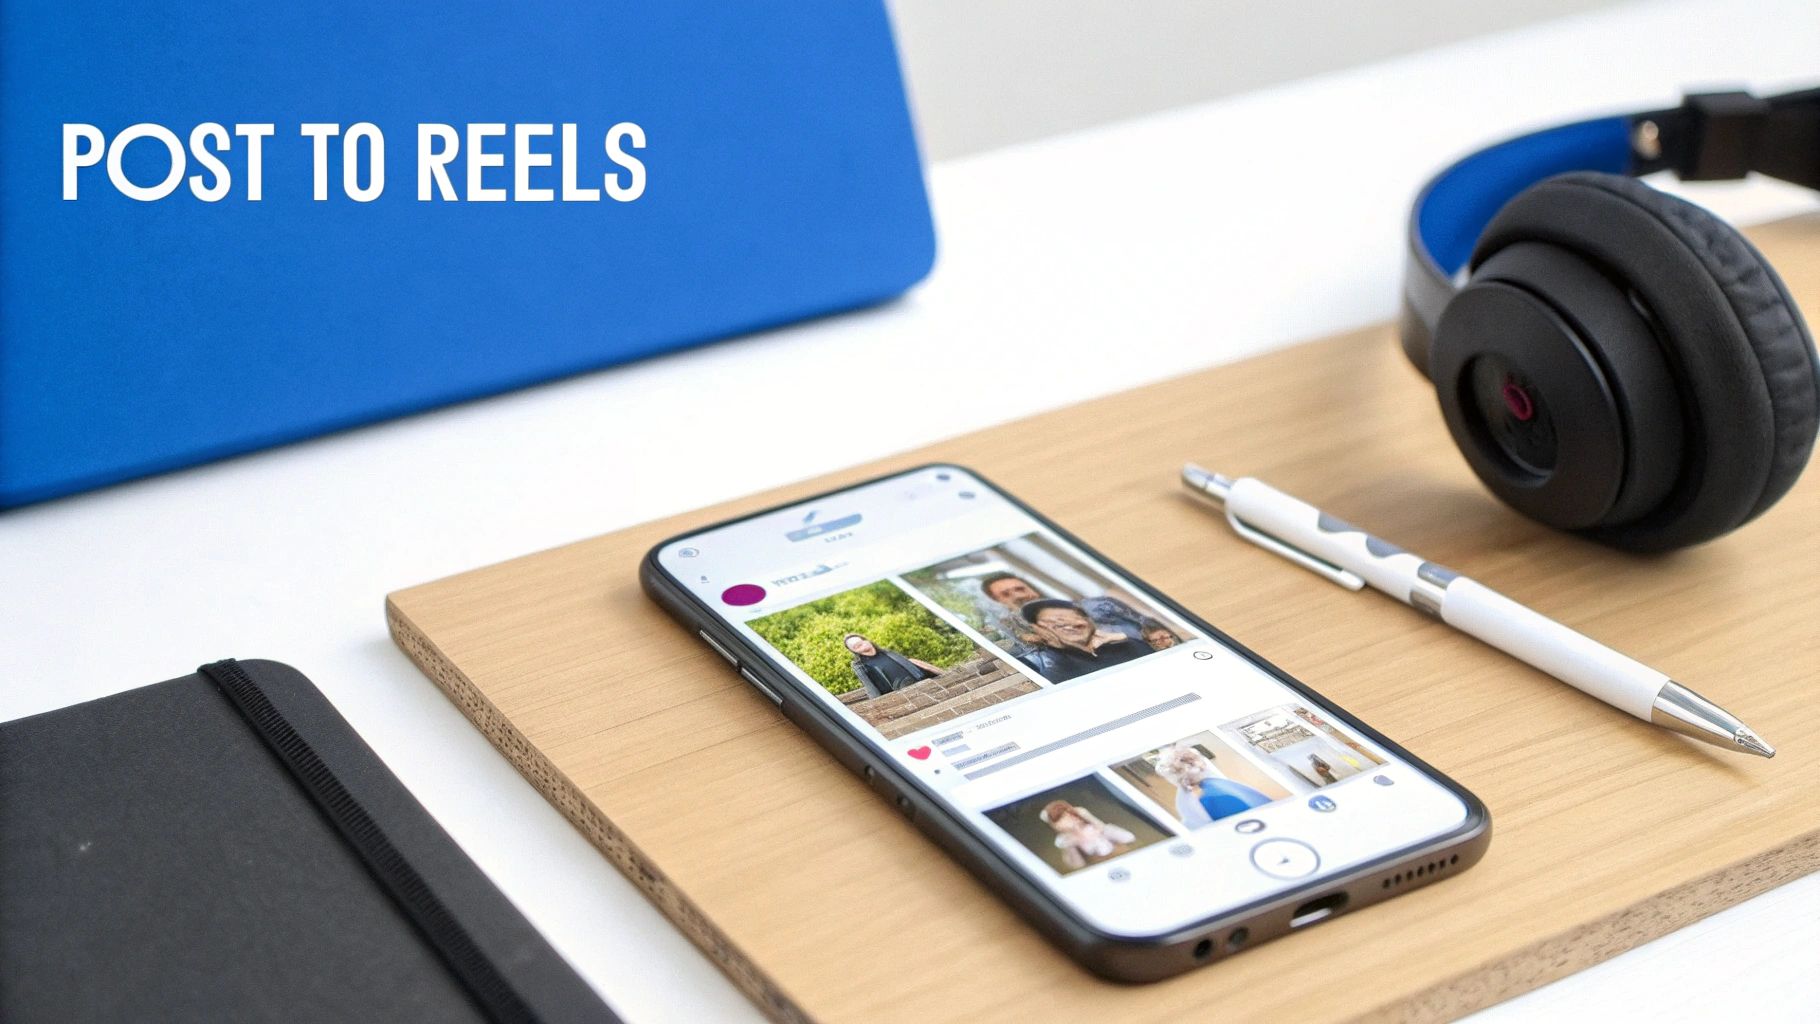
Posting as an Instagram Reel for Maximum Reach
If you want to get in front of people who have no idea who you are, Instagram Reels are your golden ticket. The algorithm is built to push short, snappy videos to a massive audience, making it an incredible tool for discovery.
When you post your YouTube clip as a Reel, you're plugging directly into Instagram's growth engine. Here's how to do it right:
- First, open Instagram, hit the "+" icon at the bottom, and choose "Reel."
- Tap the little gallery icon in the bottom-left corner and grab your perfectly edited 9:16 clip.
- Next up: Trending Audio. This is a big one. Tap the music icon and find a popular song. You can layer it over your original audio (even at a super low volume) and it can give you a serious visibility bump.
- Write a caption that starts with a hook. Ask a question or make a bold statement to stop people from scrolling past.
- Finally, use a smart mix of hashtags—maybe 5-10 that are broad, niche, and specific to your community. This helps Instagram figure out who to show your Reel to.
Pro Tip: Don't just upload and walk away. Take a minute inside the Reels editor to add some on-screen text highlighting the key points. So many people watch with the sound off, and text overlays make sure your message doesn't get lost. For a deeper dive, check out our full guide on Instagram Reels best practices.
Using Instagram Stories for Timely Engagement
Instagram Stories are for your inner circle. They're casual, timely, and disappear after 24 hours, which creates a natural sense of urgency that encourages your most loyal followers to act fast.
This format is absolutely perfect for teasing a new YouTube video. You could post a quick, compelling snippet and then use the Link Sticker to send people straight to the full video on YouTube.
Here's the quick-and-dirty on how to do it:
- Tap the "+" icon and select "Story."
- Choose your edited video clip from your gallery.
- Tap the sticker icon at the top, find the "Link" sticker, and paste in your YouTube URL.
- Don't stop there. Add a Poll ("Seen the new video yet?") or a Quiz sticker to get people tapping.
These little interactive features are what make Stories so effective for building a real connection with the audience you already have.
Sharing to Your Feed for Evergreen Content
Posting a video to your main Instagram Feed makes it a permanent part of your brand's digital storefront. This is where your dedicated followers can find your best content and come back to it later. While Reels are for discovery, Feed posts are for nurturing your community.
The data is clear: short-form video is king. Research shows that videos under 30 seconds can pull in 54% more views. Right now, Reels are leading the pack with a 2.08% engagement rate for influencers. This just goes to show how powerful repurposing those bite-sized clips from YouTube can be.
When you post to your Feed, always take a moment to create a custom cover image or pick a really compelling thumbnail from the video itself. A polished profile grid looks professional and encourages new visitors to stick around and see what you're all about.
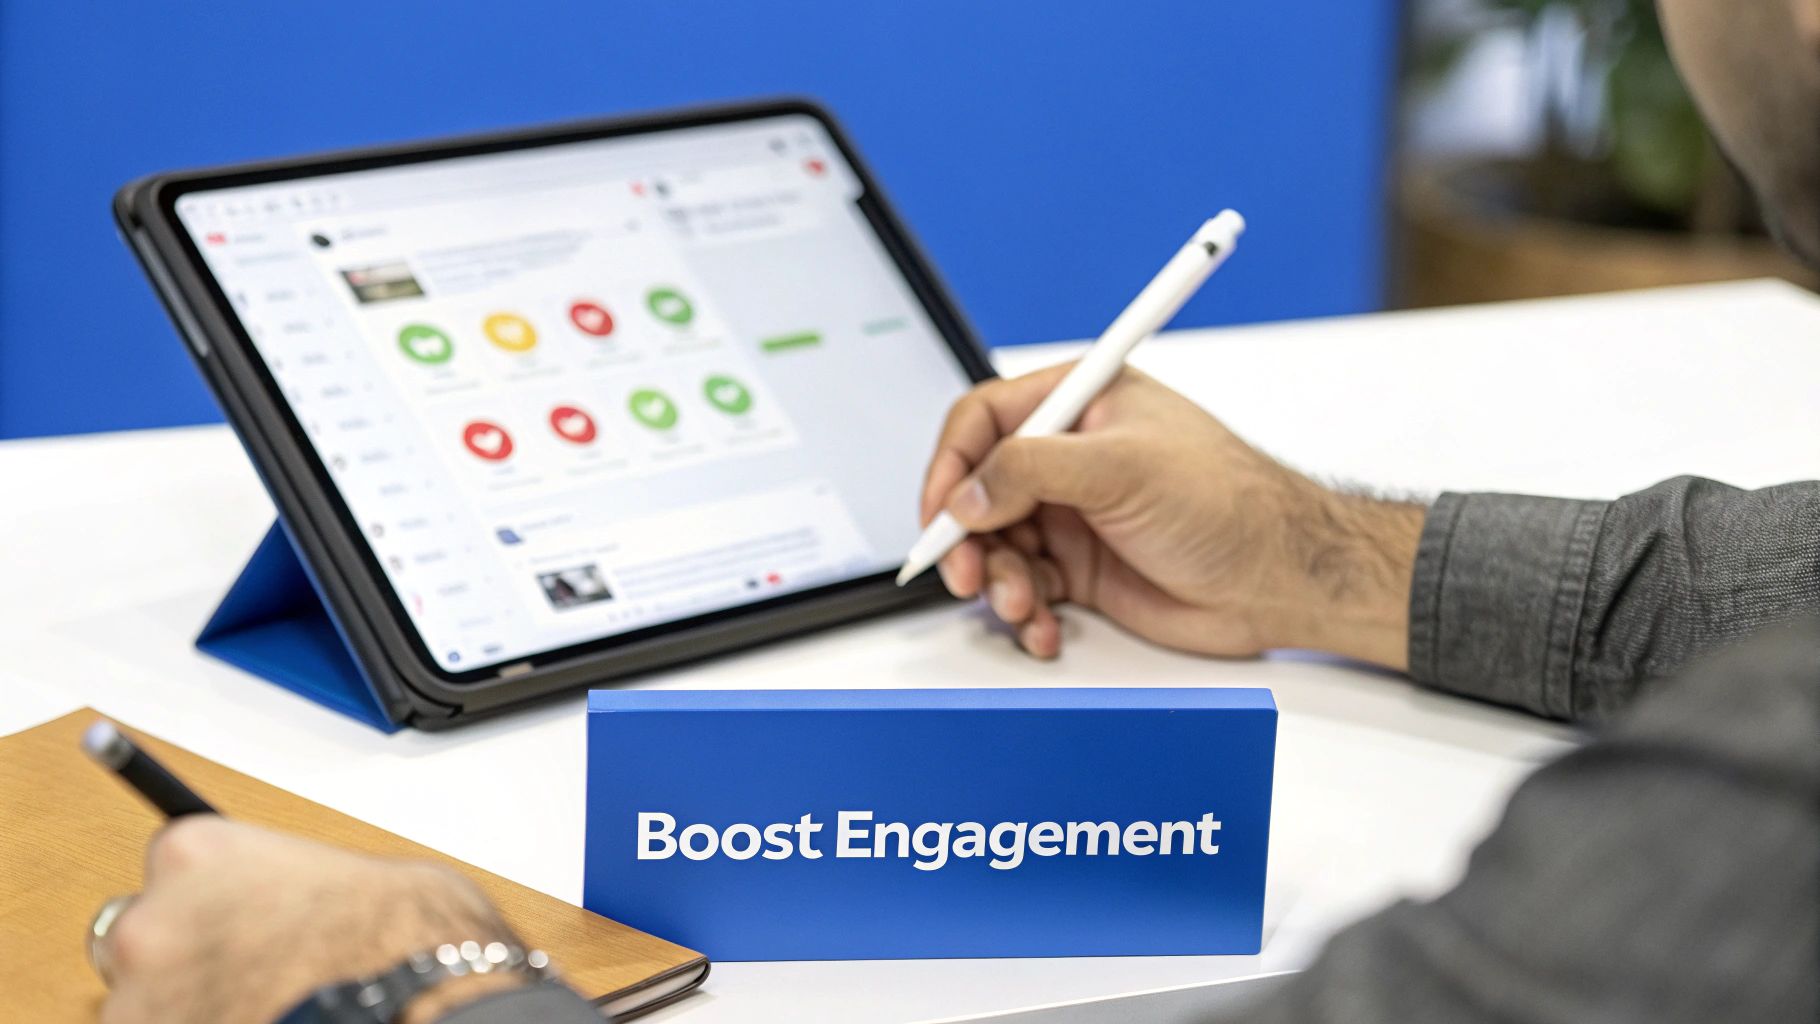
Make Your Post Impossible to Ignore
Okay, so you’ve got your video clipped and ready for Instagram. Slapping it up on your profile is the easy part. The real work? Making sure people actually stop scrolling and watch it.
This is where so many creators drop the ball. They spend hours on the video itself, then rush through the upload process. But how you frame your post—the caption, the cover image, the hashtags—is what separates a video that gets a few pity-likes from one that genuinely connects with your audience.
Think of it this way: your video is the main course. The caption and cover are the five-star presentation that makes people want to take a bite. Don't skip this part if you want to successfully post YouTube videos on Instagram and see real results.
Write Captions That Actually Work
Let's be real: nobody reads a wall of text on Instagram. Your caption's first job is to grab someone's attention within the first two lines, before they have to tap "more."
Start with a punchy question, a surprising stat, or a bold statement that relates to your video. Once you’ve hooked them, give just enough context or a key takeaway to make them curious. You're not writing a summary; you're creating intrigue.
Then, finish strong with a clear call-to-action (CTA). Tell people exactly what you want them to do next.
- To drive traffic: "Want the full breakdown? The link in my bio has the full YouTube video waiting for you!"
- To get comments: "What’s your biggest roadblock with [topic]? Drop a comment and let me know."
- To build community: "Tag a friend who’s been struggling with this!"
Create a Cover Image That Stops the Scroll
Your video's cover image (or thumbnail) is its first impression, especially for Reels. It's what people see on your profile grid and in the Explore tab. A blurry, random, or boring cover is a guaranteed way to get scrolled past.
Sure, you can just pick a frame from the video, but that rarely looks good. For a more polished vibe, design a custom cover. Jump into a tool like Canva and whip up a simple graphic. Use a high-quality photo and some bold, readable text that spells out exactly what the video is about. This little bit of effort makes your entire profile grid look cohesive and professional.
Key Insight: Consistency is your best friend here. If you stick to a consistent style for your cover images—using the same brand fonts and colors—your followers will start recognizing your content instantly in their feed. It’s a simple but powerful way to build brand recognition.
Use Hashtags to Get Discovered
Hashtags aren't just for decoration; they're your ticket to reaching people who don't already follow you. A smart hashtag strategy involves mixing different types of tags to cast a wide but targeted net. Forget stuffing 30 random tags in there. Aim for a tight, relevant mix of 5-10 hashtags per post.
Here's a simple framework that I've found works really well:
- Broad Hashtags (1-2): These are the big, popular tags in your industry (like
#DigitalMarketingor#ContentCreator). They get your content into big pools of viewers. - Niche Hashtags (2-3): Get more specific here. Think about the exact topic of your video (like
#VideoEditingTipsor#YouTubeGrowthHacks). This is where you find a more engaged, qualified audience. - Community Hashtags (1-2): These are tags used by specific groups you want to connect with (for example,
#SmallBusinessOwnersOfIG). - Branded Hashtags (1): Create one just for your brand (like
#YourBrandNameHere) to track posts and encourage your community to use it.
This thoughtful approach is what gets your repurposed YouTube video in front of the right people—the ones who will actually care about it.
Put Your Repurposing Workflow on Autopilot with AI
Let's be real: manually downloading, reformatting, and scheduling your content is a huge time sink. It’s the kind of busywork that drains your creative energy. If you want to consistently get your YouTube content onto Instagram and actually see some growth, you need a smarter system. This is where AI tools are completely changing the game.
We've moved way beyond just chopping up old videos. Imagine coming up with a fresh, engaging vertical video in just a few minutes. The process is surprisingly simple: you feed an AI platform like ShortsNinja a topic or idea, and it does all the heavy lifting. It can whip up a script, create visuals with a realistic voiceover, and get the finished video ready to schedule across YouTube, Instagram, and TikTok. This isn't just a small timesaver; it's a way to maintain a steady flow of high-quality content that algorithms love.
Go from Idea to Published Post in Minutes
The magic here is shrinking a workflow that used to take hours into just a few quick steps. You're no longer getting bogged down by the technical side of editing and formatting.
An interface like this shows just how straightforward the process can be, letting you generate everything from a script to a voiceover from a single prompt. It turns content creation from a chore into a simple, repeatable task. Honestly, it's a lifesaver for avoiding creative burnout.
Key Features That Actually Make a Difference
When you're looking at different automation tools, focus on the features that solve your biggest headaches. The goal is to set it up once and let the system do the work for you.
- Automated Scheduling: This is non-negotiable. You need to be able to connect your social accounts and schedule posts in advance. It's the only way to keep a consistent posting schedule without having to log in every single day.
- Series Creation: For telling bigger stories, find a tool that can spin a single idea into a whole series of related videos. This is perfect for breaking down a complex topic from a long YouTube video into a week's worth of killer Instagram Reels.
- Multi-Platform Support: A solid automation tool should let you post to YouTube Shorts, Instagram Reels, and TikTok all at once. Why wouldn't you want to maximize the reach of every single video you create?
When you automate the repetitive stuff, you free up mental space to focus on what really matters: your message and your community. This shift is what separates creators who burn out from those who build something that lasts.
If you're looking to really level up your process, it's worth exploring a good list of the best AI-powered marketing tools out there. Leaning into this tech is easily the smartest way to scale your content strategy without hiring a whole team.
Common Questions About Posting YouTube Content on Instagram
Even after laying out the perfect strategy, a few questions always pop up. It's totally normal. Let's tackle some of the most common hurdles creators run into when they start posting their YouTube videos on Instagram. Getting these cleared up now will save you a ton of headaches later.
Is It Okay to Post Someone Else's YouTube Video on My Instagram?
The short answer here is almost always no. Just grabbing a video you didn't make and posting it as your own is a direct violation of copyright law. The entire game plan in this guide is about repurposing your own content to grow your brand, not someone else's.
If you really love another creator's video and want to share it, stick to Instagram's built-in "Share" features. The only other ethical way is to get their explicit, direct permission before you post. And even then, you absolutely must give them clear and prominent credit. Don't risk it.
How Can I Post My YouTube Video on Instagram Without It Looking Terrible?
Nothing screams "amateur" like a blurry, pixelated video. Quality is everything. The golden rule is to always, always start with your highest-resolution source file from your computer, not a downloaded version from YouTube. If you absolutely have to download it, make sure you're grabbing the 1080p version at a minimum.
When you're editing, use a real video editor to properly crop the footage to a 9:16 aspect ratio for Reels or Stories. Simply stretching your horizontal video will distort it and look awful.
For the best export settings, stick to this formula:
- Format: MP4
- Codec: H.264
- Bitrate: Around 3,500 kbps is a good sweet spot.
Finally, how you get the video onto your phone matters. AirDrop it or use a cloud service like Google Drive. Sending it to yourself through a messaging app will almost certainly compress the file and undo all your hard work.
What's the Best Instagram Format for My YouTube Clips?
This really boils down to your specific goal for that piece of content. If you're trying to reach people who have never heard of you, Instagram Reels are king. The algorithm is practically designed to push short-form videos in front of new eyeballs, making Reels an incredible discovery engine.
The best format depends on what you want to achieve. Use Reels for discovery, your Feed to nurture your current followers, and Stories for quick, interactive engagement. A smart creator uses all three.
For sharing slightly longer clips (up to 10 minutes) with the community you've already built, your main Instagram Feed works great. Think of it as serving content to your loyal fans. And for everything else? Use Stories. They're perfect for behind-the-scenes snippets, teasing a new YouTube upload, or getting your audience involved with polls and Q&As.
Can I Just Drop My Full YouTube Link in an Instagram Post?
Sadly, no. Instagram doesn't allow clickable links in the captions of Feed posts or Reels. If you paste a URL there, it just shows up as plain, unclickable text, which is pretty useless.
The standard and most effective workaround is to direct everyone to the "link in bio." It's a phrase every Instagram user understands. Use a tool like Linktree to create a simple landing page where you can host multiple links, including one to your latest YouTube video.
The one exception is Instagram Stories. If you have over 10,000 followers or a verified account, you get access to the "Link Sticker." This is a game-changer, as it lets you add a direct, clickable link that takes viewers straight from your Story to your YouTube channel.
Stop wasting hours on manual repurposing. ShortsNinja uses AI to turn your ideas into a steady stream of high-quality short videos for Instagram, YouTube, and TikTok in minutes. Try it for free and see how easy it is to grow your channels on autopilot. Get started today at https://shortsninja.com.