
You can't just drop a YouTube link on Instagram and expect it to work. Instead, the real magic happens when you repurpose your content. The process is pretty straightforward: download your own YouTube video, re-edit it for Instagram's vertical world and shorter attention spans, then upload it fresh as a Reel, Story, or Feed post.
Doing it this way makes your video look like it was made for Instagram, which is exactly what the algorithm wants to see.
Why Posting YouTube Videos On Instagram Is A Smart Move
If your video content is only living on YouTube, you're leaving a massive, highly engaged audience on the table. Reworking your long-form videos for Instagram isn't just a time-saver; it’s a killer growth strategy that squeezes every last drop of value out of the content you worked so hard to create.
The idea is simple: meet people where they are, with content formatted for how they like to watch.
Think of it like speaking two different languages. Someone on YouTube has likely settled in, ready for a deeper, more detailed video. But an Instagram user? They're scrolling fast, looking for quick, punchy, and visually captivating clips. By adapting your YouTube content, you get to capture both. This approach is a cornerstone of smart content repurposing strategies, letting you build a much stronger brand presence without doubling your workload.
Before diving in, it helps to understand the key differences between what works on YouTube versus Instagram.
YouTube vs Instagram Video At A Glance
This table breaks down the fundamental differences between the two platforms. Getting these basics right is the first step to making your repurposed content feel native and perform well.
| Feature | YouTube (Long-Form) | Instagram (Reels/Stories) |
|---|---|---|
| Primary Orientation | Horizontal (16:9) | Vertical (9:16) |
| Ideal Length | 8-15+ minutes | 15-90 seconds |
| Audience Mindset | Intentional viewing, seeking in-depth info/entertainment | Passive scrolling, seeking quick, entertaining snippets |
| Content Style | Detailed, narrative, educational | High-energy, visually driven, trendy |
| Discovery | Search-driven (SEO is key) | Algorithm-driven (trends & engagement are key) |
Understanding these distinctions is crucial. You're not just cutting a video down; you're translating it for a completely different culture.
Tap Into New Audiences And Boost Engagement
Shifting your content over to Instagram opens the door to a whole new demographic that might never stumble upon your YouTube channel. It's the perfect way to cross-pollinate your audiences. You can drive Instagram followers to your YouTube for the full story and introduce your YouTube subscribers to your daily, behind-the-scenes content on Instagram.
To really get the most out of it, take some time to understand the unique quirks and features of the Instagram platform itself.
The numbers don't lie. Since Reels exploded onto the scene, video has taken over Instagram. In fact, video now accounts for 60% of the time users spend on the app. Better yet, in 2024, Reels are pulling in an average engagement rate of 1.23%—way higher than static images or carousels.
This is proof that chopping up a YouTube video and turning it into a Reel is one of the most effective things you can do to get more eyes on your work.
The bottom line is that Instagram's algorithm gives a huge boost to native video uploads. A repurposed clip that feels fresh and integrated will always get more likes, comments, and shares than a lazy link ever could. It’s all about turning one great asset into multiple opportunities to connect with your audience.
Preparing Your Video For Its Instagram Debut
Alright, let's get down to the real work. Turning a wide YouTube video into a sharp, vertical clip that looks like it was made for Instagram is where the magic happens. This is more than just cropping a video; you're completely rethinking your content for a totally different audience and viewing style.
First things first, you need the actual video file. The absolute best-case scenario is that you have the original, high-res file tucked away on your computer or in the cloud. Starting with that master copy means you're working with the highest possible quality, dodging the nasty compression YouTube adds during uploads.
If the original is long gone, you'll have to download it from your channel. There are plenty of tools for this, but the golden rule is to always grab the highest resolution you can—think 1080p or higher. Anything less, and you risk a grainy, pixelated mess on Instagram.
This diagram breaks down the simple workflow: it's not just a copy-paste job, but a real transformation.
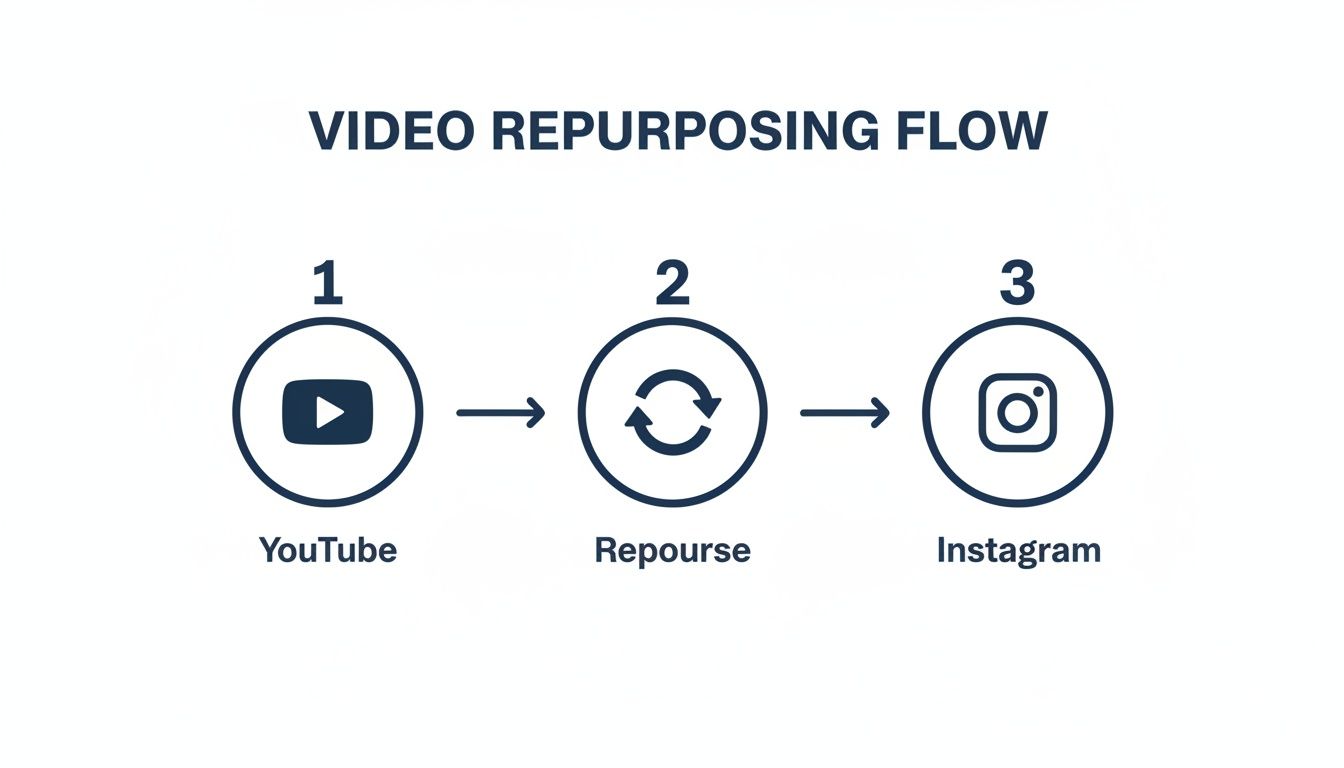
Repurposing is a deliberate, creative step. Treat it that way, and your results will be miles better.
Finding The Perfect Instagram-Worthy Clip
You can’t just hack out a random 90-second chunk from a 15-minute video and call it a day. The clip you pick has to stand on its own. It needs to tell a mini-story or deliver a punchline in a super short amount of time.
I've found that certain types of moments work incredibly well:
- The "Aha!" Moment: Pull out that one killer tip, a shocking statistic, or a key insight that gives people immediate value.
- The Problem-Solution: Quickly set up a common struggle your audience faces, then immediately deliver the solution. It's a classic storytelling hook that always performs.
- The Most Eye-Catching Part: Scan your video for the good stuff—dynamic action, cool B-roll, or slick animations that can grab someone's attention even with the sound off.
Once you’ve found your golden nugget, you need to make sure it fits Instagram’s time limits. We’ve actually put together a full breakdown on the best video lengths for TikTok, YouTube, and Instagram that's worth a read. Trimming your clip to the right length is crucial for keeping people watching until the end.
Editing And Reframing For Vertical Video
This is where you make your horizontal (16:9) YouTube video feel at home in Instagram's vertical (9:16) world. The biggest mistake I see is people just slapping the wide video in the middle of a vertical frame with huge black bars. It screams "lazy repost." You have to actively reframe the shot.
Actively reframing your video sends a clear message: you're creating content for the people on Instagram, not just throwing old content at them. It’s a small effort that makes a huge difference in how your video is received and how well it performs.
Here’s a practical example. Let's say your YouTube video has you on the right side of the screen and a graphic on the left. For Instagram, you could cut between a tight close-up on your face while you're talking, and then switch to a full-screen view of the graphic when you reference it. This technique, called "punching in," makes the whole thing feel way more dynamic.
To really level up, you need to think about the silent scrollers. So many people watch videos on mute, so burned-in captions are non-negotiable.
Here are a few other small additions that can make a big impact:
- A progress bar: This little visual tells people how much time is left in the clip, encouraging them to stick around.
- An engaging headline: Pop a catchy title at the top of the screen to give instant context.
- Animated stickers or GIFs: Use them sparingly to inject some personality and visual flair.
Taking these extra editing steps ensures your YouTube content doesn't just get posted on Instagram—it actually thrives there.
Navigating Copyright And Watermarks Like A Pro
Nothing kills your content momentum faster than a copyright strike. When you start moving videos from YouTube over to Instagram, you're jumping between two totally different worlds, each with its own rulebook for things like music and branding.
Getting this right isn't just about avoiding trouble—it's about protecting your account and keeping your content looking sharp.
The biggest landmine by far is music. That track you licensed for your YouTube video? The one that works perfectly with their Content ID system? It can get your Instagram Reel muted or even taken down in a heartbeat. The hard truth is that a music license for YouTube does not carry over to Instagram.
The safest play here is simple: strip the original audio from your YouTube clip before you do anything else. Once you upload the silent video to Instagram, you can dive into their massive audio library and pick a trending track. This move guarantees you're using music that's fully licensed for the platform.
Keeping Your Videos Clean And Unbranded
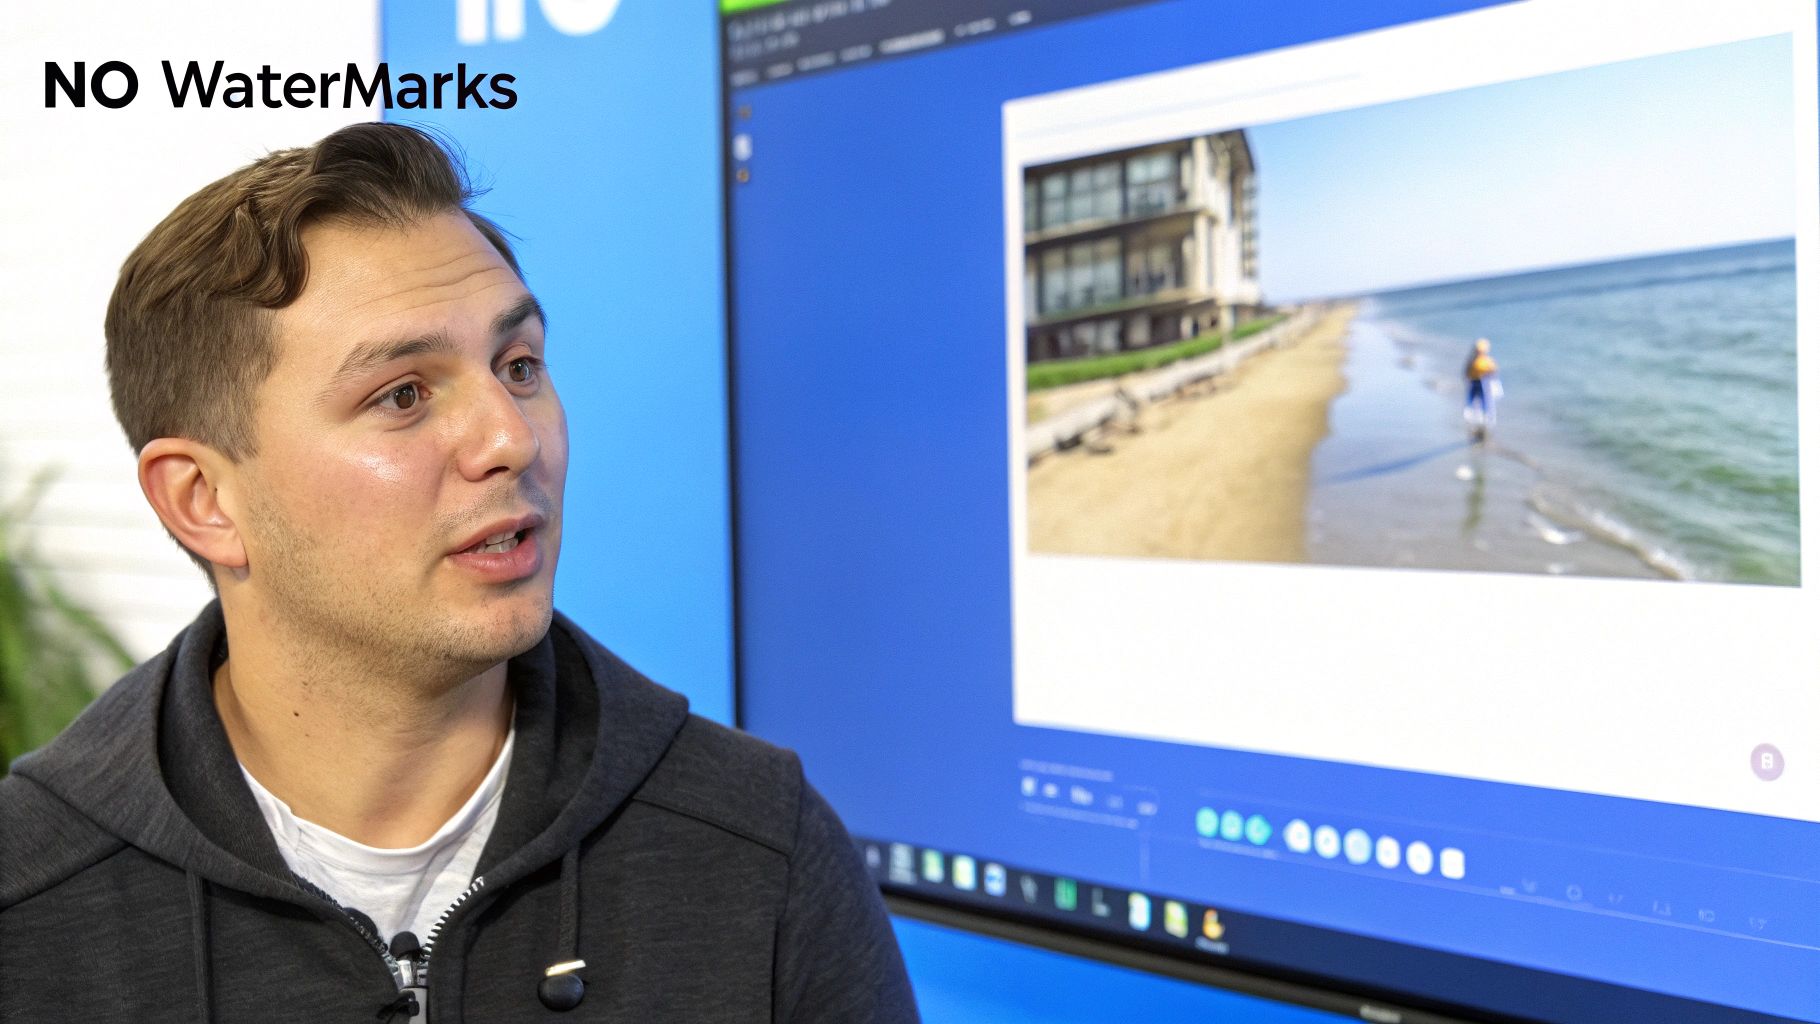
Another dead giveaway that a video is just a repost is a clunky watermark. A lot of the free download tools out there will slap their logo right on your content, which instantly cheapens your brand and can even signal to the algorithm that it's low-effort.
It's the same deal if you're pulling a clip that's already made the rounds on another platform like TikTok. That little ghost or musical note watermark is a red flag. Instagram's algorithm is smart enough to know when content wasn't made for it, and it tends to deprioritize videos that look like they came from somewhere else.
A clean, unbranded video is non-negotiable for performance. Algorithms on platforms like Instagram are designed to favor native-looking content, and a watermark from a competing app or a random tool is a dead giveaway that your video is a repost.
So, how do you keep things clean? Your best bet, always, is to work from your original master video file. This is the pure, unadulterated version with no logos or watermarks from YouTube or anywhere else.
If you absolutely have to download the video, it’s worth investing in a good tool that offers watermark-free downloads. It might cost a few bucks, but it's a tiny price to pay to make sure your content looks professional and actually gets seen.
Here’s a quick breakdown to make the audio situation crystal clear:
| Music Source | Usage on YouTube | Usage on Instagram | Risk Level |
|---|---|---|---|
| YouTube Audio Library | Licensed for YouTube use only | Not licensed for Instagram | High Risk |
| Epidemic Sound (Your License) | Covered under your subscription | Covered if your license includes IG | Low Risk |
| Instagram Music Library | Not applicable | Licensed for Instagram use only | Safest Option |
Paying attention to these details—both legal and aesthetic—sets every video up for success. You're not just dodging penalties; you're showing up professionally, which is what builds a real, engaged audience. This is how you protect your channel and build a brand people trust.
Automating Your Workflow To Save Hours Of Work
Let's be real: manually downloading, trimming, reframing, and captioning every single clip is a fast track to burnout. It’s a grind. While getting the process down is important at first, it’s just not sustainable if you plan to consistently post videos on Instagram from YouTube. This is the point where you need to shift from working harder to working smarter.
The secret to scaling your content output without losing your mind is automation. This isn’t about sacrificing quality for speed. It’s about using smart tools to handle the repetitive, soul-crushing tasks so you can get back to focusing on strategy and creative ideas. Imagine turning one 20-minute YouTube video into ten polished, ready-to-post Instagram Reels in the time it takes to make a coffee. That's the goal.
Let AI Handle The Heavy Lifting
This is where AI-powered platforms like ShortsNinja come into play. They’re built specifically for this job. You feed them a long-form YouTube video, and they intelligently find the most engaging, shareable moments, then automatically reformat them into vertical, captioned clips perfect for Instagram. It’s way more than just a simple video trimmer.
These tools basically create a production line for your content:
- Smart Clip Selection: The AI finds the most viral-worthy segments based on your dialogue and what's happening on screen.
- Automatic Reframing: It intelligently keeps the main subject centered in the new 9:16 aspect ratio, so you don't have to.
- Dynamic Captions: You get accurate, animated subtitles to grab the attention of viewers scrolling with the sound off.
- Branding Elements: Automatically add your logo, brand colors, and other assets to every clip for a consistent look.
The ShortsNinja interface shows just how simple this can be. You just drop in a link, and the AI gets to work.
A complex, multi-step editing process gets boiled down to a few clicks. Suddenly, high-volume content creation isn't just for big teams with huge budgets.
This level of automation is a genuine game-changer. For a deeper look at the techniques involved, check out our guide on 5 ways to automate your video content creation. When you adopt systems like this, you get back your most valuable resource: time.
The Tangible Results Of An Automated Workflow
Automating your repurposing isn't just about being more efficient—it directly impacts your growth and your bottom line. The proof is in the engagement numbers. Data shows Reels pull in an average engagement rate of 1.23%, easily beating static images. Better yet, videos that feature a human face can see a 25% higher click-through rate. An automated system lets you pump out these high-performing assets without the manual slog.
By automating the tedious parts of content creation, you guarantee consistency. You can schedule posts for weeks in advance, ensuring your audience always has fresh content. That’s a huge signal to the Instagram algorithm to keep pushing your profile.
This consistency builds momentum that’s nearly impossible to maintain with manual editing. To really streamline your entire process, you can also learn how to post to Instagram from your PC. Combining an automated creation tool with an efficient desktop posting method creates a powerful, end-to-end workflow. You stop being a video editor and become a content strategist, overseeing a system that works for you 24/7.
Crafting An Instagram Post That Drives Engagement
Alright, so your perfectly chopped-up video is ready to go. But hold on—the work isn't over just yet. How you package that video with a caption, hashtags, and a solid cover image is what separates a post that gets scrolled past from one that actually stops people in their tracks.
A great caption does more than just state the obvious. It’s your chance to stop the scroll and start a conversation. Instead of a bland description, try pulling your audience in with a quick story that gives the clip some context. This creates an immediate hook and makes people care.
Another trick I swear by is ending the caption with a direct question. And I don't mean just asking for a "like." Ask something specific that gets people thinking, like, "What's the biggest hurdle you're facing with X right now?" or "Ever tried this method? Tell me how it went." It’s a small shift, but it can make a massive difference in your comment section.
Developing A Modern Hashtag Strategy
The old days of just slapping 30 generic hashtags on a post are long gone. To really push your content beyond your existing followers, you need a smarter, more strategic mix. The goal is to show up in smaller, more relevant search results where you can actually compete, not just get buried in the big ones.
A balanced approach works best. Here's how I think about it:
- Broad Industry Tags (2-3): These are your high-traffic keywords like
#videomarketingor#contentcreator. They cast a wide net and give your post some initial visibility. - Niche Community Tags (3-5): Now, get more specific. Think
#youtubetipsandtricksor#instagramgrowthhacks. These connect you with a much more targeted and passionate crowd. - Video-Specific Tags (2-3): Finally, describe exactly what's in the video. Tags like
#videoeditingtutorialor#captionwritinghelp people find your content when they're searching for a solution to a specific problem.
Mixing your hashtags like this is a proven strategy. I've put together a sample table to show how you can structure your own approach for maximum impact.
Effective Hashtag Strategy Mix
| Hashtag Type | Example | Purpose |
|---|---|---|
| Broad Industry | #digitalmarketing |
Casts a wide net for general visibility. |
| Niche Community | #socialmediamanagers |
Targets a specific, engaged professional group. |
| Video-Specific | #repurposingcontent |
Describes the exact topic for solution-seekers. |
| Branded Tag | #shortsninjatips |
Builds community and user-generated content. |
| Location-Based | #nyccreators |
Connects with a local, relevant audience. |
This layered method ensures you’re not just shouting into the void. You're strategically placing your repurposed YouTube video right where the people who need it will find it.
Your cover image, or thumbnail, is the single most important visual element. It’s what people see before they decide to watch. Choose a compelling, high-quality frame from the video—ideally one that shows a clear action or an expressive face—and consider adding a bold text headline to give instant context.
Finally, let's talk timing. Don’t just post your video the second you finish editing it. Jump into your Instagram Insights and figure out when your audience is actually online and active. Posting during these peak hours gives your video the best possible launchpad to gain that crucial early traction, which is a huge signal to the algorithm. When you post videos on Instagram from YouTube, combining great editing with a thoughtful posting strategy is how you make sure all your hard work pays off.
Got Questions About Repurposing? Let’s Clear Things Up
Even with the best game plan, you’re bound to hit a few snags when you start repurposing your videos. Knowing the answers to these common questions can be the difference between a frustrating afternoon of trial-and-error and a workflow that just clicks.
Let's tackle the questions I hear most often from other creators.
Can I Post A YouTube Video Directly To Instagram?
The short answer is a hard no. You can't just hit a "share to Instagram" button on YouTube and expect a native Reel or Feed post to appear. The platforms are fierce competitors, and they definitely aren't built to play nicely together.
To do it right, you have to download your own video first. From there, it’s all about re-editing and reformatting it for Instagram’s world. That means cropping it to a vertical 9:16 aspect ratio, chopping it down to fit the time limits (like under 90 seconds for Reels), and then uploading it as a completely new file. It’s the only way to make your content look like it belongs there and get any love from the algorithm.
Is It Legal To Repost Someone Else's YouTube Video?
This is a big one, and the answer is almost always no. Grabbing someone else's content and reposting it without their explicit, written permission is a surefire way to violate both YouTube's terms and copyright law.
This entire guide is built around one core idea: repurposing your own original work. If you stumble upon a clip from another creator that you’d love to share, you absolutely have to get their permission first. Trying to lean on "fair use" is a murky, legally dangerous road that you should avoid unless you’ve got a lawyer on speed dial.
The golden rule here is simple: if you didn't make it, you don't own it. Stick to your own stuff to keep your account safe from copyright strikes and legal headaches.
How Do I Avoid A Quality Drop When Posting To Instagram?
There’s nothing worse than watching your perfectly crisp video turn into a blurry, pixelated mess on Instagram. To sidestep this, your strategy has to start way back at the source file. Always, always download your video from YouTube in the highest resolution available—ideally 1080p or 4K.
Next up is the editing phase, where your export settings are everything. To give Instagram the best possible file to work with, dial in these specs:
- Codec: H.264
- Frame Rate: 30 frames per second (fps)
- Bitrate: Around 3,500 kbps
- Audio: AAC
Finally, don't overlook your internet connection. Uploading from a spotty cellular network is like asking for Instagram to hit your video with its heaviest compression. For the best results, always upload your final cut over a stable Wi-Fi connection. It makes a huge difference.
Tired of the manual grind? ShortsNinja uses AI to instantly turn your long videos into dozens of viral-ready clips. Stop editing and start growing. Give it a try at https://shortsninja.com.