
So, you want to post a YouTube video to Instagram? You can't do it directly, but don't let that stop you. The real magic is in repurposing your long-form content into snappy, engaging clips perfectly suited for Reels, Stories, and your main feed. It's all about grabbing that original video file, reformatting it for a vertical world, and tailoring it for Instagram's fast-paced, scroll-happy audience. This is one of the smartest ways to get a much bigger return on the hard work you've already put in.
Why Bother Posting YouTube Videos to Instagram?
Honestly, repurposing your YouTube content is one of the most effective growth hacks out there. It’s about connecting with a completely new audience that you're probably missing right now. The way people behave on these two platforms is night and day, and once you get that, you can unlock some serious growth.
People go to YouTube for a deep dive, ready to settle in for some education or longer entertainment. On Instagram? They’re there for quick, snackable content and instant discovery. If you’re not bridging that gap, you’re leaving a massive audience on the table.
Think of it this way: your YouTube video is the main event, the feature film. Your Instagram posts are the exciting trailers that get people hyped and convince them to buy a ticket.
Here’s what that looks like in practice:
- Massive Audience Expansion: You’re tapping into a whole different crowd, one that lives on short, vertical videos, not 10-minute landscape epics.
- More Content, Less Work: That one 15-minute YouTube video? You can easily slice it into five or more high-performing Reels. Suddenly, you've got a week's worth of content from a single recording session. This is a core idea behind smart content repurposing strategies.
- Become the Go-To Expert: A consistent presence on both platforms drills your brand and expertise into people's minds. Before you know it, you're a recognized authority in your niche.
- Get More Bang for Your Buck: You squeeze so much more value out of the hours you poured into scripting, shooting, and editing that original YouTube video.
The Secret is Making it Feel Native
To really nail this, the first step is understanding the Instagram platform itself. You have to get inside the head of the Instagram user and its unique content ecosystem.
Just slapping a horizontal clip onto Instagram with huge black bars on the top and bottom isn't going to fly. The goal is to make the content feel like it was made for Instagram. That means a 9:16 aspect ratio, jumping on trendy audio for Reels, and using interactive stickers for your Stories.
Cross-posting from YouTube to Instagram Reels is a proven strategy that top creators use all the time. In fact, Reels often have a longer shelf life than YouTube Shorts, with an average growth period of up to 75 days. That shows just how powerful they are at engaging users long after you hit "publish."
When you treat each platform as its own unique channel, you build a powerful, interconnected content engine. Your Instagram Reels act as hooks, pulling curious viewers over to the full, in-depth video on your YouTube channel. This creates a cycle of discovery and engagement that builds a loyal community across both platforms.
Getting Your Video File Ready for Instagram
To successfully post a YouTube video to Instagram, your first move happens long before you ever open the Instagram app. It all starts with the source material. Getting the technical details right is what separates a professional-looking post from an amateurish one that just gets scrolled past.
Always Start with the Original File
Whenever you can, dig up the original, high-resolution video file you first uploaded to YouTube. This is your master copy—the uncompressed version that hasn't been squeezed and processed by YouTube's servers. Starting here gives you the highest possible quality to work with, ensuring your final clip for Instagram is sharp and clear.
It might feel easier to just download your video back from YouTube, but that creates a problem. The downloaded file is a compressed copy, meaning it's already lost some visual data. Editing and re-exporting this file will compress it again, leading to a noticeable drop in quality. Think pixelation, blurriness, and weird visual artifacts.
If you've misplaced the original, your next best bet is to download your own content directly from YouTube Studio. This is a much safer option than using sketchy third-party downloaders. While it's still not as good as the true original, it's the best alternative you've got.
The basic flow is simple: start with your high-quality original, reformat it for a new platform, and then publish it as a native post.
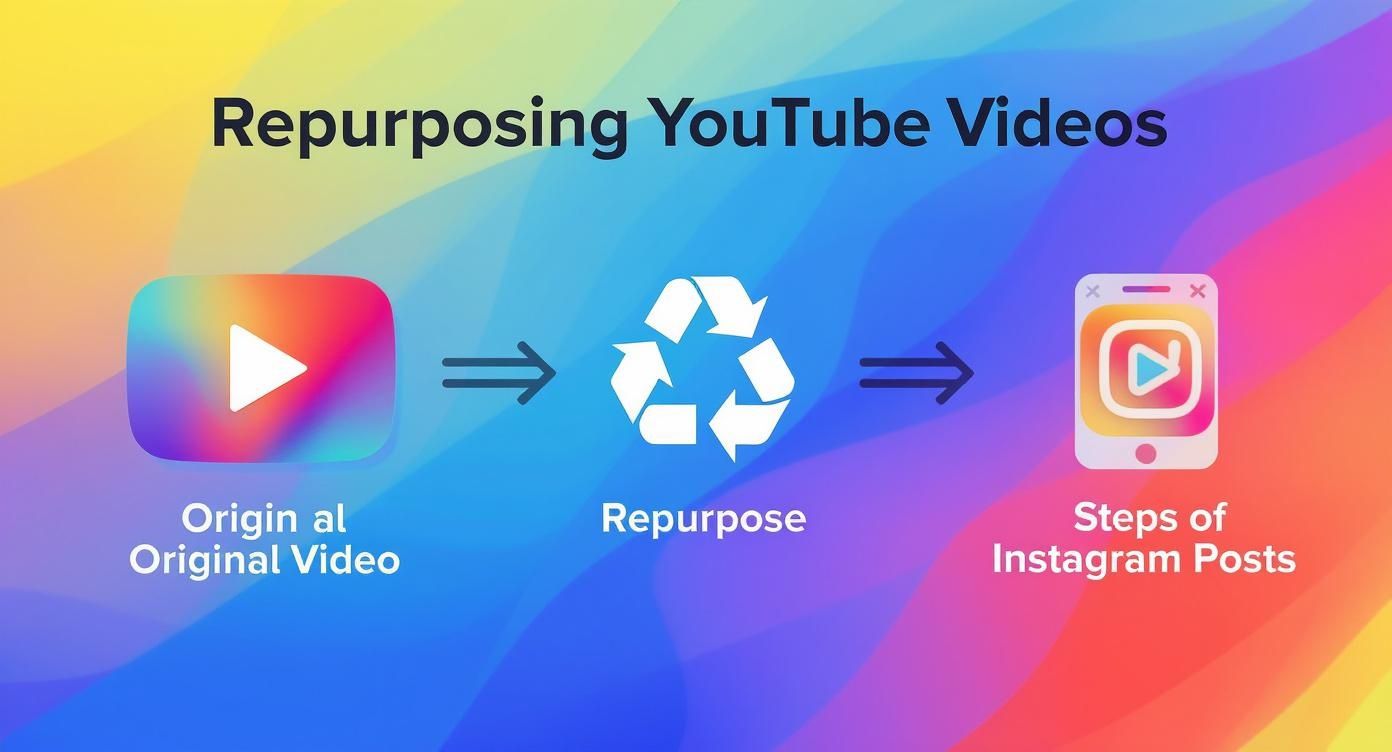
This workflow isn't just about cross-posting; it's about thoughtfully adapting your content to give it the best chance of success with an Instagram audience.
Master the Art of Trimming
Instagram is built for speed. Your 10-minute deep-dive from YouTube simply won't fly here. The next step is to trim that longer video into a short, impactful clip that grabs attention right away.
Think of it like cutting a movie trailer. You aren't telling the whole story, just showing the most exciting or valuable moments to make people want more.
- For Instagram Reels: Keep it under 90 seconds. The real sweet spot for engagement is usually between 15 and 30 seconds. Find a single, powerful tip, a hilarious outtake, or a dramatic reveal.
- For Instagram Stories: Each slide is capped at 60 seconds. This is perfect for quick behind-the-scenes snippets or short Q&A moments pulled from your main video.
- For Instagram Feed Posts: You can technically post up to 60 minutes, but videos under one minute almost always perform better. This format is great for mini-tutorials or key takeaways.
The goal is to deliver a complete, satisfying piece of micro-content that can stand on its own while also teasing the full-length video on your YouTube channel.
The key to effective trimming is finding the "hook." Scour your YouTube video for that one sentence, visual gag, or surprising statistic that would make someone stop their endless scroll. That becomes the foundation of your Instagram clip.
Reformatting for a Vertical World
Once your video is trimmed down, it’s time to tackle the most important technical tweak: the aspect ratio. YouTube is a horizontal 16:9 world, but Instagram is a vertical-first platform.
Posting a horizontal video directly to Instagram leaves you with those ugly black bars at the top and bottom. It immediately screams "lazy repost" and tanks engagement. You have to reformat your video to a vertical 9:16 aspect ratio to fill the entire mobile screen for a much more immersive experience.
This process is more than just changing dimensions; it requires thoughtful cropping and reframing. You need to make sure the main subject or action stays in the center of the new vertical frame.
Imagine your horizontal video has two people talking on opposite sides of the screen. In a vertical crop, you might have to cut back and forth between them or use some creative zoom-and-pan moves to keep the active speaker in view. Many modern video editors have smart reframing tools that can help automate this, but doing it manually often gives you more control over the final look. For a deeper dive, check out our guide on the best aspect ratios for social media platforms in 2025.
By starting with a high-quality file, trimming for impact, and reframing for a vertical screen, you’re not just reposting. You're adapting your content to thrive on a completely different platform.
Once you’ve trimmed down your YouTube video and reframed it for a vertical screen, the real work begins. Just dropping the same clip into Reels, Stories, and your main Feed is a huge missed opportunity. Each format has its own vibe, its own audience, and its own unspoken rules.
Think of it this way: your long-form YouTube video is the full-course meal. Your Instagram content needs to be a series of perfectly crafted appetizers, each designed for a different moment. Posting the same thing everywhere is like serving a fancy steak tartare at a kid's birthday party—it just doesn't fit the context.
To really nail how you post a YouTube video to Instagram, you have to master the art of adaptation. It’s about tailoring every single clip to meet the expectations of each specific placement. This is how you go from just being on the platform to actually making an impact.
Crafting Attention-Grabbing Instagram Reels
Reels are your discovery engine. This is where you have the best shot at reaching people who have no idea who you are. The goal here is simple: grab their attention with something entertaining or valuable, and do it fast.
People scroll through Reels at a dizzying pace. You have maybe 1-2 seconds to make them stop. That means your clip needs to be high-impact from the absolute first frame. Forget slow intros. Jump straight into the action, the punchline, or the most valuable nugget of advice.
For example, let's say your YouTube video is a 15-minute tutorial on baking sourdough bread. A perfect Reel would be a 20-second, hyper-fast montage of the most satisfying moments: the dough stretching, the crust crackling, and that final, perfect slice. It’s all about the visual payoff.
Here are a few strategies that just plain work for Reels:
- Jump on Trends: Use trending audio or a popular visual effect. The algorithm loves this stuff and often gives content using these features an instant visibility boost.
- Deliver Quick Value: Create a "micro-tutorial" or share one powerful tip from your longer video. Make it something a viewer can learn and use in under a minute.
- Focus on the Loop: Edit your Reel so the end flows seamlessly back into the beginning. This encourages people to watch it over and over, which is a massive positive signal to the algorithm.
A Reel’s job isn't to tell the whole story. Its job is to spark curiosity. You want a non-follower to watch it and think, "Wow, that was cool. I wonder what else they’ve got?"
Leveraging Urgency and Interaction with Stories
Instagram Stories are all about building a relationship with the people who already follow you. This format is way more casual, personal, and it disappears after 24 hours, which creates a natural sense of urgency. It’s the perfect spot for behind-the-scenes content and direct community engagement.
While Reels are for reaching new people, Stories are for nurturing the ones you already have. The content here should feel less polished and more "in the moment."
Imagine your YouTube video was a travel vlog. You could pull short, candid clips from your B-roll—the stuff that didn't make the final cut—and share them on your Story. This gives your followers an exclusive peek behind the curtain and makes them feel like insiders.
To really make your Stories pop, lean into Instagram's built-in interactive features:
- Polls & Quizzes: Ask your audience questions related to your video topic. Something like, "Which of these editing mistakes are you guilty of? (Quiz from today's new YouTube video!)"
- Question Stickers: Encourage followers to ask you anything about the topic. This creates a mini Q&A session that builds a genuine connection.
- Link Stickers: Use a clear call-to-action to send people directly to your full YouTube video. A simple "Watch the full tutorial now!" can be incredibly powerful.
Delivering Value on Your Instagram Feed
Your Instagram Feed is your brand's curated portfolio. It's your highlight reel, the place where you showcase your very best, most valuable content. While Reels are for discovery and Stories are for connection, Feed posts are all about establishing your authority and encouraging people to save and share your stuff.
A video on your Feed should provide a complete, self-contained piece of value that someone would want to come back to.
If your YouTube video is a product review, a great in-feed post would be a one-minute clip demonstrating the single most impressive feature. The clip should stand on its own, providing a complete thought or piece of information without needing extra context.
To help you keep it all straight, here’s a quick-reference guide comparing the key technical requirements and strategic uses for each format.
Instagram Video Format Specifications and Best Practices
| Format | Aspect Ratio | Max Length | Best For | Key Features |
|---|---|---|---|---|
| Reels | 9:16 | 90 seconds | Discovery & Reach | Trending Audio, Visual Hooks, Fast Edits |
| Stories | 9:16 | 60 seconds/clip | Community & Urgency | Polls, Quizzes, Link Stickers, Q&As |
| In-Feed Video | 1:1 or 4:5 | 60 minutes | Authority & Saves | High-Value Info, Strong Captions, Carousels |
By strategically choosing which parts of your YouTube video to use for each format, you create a much more effective Instagram presence. Each piece of content serves a distinct purpose, and together, they work to grow your audience, engage your community, and build your credibility.
Adding Instagram-Native Features to Your Video
Once your YouTube clip is trimmed and resized into a vertical powerhouse, the final step is to make it feel like it actually belongs on Instagram. This is more than just getting the dimensions right; it's about adding the native elements that Instagram users expect to see. A raw clip, even if perfectly framed, just feels out of place and will get scrolled past in a heartbeat.
This is where you add personality and make the video accessible, even for someone watching in a silent waiting room. The goal is to transform your clip so it looks like you made it specifically for the Instagram audience.
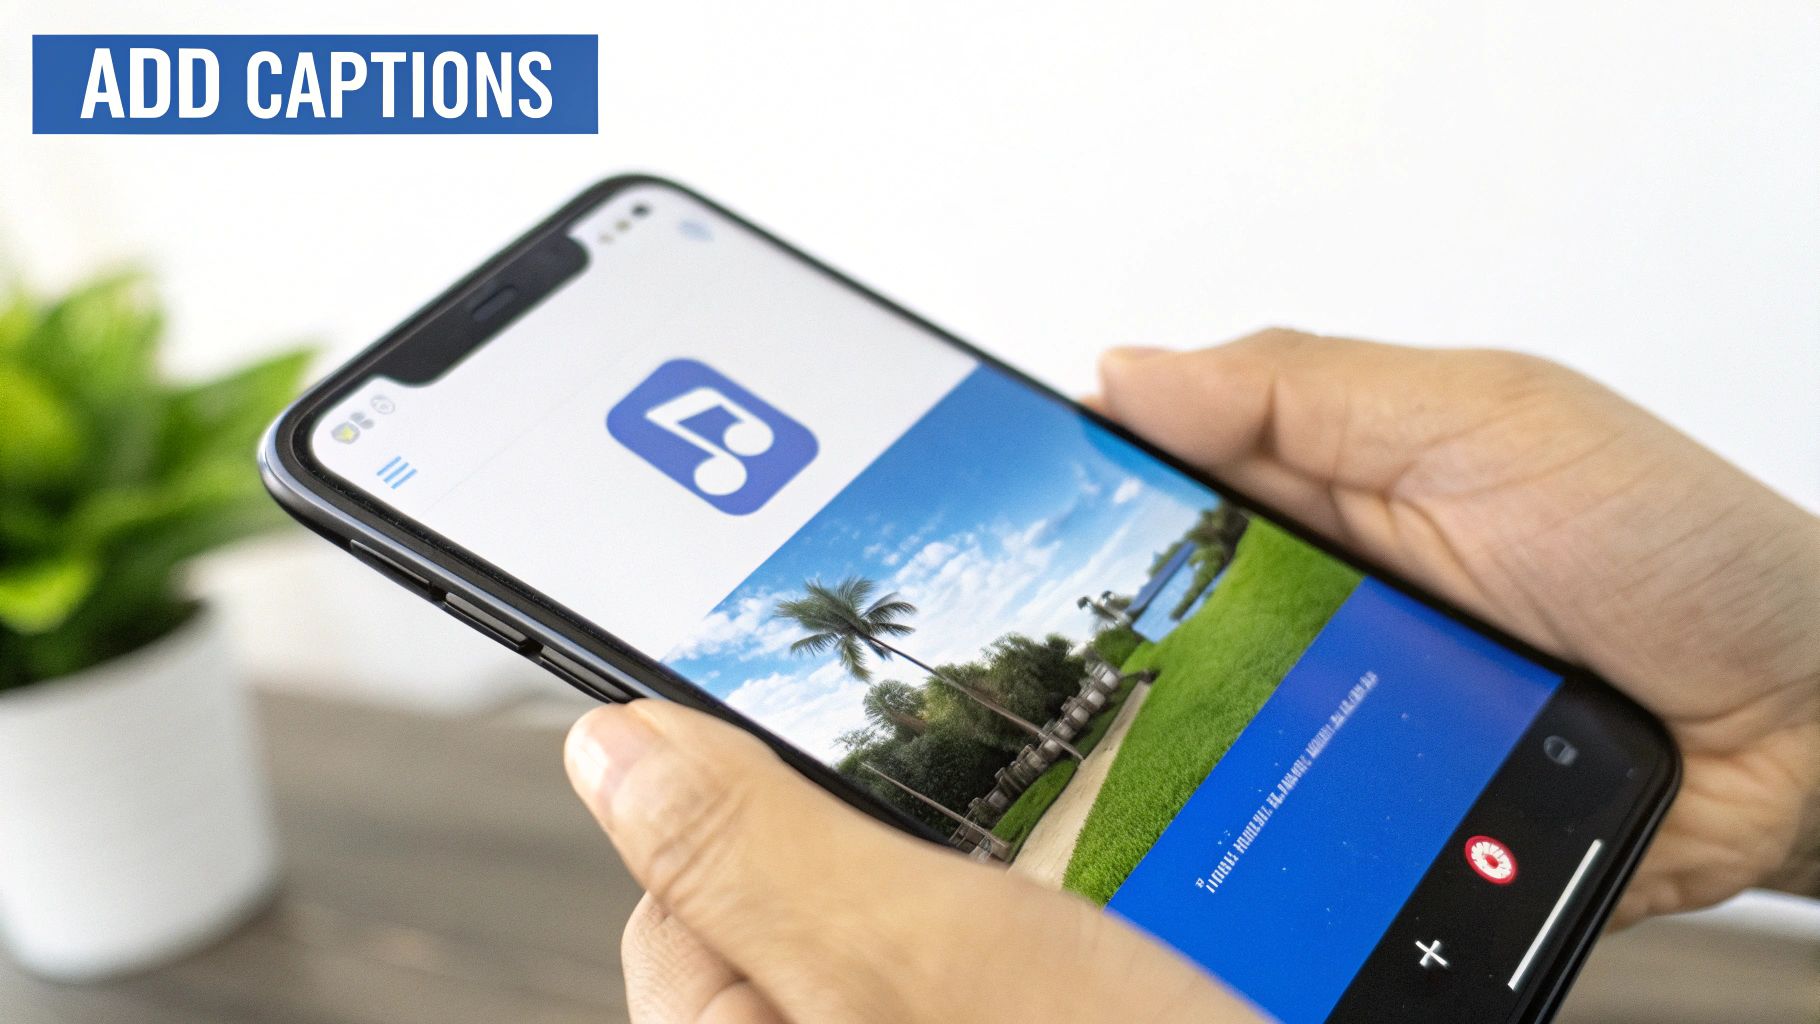
Subtitles Are Non-Negotiable
Let's get this out of the way first: your video absolutely needs captions. A massive chunk of users watch videos with the sound off, especially when scrolling in public. If your message relies on someone speaking, you're losing a huge part of your audience right off the bat without subtitles.
Adding captions makes your content instantly more accessible and ensures your message lands, whether the viewer is in a noisy environment or simply prefers to watch silently.
- Clarity is Key: Use a bold, easy-to-read font. Avoid tiny text or overly stylized fonts that are hard to read on a small phone screen.
- Placement Matters: Position the captions in the lower-middle portion of the screen, making sure they don't cover important visuals or get cut off by Instagram's interface elements at the bottom.
- Pacing the Text: Make sure the captions appear in sync with the speech. Most modern video editors have auto-captioning features that you can then tweak for perfect timing and accuracy.
Think of captions as a visual hook. Sometimes, a compelling line of text is what actually makes someone stop scrolling and decide to turn the sound on.
Leverage Trending Audio and Music
One of the fastest ways to get a Reel noticed is by jumping on a trending audio track. The Instagram algorithm often gives a nice little boost to content that uses popular sounds, helping your video find a new audience organically. When you post a YouTube video to Instagram, layering in a trending track can make it feel more current.
You don't have to ditch your original audio, either. A common trick is to lower the volume of the trending music so it acts as a subtle background layer, while your original voiceover or dialogue remains front and center.
This simple addition signals to the algorithm that your content is part of a larger trend, increasing its chances of being shown on the Reels tab to people who have engaged with that sound before. It’s a low-effort, high-reward move.
Use Text Overlays for Emphasis and CTAs
Beyond just subtitles, text overlays are a powerful way to add context, highlight key points, and guide your audience. These are the bold, often animated text elements you see popping up in successful Reels.
Think of them as signposts that keep the viewer engaged and make your message stick.
- Emphasize Key Points: Got a surprising statistic or a critical takeaway in your clip? Make it pop with a bold text overlay. For instance, if you say, "This one trick increased my sales by 50%," have that number appear on screen as you say it.
- Add Context: Use text to introduce the topic right at the start. A simple title like "3 Common Blogging Mistakes" immediately tells the viewer what to expect and why they should stick around.
- Drive Action: This is your chance to add a clear call-to-action (CTA). Since you can't put clickable links in Reel captions, a text overlay that says "Full tutorial on YouTube! Link in bio!" is essential for driving traffic back to your channel.
Optimizing Your Post for Maximum Reach

Hitting "share" isn't the finish line. Honestly, it's just the beginning. You’ve done the hard work of trimming and reformatting your YouTube clip, but what you do next is what separates a video that thrives from one that gets lost in the noise.
Think of the caption, hashtags, and tags as signals you're sending to the Instagram algorithm. Each one tells the platform what your video is about and, more importantly, who needs to see it. Getting these details right is the secret sauce when you post a YouTube video to Instagram and actually want it to perform.
Writing a Caption That Hooks and Converts
Your video might be the star of the show, but your caption is what gets people to stop scrolling and actually watch. A lazy, uninspired caption can tank the performance of even the most incredible clip.
A caption that really works usually follows a simple flow:
- The Hook: Kick things off with a bold statement, a question that sparks curiosity, or a relatable problem. That first sentence is everything, so make it count.
- The Value: Quickly tell people what the video is about or what they'll get out of it. You don't need to spoil the whole thing—just give them a reason to press play.
- The Call-to-Action (CTA): End with a clear, direct instruction. Tell your audience exactly what to do next, whether that’s dropping a comment, saving the post, or hitting the link in your bio for the full YouTube video.
Your caption should be an extension of your video, not just a description of it. Use it to spark a conversation, add extra context that didn't fit in the clip, or build a stronger connection with your audience.
A Modern Hashtag Strategy That Works
Gone are the days of just slapping 30 generic hashtags on a post and calling it a day. Today's game is all about layering different types of tags to attract your ideal audience from multiple angles. It’s like casting several specialized fishing nets instead of one giant, generic one.
A well-rounded hashtag mix usually includes a few from each of these buckets:
- Broad Hashtags (1-2): These are the high-volume heavy hitters like
#videomarketingor#contentcreator. They give you a quick, short-term visibility spike but you’re competing with a ton of other posts. - Niche Hashtags (3-5): Now we're getting specific. Think
#youtubetipsor#repurposingcontent. These bring in a more targeted audience that’s genuinely looking for what you're offering. - Community Hashtags (2-3): These are the tags your specific industry or community rallies around, like
#socialmediamanagersor#solopreneurlife. They help you connect with peers and potential collaborators. - Branded Hashtags (1): Don't forget your own unique hashtag! It’s perfect for organizing your content and encouraging your followers to create posts related to your brand.
By blending these together, you give your post the best shot at being discovered by a wide yet highly relevant audience. For a deeper dive, check out these expert-approved Instagram Reels best practices to really sharpen your strategy.
Final Touches for Maximum Visibility
Beyond the caption and hashtags, there are a few final moves that can give your post a serious boost in reach and engagement. Don't skip these—they're simple but surprisingly effective.
Tag Relevant Accounts and Locations
Did your video mention another creator, a brand, or a specific tool? Make sure you tag their account in the video and the caption. This sends them a notification, and if you're lucky, they might share your post with their own audience. Adding a location tag—even a general one like your city—can also help your content show up in local searches.
Design a Custom Cover Photo
For Reels and in-feed videos, the cover photo is your post's first impression on your profile grid. Never let Instagram just pick a random, blurry frame. Take a minute to create a simple, on-brand cover image with a bold title that tells people exactly what the video is about. It makes your profile look way more professional and tempts people to click.
This whole approach is about multiplying your chances for discovery. For instance, when you let Instagram cross-post your Reels to Facebook, you're tapping into a massive audience of 2.96 billion monthly active users. This simple trick can lead to up to three times more exposure for your content.
Got Questions About Repurposing Videos?
Turning a YouTube video into killer Instagram content can bring up a lot of questions. It's totally normal. Platform nuances are tricky, and getting clear answers is the first step to building a strategy that actually works.
Let's walk through some of the most common questions I hear from creators. Nailing these details will help you skip the usual mistakes and get straight to making content that performs.
How Long Should My Instagram Reel Be?
Instagram Reels can run up to 90 seconds, but that doesn't mean you should use all of it. In a world of endless scrolling, attention is gold. Shorter is almost always better.
I tell everyone to aim for punchy, high-energy clips between 15 and 30 seconds. That’s the sweet spot. It's just enough time to deliver a quick hit of value or entertainment that gets people to watch again or hit the share button. The goal is to find the most "clippable" moments in your longer YouTube videos—the single best tip, the funniest joke, or the most surprising insight—and build your entire Reel around that one moment.
Does Instagram Penalize Videos with Watermarks?
The short answer? Yes. While Instagram hasn't put out an official statement saying "we punish watermarked content," the algorithm's behavior is pretty clear. The platform wants to feel like a hub for original, native content. Videos with a big TikTok or YouTube watermark plastered on them just don't get the same love.
Your content should always feel like it was made for the platform it’s on. A watermark from a rival app instantly shatters that illusion. It tells the algorithm this is just a lazy repost, and your reach will likely suffer for it.
This is exactly why you should always start with your original, clean video file. If you want to add your own branding, be subtle about it. A small, tasteful logo in a corner is a much smarter play than a huge watermark that screams, "I made this for somewhere else."
Can I Post the Same Clip Everywhere?
You can, but you absolutely shouldn't. Dropping the exact same video edit into your Reels, Stories, and Feed is a rookie move that just doesn't work. Each format has a different job and a different audience expectation. If you treat them all the same, you're leaving engagement on the table.
- Reels are for Discovery: This is where you reach people who have no idea who you are. The clip needs a killer hook in the first three seconds, trendy audio, and quick cuts to stop the scroll.
- Stories are for Connection: Think of this as your inner circle. It’s for your current followers. Use interactive stickers like polls and quizzes to start conversations and drive traffic with a link sticker.
- Feed Posts are for Authority: Your feed is your highlight reel, your professional portfolio. Use these video posts to share self-contained, high-value tips that encourage people to save and share, cementing you as an expert.
If you want to go deeper on getting the most out of every piece of content you create, it's worth exploring some smart content repurposing strategies. A little extra effort in tailoring your edits pays off big time.
Ready to turn one idea into a dozen high-quality short videos? With ShortsNinja, you can script, generate AI visuals, add realistic voiceovers, and schedule your content for TikTok, YouTube, and Instagram in just minutes. Try ShortsNinja for free and see how fast you can grow your channels.