
A storyboard is essentially a comic-strip version of your video. It’s a series of drawings that map out every single shot, complete with notes on camera angles, dialogue, and sound effects. This visual script is your blueprint, making sure your vision is crystal clear before you ever press record. It's the one step that saves a massive amount of time, money, and headaches down the road.
Why a Storyboard Is Your Video's Secret Weapon
Before we get into the nuts and bolts of how to make a storyboard, let’s talk about why it's such a game-changer. This isn't just some pre-production busywork; it's the strategic foundation that turns a decent idea into a polished, powerful video. Think of it like an architect's blueprint. You wouldn't build a house without one, right? The same logic applies here.
This visual roadmap is your first defense against the common traps that drain budgets and kill creativity. It forces you to turn abstract ideas into concrete scenes, letting you spot problems when they’re still just pencil marks on paper.
Aligning Your Creative Vision
One of the toughest parts of any project—whether you're flying solo or working with a big crew—is getting everyone on the same page. A script is great, but words can be interpreted in a dozen different ways. A storyboard cuts right through that ambiguity.
- For Teams: It becomes the single source of truth. Directors, camera operators, editors, and clients can all see exactly what a shot should look like, from where a character stands to the posters on the wall behind them. No more guessing.
- For Clients: It’s the perfect way to get sign-off before the expensive work begins. A client can look at a simple drawing and say, "Can we move this here?" That conversation is infinitely cheaper than having it during a reshoot.
This kind of alignment shuts down misunderstandings that lead to frustrating and costly revisions later. It turns a subjective script into an objective, visual plan everyone can rally behind.
Saving Time and Money
Wasting time on set is like burning cash. Without a plan, crews can spend hours debating camera angles or figuring out a smooth transition between scenes. A storyboard solves all of that by planning every shot in advance.
By seeing the entire video laid out beforehand, you can spot logistical nightmares—like a weird transition or a camera move that's way too complicated—and fix them on paper, not on a pricey film set. That foresight is the difference between a smooth, efficient shoot and a chaotic one.
It also helps you build a precise shot list, so you only film what you actually need. You avoid shooting tons of extra footage that just eats up hard drive space and an editor’s precious time. The power of storytelling in video is strongest when every shot has a purpose, and a storyboard locks that principle in place. It all adds up to a faster, leaner workflow that directly benefits your bottom line.
Setting the Stage Before You Draw Anything
A great storyboard doesn't start with sketches. It starts with strategy.
I’ve seen it a hundred times: someone gets a great video idea and immediately jumps into drawing frames. It feels productive, but it's like trying to build a house without a blueprint. You might end up with something, but it probably won't be what you or your client actually needed.
The real work—the stuff that makes a video effective—happens long before a pen hits paper. It all comes down to defining exactly what your video needs to accomplish.
This early stage is all about asking the right questions. What's the one thing you want the viewer to remember? Is the goal to teach something, get a laugh, drive a sale, or just build some brand love? Nail this down first, and every creative decision you make later becomes a thousand times easier.
Define Your Core Message and Goal
First up, your core message. Think of it as the "why" behind your video, boiled down to a single, punchy sentence. For example: "Our new software saves small businesses an average of 10 hours per week on admin tasks." This is your north star. It keeps everything focused.
With that message clear, you can define the goal—the specific action you want the viewer to take.
- To Educate: The goal might be to teach a user how to master a specific feature.
- To Entertain: Maybe the goal is just to boost watch time and build a loyal following.
- To Convert: This is all about driving a purchase, a download, or a sign-up.
Knowing your goal shapes the entire vibe of the video. An educational piece will have a totally different tone, pace, and call-to-action than something designed to be purely entertaining.
This initial planning isn't just busywork; it has a direct impact on your entire production workflow.
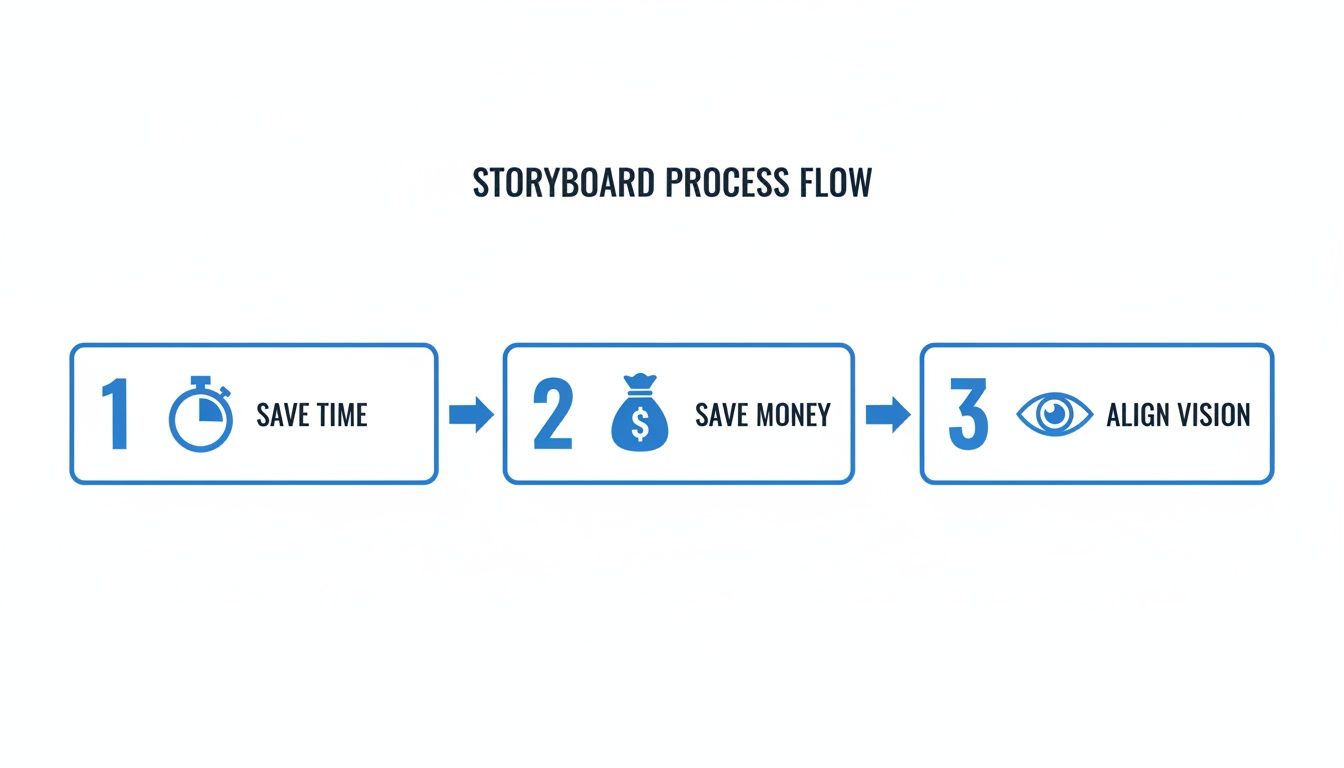
As you can see, getting aligned early on prevents those costly "we need to reshoot everything" moments and makes sure the final video actually matches the original vision.
Craft Your Narrative Spine
Okay, message and goal are locked in. Now it's time to build the narrative spine of your video: the script or outline. This is the text-based foundation your visuals will bring to life. A solid script isn't just dialogue—it's the entire story arc. You need a hook, a problem, a solution, and a conclusion.
For short-form content, this is often a simple three-act structure: a killer hook to stop the scroll, the core value in the middle, and a crystal-clear call-to-action at the end. Don't stress about perfecting every single word right now. The point is to map out the narrative flow and identify the key talking points.
If you’re feeling a bit stuck, our guide on script writing for beginners has some practical tips to get your ideas down on paper.
Remember, the script is where you define the story's pacing. A good script helps you visualize how long each scene should last, which is crucial information for a storyboard.
Gather Your Essential Inputs
One last step before you draw a single frame. Compile all the necessary assets and guidelines into one place. This little checklist turns your storyboard from a simple creative exercise into a targeted tool built for results.
- Brand Guidelines: Grab your brand's color palette, logo rules, and fonts. This ensures everything looks consistent from the get-go.
- Key Talking Points: List out any specific phrases, stats, or features that absolutely must be in the video.
- Call-to-Action (CTA): What is the exact CTA? Is it "Swipe Up," "Visit Our Website," or "Download Now"? You need to know this upfront so you can build the final scene around it.
- Target Audience Persona: Who are you actually talking to? Understanding their pain points and what they care about will help you create visuals that truly connect.
Doing this groundwork is what makes the difference between a video that just looks nice and a video that actually works.
The Core Components of a Powerful Storyboard
With your strategy locked in, it's time to bring your ideas to life—or at least get them down on paper. This is where we shift from a simple script to building the actual frames that will become your video. A great storyboard isn't just a comic-strip version of your idea; it's the instruction manual for your entire production.
Think of each panel as a mini-story. It needs to have just enough detail to guide your camera operator, editor, and sound designer. That level of foresight is what separates shaky, amateur content from a polished, professional video.
Visualizing the Action and Framing
First things first: the visuals. Let’s get one thing straight—you don't need to be an artist. Stick figures and basic shapes are perfectly fine, as long as they get the point across.
What’s happening on screen? Is someone unboxing a product? Is a key statistic popping up? Your sketch just needs to capture that main action. To avoid any confusion, jot down a quick description next to each frame.
For instance, instead of a simple drawing of a smiling person, your note could clarify: "Protagonist smiles with relief after successfully using the app."
Just as important is planning how you'll capture that action. This is your chance to think like a director. It’s not just about what the audience sees, but how they see it.
- Shot Types: Is this a wide shot (WS) to set the scene? A medium shot (MS) for a conversation? Or a tight close-up (CU) to show a flicker of emotion? Note it down.
- Camera Angles: Think about perspective. Is the camera at eye level for a neutral feel? A low angle to make someone look powerful? Or a high angle to create a sense of vulnerability?
- Camera Movement: Simple arrows are your best friend here. A horizontal arrow shows a pan (where the camera pivots left or right), while an arrow pointing toward or away from your subject indicates a zoom or a dolly shot.
Getting specific cinematic techniques right, like mastering the over-the-shoulder shot, can make all the difference. These details are what turn a static drawing into a dynamic plan for filming.
Integrating Audio Cues and Dialogue
Video is a two-part experience, and your storyboard can't ignore what the audience will hear. Each panel should have a spot for audio notes that sync up perfectly with the visuals.
Don't leave any sound to chance. Map out the entire soundscape:
- Dialogue: Who’s talking? Write out the exact lines for that specific shot.
- Voiceover (VO): If you have a narrator, note the part of the script that aligns with that frame.
- Sound Effects (SFX): Is there a door creaking? A phone notification chime? Jot down any sound that adds to the story.
- Music Cues: Be specific about the mood. You could write "Tense, suspenseful music begins" or "Upbeat, optimistic track fades in."
Planning your audio alongside your visuals from the start is a pro move. It ensures the two elements work together to build the right mood and pace, saving you from the all-too-common mistake of treating sound as an afterthought.
Planning Transitions and Flow
A video isn’t just a slideshow of cool shots. The magic is in how they connect. Your storyboard is the perfect place to map out the transitions that will stitch your story together seamlessly. A clunky transition can completely break the spell and pull a viewer right out of the experience.
Think about how you'll get from one shot to the next.
- Hard Cut: This is your bread and butter—a simple, instant switch from one scene to another.
- Fade In/Out: Fading to or from black is a classic way to signal the start or end of a scene, or a jump in time.
- Wipe or Dissolve: These are more stylized transitions where one shot melts into the next. Use them with intention, not just because they look cool.
- Match Cut: This is a more advanced, creative cut where the visual composition of two different shots matches, creating a clever link in the viewer's mind.
Marking these transitions gives your editor a clear roadmap, ensuring the final cut has the rhythm and energy you imagined.
This might feel like overkill for a 15-second TikTok, but for anything more substantial, it’s essential. A recent industry analysis found that 72.8% of U.S. filmmakers rely on highly detailed storyboards. Why? Because this level of planning helps prevent the miscommunications that can derail 30-50% of projects rushed into production without a solid visual plan.
Of course, the level of detail depends entirely on the project. A quick social clip doesn't need the same blueprint as a high-budget commercial.
Storyboard Detail Level Comparison
Here’s a quick guide to help you figure out how much detail you really need for your next video project.
| Project Type | Required Sketch Detail | Camera & Shot Notes | Audio Cues | Transition Planning |
|---|---|---|---|---|
| Quick Social Clip | Low (Stick figures) | Basic (CU, WS) | Minimal (Key SFX) | Simple (Cuts only) |
| Corporate Explainer | Medium (Clean lines) | Detailed (Angles, movement) | Full (VO, music notes) | Deliberate (Fades, dissolves) |
| Promotional Ad | High (Shaded, color) | Very Detailed (Lens type) | Comprehensive (Full mix) | Creative (Match cuts) |
As you can see, the bigger the stakes, the more detail you'll want to bake into your storyboard.
Ultimately, your goal is to create a document so clear that you could hand it to anyone on your team, and they'd know exactly how to bring your vision to life. That’s the power of a great storyboard.
How AI Storyboarding Tools Can Speed Up Your Workflow
Let's be real: traditional storyboarding can be a grind. All that sketching and detailed note-taking is powerful, but it's also slow. For creators on a tight deadline or anyone churning out content at scale, it often feels like a serious bottleneck. This is where modern tech comes in, turning what used to be a manual chore into a surprisingly fast, automated process.
AI-powered storyboarding tools are completely changing how we visualize video content before ever hitting "record." Instead of spending hours drawing each frame, you can now generate a full visual sequence in just a few minutes. This isn't just about saving time—it’s about making high-quality pre-production accessible to everyone, regardless of whether you can draw a straight line.
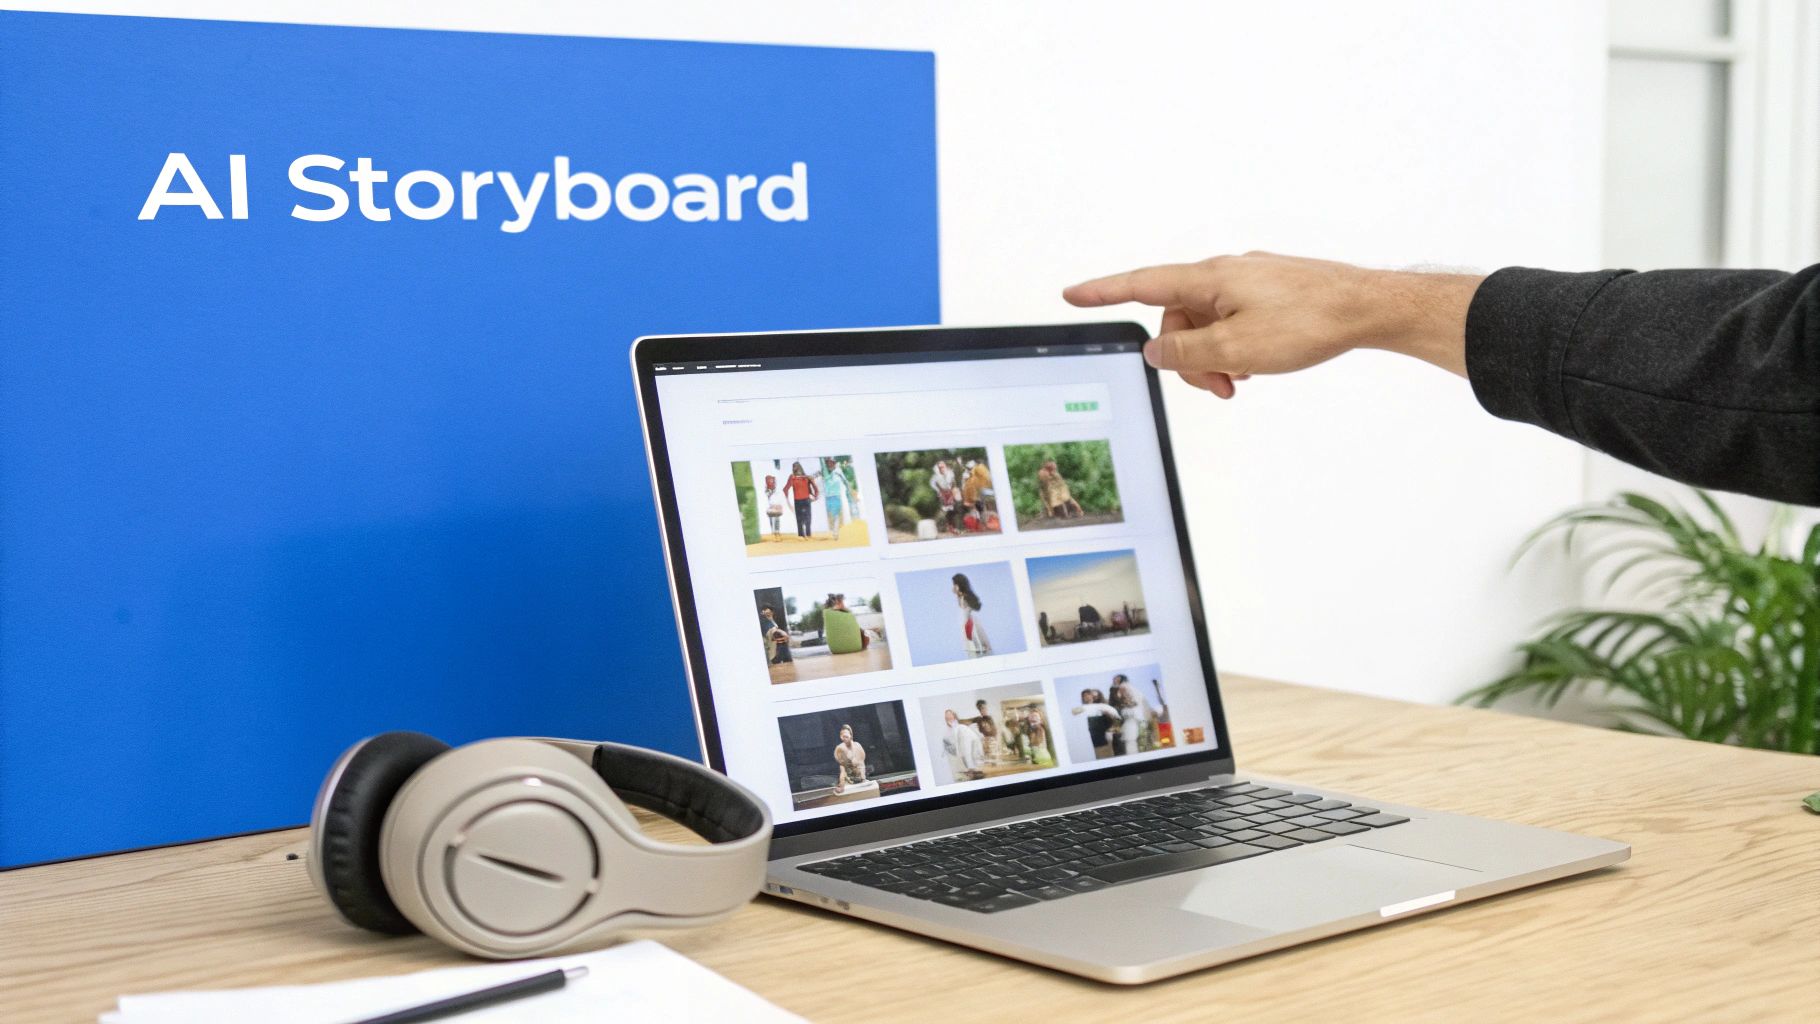
From Idea to Visuals in Minutes
The workflow with an AI tool is incredibly simple. It basically compresses hours of manual work into a few clicks, making it a perfect fit for today's fast-paced content world.
This new approach opens up storyboarding for everyone. A digital marketing agency can mock up an entire campaign's worth of video ads for client approval in a single afternoon. A solo creator can generate dozens of visual ideas for their next TikTok series without ever picking up a pencil.
The process usually looks something like this:
- Input Your Concept: You start by feeding the AI your script, a simple outline, or even just a core idea. The more context you give it, the better the initial output will be.
- Refine and Generate: The AI gets to work, analyzing your text and generating a sequence of scenes. It creates descriptions, suggests camera shots, and produces corresponding AI-generated images for each frame.
- Export and Share: Once you're happy with the visual sequence, you can export the whole thing as a finished storyboard, ready to guide production or share with your team for feedback.
It completely removes the friction. What used to be a specialized skill is now as simple as giving a text command.
The Real-World Impact on Production
This efficiency isn't just a minor perk; it fundamentally changes the pre-production game. The global storyboarding software market, which was valued at USD 450 million in 2023, is expected to hit USD 1.2 billion by 2033. That growth is being driven by a massive demand for faster, smarter planning tools. We already know that detailed storyboards can boost production efficiency by up to 40% in traditional film, and now AI is bringing that same benefit to social media creators. You can read more about the growing market for these storyboarding software tools at DataHorizzon Research.
This automation also allows for rapid iteration. Don't like a scene? Just tweak the prompt and generate a new one in seconds. This kind of flexibility encourages experimentation and helps you find the strongest visual story without sinking a ton of time into it.
AI doesn't just do the manual process faster—it actually enhances it. It can suggest visual styles you might not have considered or generate complex scenes that would be incredibly difficult and time-consuming to sketch by hand.
Leveraging AI for Short-Form Content
For platforms like TikTok, Instagram Reels, and YouTube Shorts, speed is everything. The constant need for a stream of high-quality content makes a multi-day storyboarding process impractical for most creators. This is where AI tools really shine.
Platforms like ShortsNinja have baked this concept right into their workflow. An AI story creator can take a simple idea and instantly generate not just the storyboard, but also the script and the AI-generated visuals for the final video.
Imagine this workflow:
- You have an idea: "A 30-second video about the benefits of a morning routine."
- You input the prompt: The AI generates a script with a hook, three key points, and a call-to-action.
- The system creates a storyboard: It automatically pairs each line of the script with a relevant, AI-generated visual and a suggested camera shot.
In less than five minutes, you have a complete, production-ready blueprint. This is what allows creators to maintain a consistent posting schedule without sacrificing the planning that leads to more engaging and effective content. For anyone trying to stay relevant in fast-moving social media feeds, it's a total game-changer.
Common Storyboarding Mistakes You Can Easily Avoid
Even with a great plan and the right tools, it’s surprisingly easy to take a wrong turn when you're storyboarding. A few common pitfalls can overcomplicate production, leave your team scratching their heads, and ultimately water down your final video. The good news? Once you know what to look for, they’re incredibly simple to sidestep.
Think of this as your pre-flight checklist. A little awareness now will save you a world of headaches later on.
Overstuffing Your Scenes
One of the most common mistakes I see is trying to cram way too much into a single frame. It’s tempting to want every little detail captured, but a cluttered storyboard panel just leads to a confusing and expensive shot when it’s time to film.
If one frame has notes for a complex camera pan, three different character actions, and a text overlay popping up all at once, you’ve gone too far. The whole point of a storyboard is clarity, not creating a mini-masterpiece in every single box. Each panel should represent one clear beat or action.
Pro Tip: If you can't describe what's happening in a single, simple sentence, you're probably trying to do too much. Just break that complex action into a few sequential frames. This not only clarifies the plan but also gives your video a much better rhythm.
Ignoring Audio and Transitions
Visuals are only half the battle. A storyboard that looks amazing but has zero notes on sound is an incomplete blueprint, period. I’ve seen projects get all the way to editing before anyone realizes the voiceover and the visuals are completely out of sync, forcing painful and costly re-edits.
Don't treat audio like an afterthought. Your storyboard needs to be a plan for everything the viewer will see and hear.
- Dialogue & VO: Which specific lines are spoken during this shot?
- Sound Effects (SFX): Does a door slam? A phone buzz? A notification ding? Write it down.
- Music Cues: Note where the music should swell to build emotion or fade out so a key line of dialogue can land with impact.
Forgetting to plan your transitions is just as bad—it’s like building a house with beautiful rooms but no hallways. You have to map out how the viewer moves from Scene A to Scene B. Is it a sharp cut? A slow fade to black? A clever match cut? Calling this out on the board is what creates a smooth, professional flow.
Disregarding Platform Formats
This one is a massive and increasingly common mistake. A storyboard designed for a widescreen YouTube video is going to fail spectacularly if its final destination is a vertical TikTok or Instagram Reel. The entire composition gets thrown out the window.
Imagine you've planned a gorgeous wide shot with two people on opposite ends of the screen. In a horizontal 16:9 format, it looks balanced and cinematic. But when you crop that down to a vertical 9:16 frame for Reels, one of your characters is suddenly gone. Oops.
To avoid this disaster, always start with the end in mind.
| Format | Aspect Ratio | Key Consideration |
|---|---|---|
| YouTube | 16:9 (Horizontal) | Perfect for wide, cinematic shots and traditional compositions. |
| TikTok/Reels | 9:16 (Vertical) | Demands tight, centered framing. All the important action has to live in the middle third of the screen. |
| Instagram Feed | 1:1 or 4:5 | A hybrid that requires a balanced composition, forcing you to keep crucial elements away from the extreme edges. |
Always, always use a storyboard template that matches your final aspect ratio. This single step ensures that what you plan is what you can actually shoot. It will save you from the nightmare of trying to reframe everything in post-production and is a non-negotiable step for anyone learning how to storyboard a video for social media today.
From Storyboard to Final Cut
With your finished storyboard in hand, you’ve officially moved from abstract ideas to a concrete production plan. This document is no longer just a series of sketches; it’s the central guide that will carry your project through filming and editing, ensuring your initial vision makes it to the final cut.
During production, the storyboard transforms into a practical checklist for your camera operator. Instead of guessing at angles or debating framing on set, your crew has a clear visual directive for every shot. This means less wasted time and a more efficient, focused shoot.
The Editor's Roadmap
Once filming is complete, the storyboard finds its second life in the editing suite. It becomes the editor’s map for assembling all the raw footage into a cohesive narrative. They can quickly reference each panel to understand the intended sequence of shots, the timing of cuts, and the specific moments where graphics or text overlays should appear.
The storyboard also provides critical cues for audio mixing. Editors use it to sync the voiceover, place sound effects precisely where they’ll have the most impact, and ensure the music swells or quiets down at just the right moments to match the on-screen action.
This is where all your upfront planning truly pays off. A detailed storyboard eliminates ambiguity in post-production, leading to a smoother, faster editing process and a final video that feels intentional and polished from start to finish.
The connection between thorough planning and successful video is undeniable. By 2025, businesses that use animated explainer videos—a format heavily reliant on storyboarding—can see 20-30% better conversions. With 86% of marketers confirming video boosts product understanding, a solid storyboard is directly linked to measurable business results.
Once your storyboard is complete, the next step is Mastering Video Production for Businesses to bring your vision to life. Whether you sketched by hand or used an AI tool like ShortsNinja, your storyboard is the first tangible step toward creating a video that truly connects.
Frequently Asked Questions About Storyboarding
Getting into the rhythm of storyboarding always brings up a few questions, especially if you're just starting out. Let's clear up some of the most common uncertainties so you can start mapping out your videos with confidence.
We'll cover everything from how much artistic talent you actually need to the right level of detail for those super-short social media clips.
Do I Need to Be an Artist to Storyboard a Video
Absolutely not. The whole point of a storyboard is clear communication, not creating a museum-worthy masterpiece. Stick figures, simple shapes, and rough sketches are totally fine—in fact, they're the norm.
As long as your drawings get the message across about the action, where people are standing, and what the camera sees, you've done your job. Remember, it's a tool for your team, not an art exhibit. And if you're still not feeling it, AI storyboarding tools can be a huge help, turning your text descriptions into clean visuals for you.
How Detailed Should a Storyboard Be for a Short Social Media Video
For quick, punchy content on platforms like TikTok, Instagram Reels, or YouTube Shorts, you can definitely keep things simple. The goal here is to map out the big moments—the narrative beats—not every single frame.
A "beat board" is your best friend for short-form video. Just focus on visualizing 3-5 key frames that tell the story: the scroll-stopping hook, the main point or demo, and the final call to action. This keeps you on track without getting lost in the weeds.
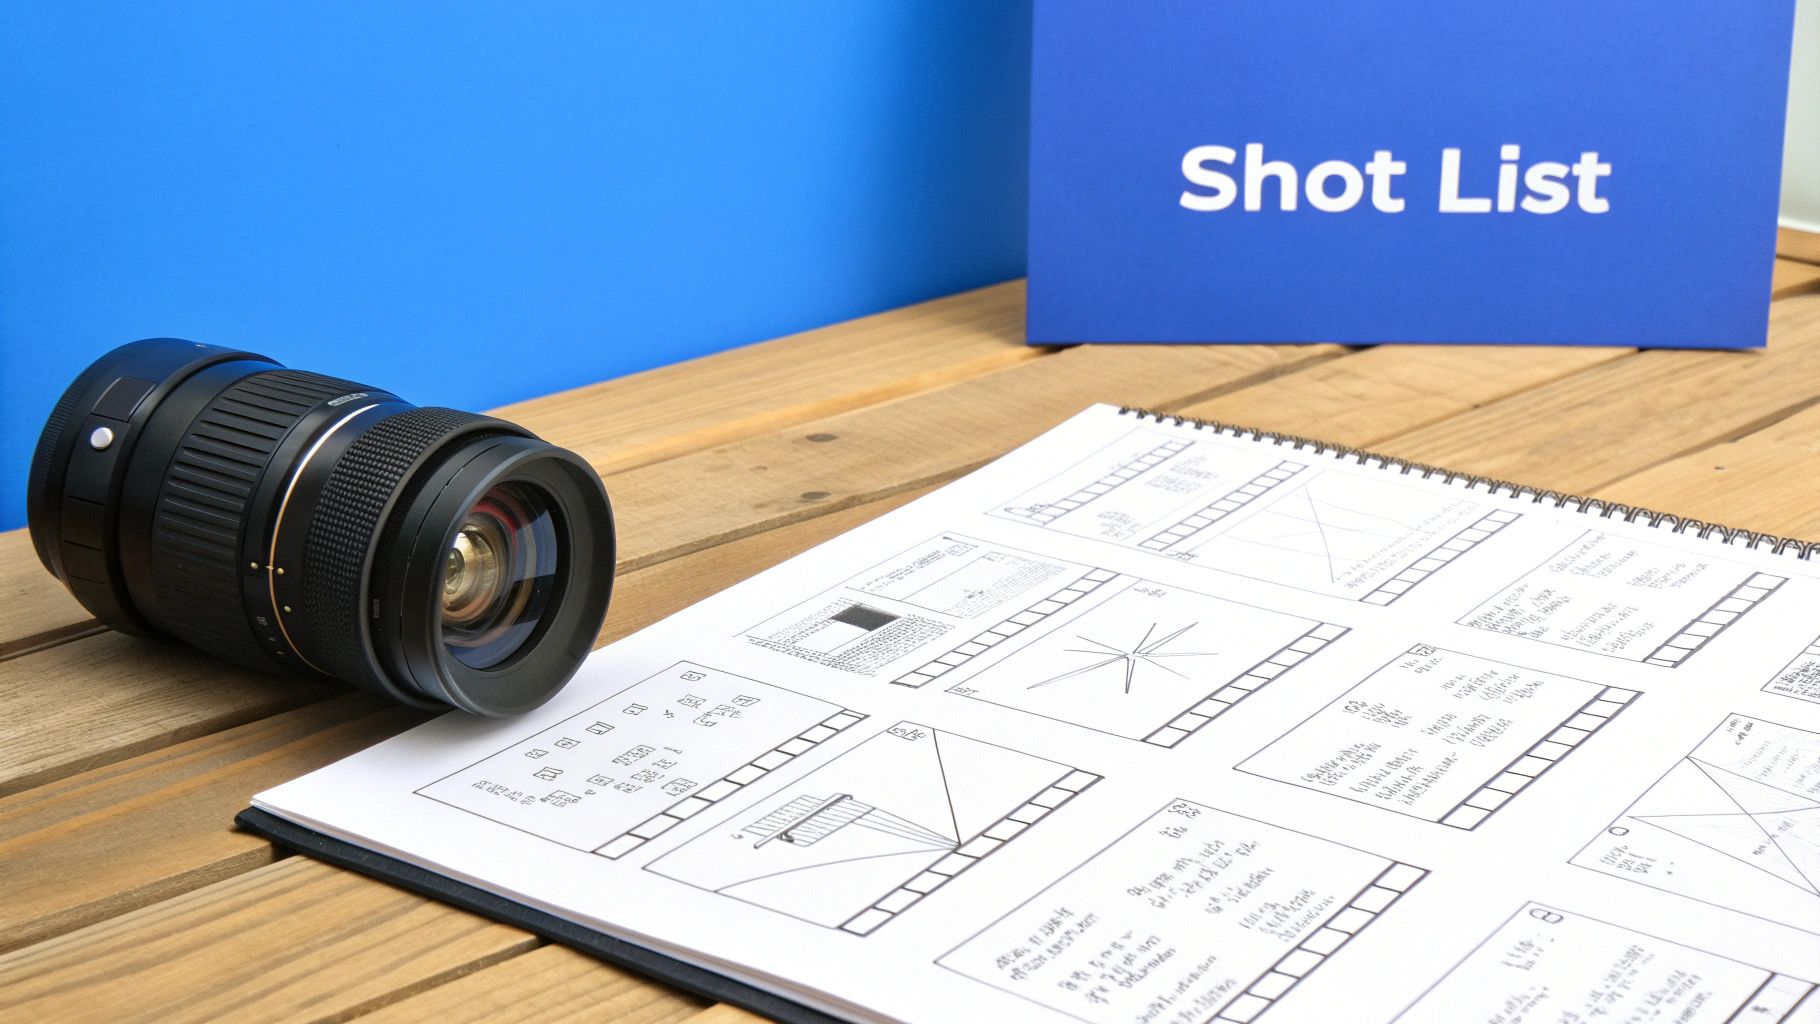
What Is the Difference Between a Shot List and a Storyboard
A shot list and a storyboard are two sides of the same pre-production coin. They work together, but they do very different jobs.
- A shot list is your logistical checklist. It’s a text-based document (usually a spreadsheet) that outlines every single shot you need to get on filming day. Think: "Shot 4: Close-up on product logo."
- A storyboard is the visual guide. It shows how each of those shots should actually look, illustrating the composition, camera angle, and what’s happening on screen.
Basically, the storyboard brings the creative vision to life, while the shot list keeps the actual shoot organized and efficient.
Ready to turn your ideas into compelling videos in minutes? ShortsNinja uses AI to automate your entire workflow, from script to final visuals. Try it now and create your first video for free!