
Editing a TikTok is all about storytelling, but at hyper-speed. It's taking your raw clips, finding the best moments, and stitching them together with trending audio, eye-catching text, and slick transitions. Whether you're editing right in the TikTok app or using a more robust tool like CapCut, the goal is the same: create something fast, fun, and perfectly formatted for that vertical screen.
Laying the Groundwork for a Viral TikTok Edit
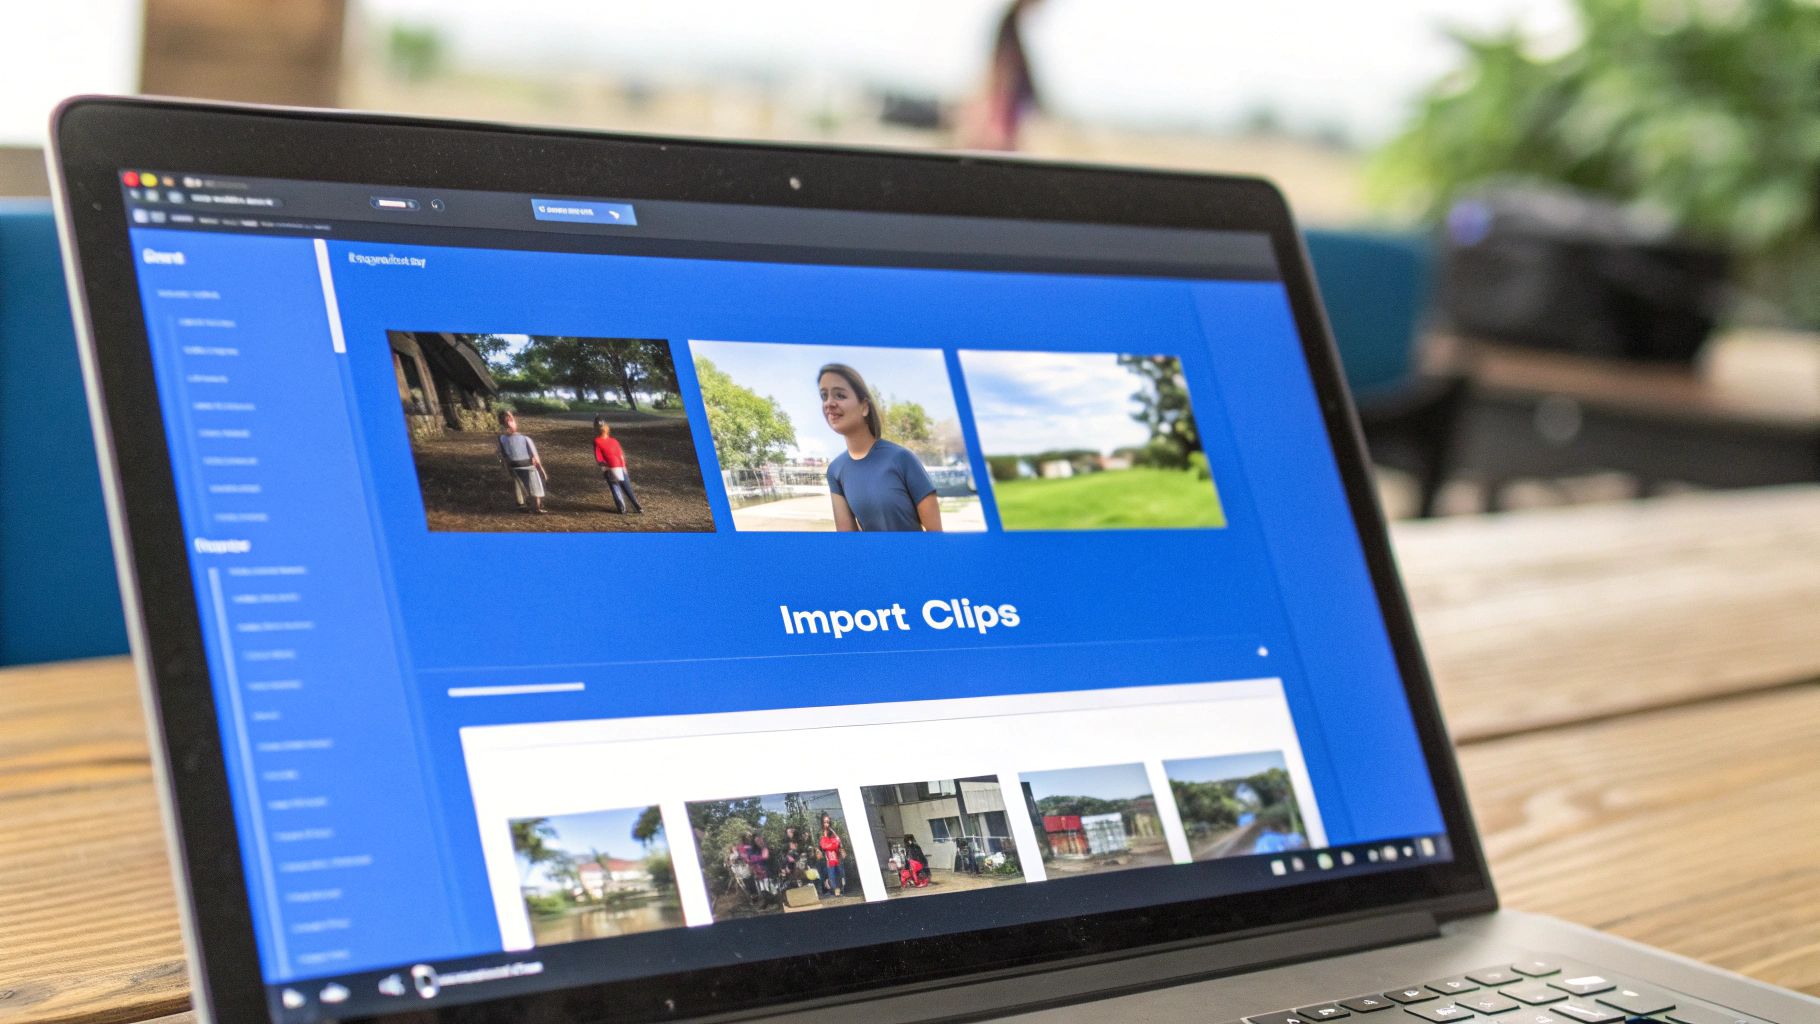
Before you even touch a filter or effect, your TikTok’s success is decided by the prep work. The first few steps—importing clips and making those initial cuts—are where you build the video's skeleton. This isn't just a technical task; it's about thinking like a storyteller right from the jump.
When you pull your raw footage into the editor, it's time to be ruthless. Seriously. Go through every clip and pick out only the absolute best, most engaging moments. You're building a sequence that has to grab someone's attention in the first three seconds, or they're gone. Swipe.
Organizing Your Timeline for Impact
Once you’ve cherry-picked your best shots, arranging them on the timeline is your next mission. Think about the rhythm you want. Should it start with a bang and then slow down for a reveal? Or should it be a series of rapid-fire cuts that build excitement?
This initial organization has a few hard rules you can't ignore:
- Go Vertical or Go Home: Always, always work in a 9:16 aspect ratio. Anything else looks weird on the feed and screams "I didn't make this for TikTok."
- Find Your "Hero" Clips: Pinpoint the one or two shots that are the absolute stars of your video. These are the moments that carry your message or look the most stunning. Build the rest of your edit around them.
- Trim the Fat: Be aggressive in cutting out any dead air. This means slicing off the moments right before the action starts and immediately after it ends. Every single millisecond counts.
Think of a well-organized timeline as a clean desk. It lets you get creative and work efficiently, so your transitions and effects feel like cool additions, not just patches trying to fix a messy story.
As you're setting up your edit, it's smart to think about how effective video advertising strategies can play into your content to really boost its reach. With an insane 272 videos uploaded every second, a sharp edit is non-negotiable. It has to pop instantly.
Weaving Your Clips Together with Pacing and Transitions
Once you’ve got your raw clips, the real artistry begins. A truly magnetic TikTok isn't just a collection of shots—it has a pulse. It has a rhythm that pulls the viewer in and doesn't let go. You create that feeling with smart pacing and transitions that are so smooth, they're practically invisible.
Pacing is all about controlling the viewer's energy. Are you building hype? A flurry of quick, sharp cuts can create a sense of urgency. Trying to land a punchline? Slow it down and give the moment room to breathe. This is how you start thinking like a TikTok editor: you’re not just cutting clips, you're intentionally directing the flow of the video to keep eyeballs glued to the screen.
Seamless transitions are what make it all feel like a single, cohesive story. They're the bridges that connect one idea to the next without a jarring jump, making the whole experience feel polished and professional.
Mastering the Go-To TikTok Transitions
You've definitely seen these before. Certain transitions have become part of the TikTok language because they just work for the vertical, fast-paced format. Get these down, and you’ll be well on your way.
- The Jump Cut: This is your bread and butter. Simple, effective, and full of energy. A jump cut is when you cut between two very similar shots—like you in slightly different poses or outfits. It creates an instant, energetic jump that's perfect for GRWM (Get Ready With Me) videos or any kind of rapid transformation.
- The Whip Pan: You can fake a high-speed camera move with this one. At the end of your first clip, quickly pan your camera to the side. At the start of the next clip, pan in from the same direction. When you stitch them together, it looks like a single, lightning-fast whip of the camera.
- The Match Cut: This is where things get clever. A match cut connects two totally different scenes by linking them with a common shape or object. Think cutting from a spinning basketball right to a full moon. The matching circular shapes make the transition feel satisfying and smart.
Choosing Your TikTok Video Editor
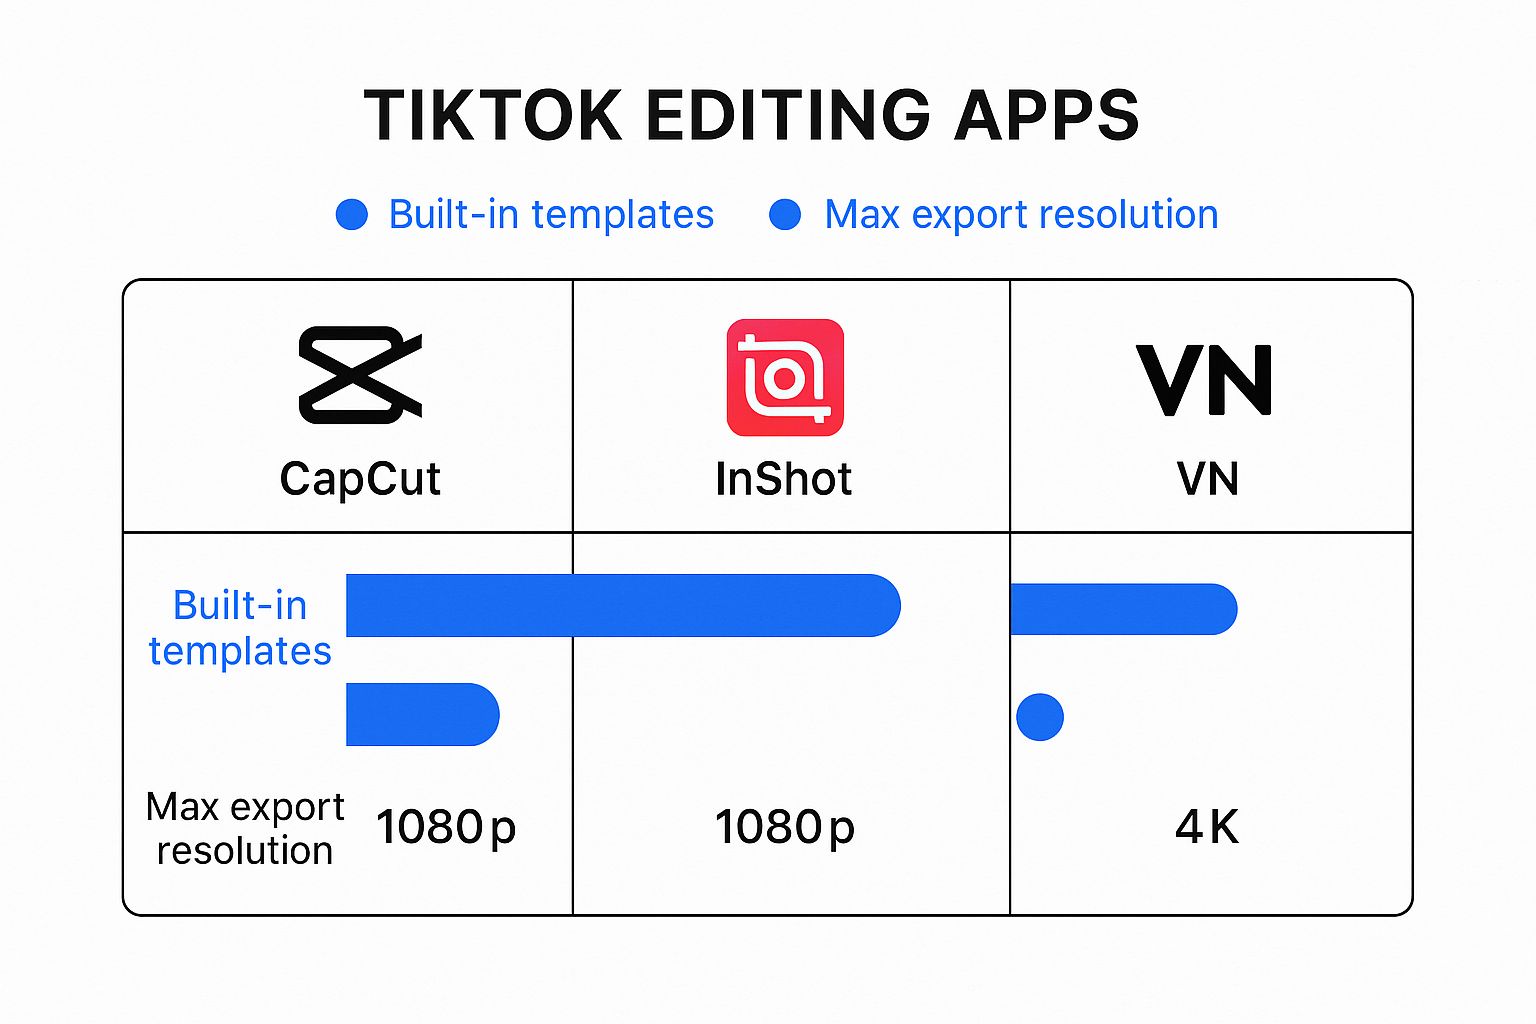
The native TikTok editor is great for quick, on-the-fly edits. But when you need more creative control, a third-party app like CapCut can be a game-changer. They often offer more advanced features, higher-quality exports, and a wider range of effects. Here's a quick look at how they stack up.
| Feature | TikTok Native Editor | Third-Party Apps (e.g., CapCut) | Best For |
|---|---|---|---|
| Ease of Use | Very high; integrated directly into the upload flow. | High; designed with mobile creators in mind. | Beginners (TikTok) and creators wanting more control (Third-Party). |
| Advanced Features | Basic; trimming, filters, some effects. | Extensive; keyframing, advanced color grading, auto-captions. | Simple edits (TikTok) and complex, multi-layered projects (Third-Party). |
| Transitions & Effects | Good selection of native effects and transitions. | Massive libraries of trendy, customizable effects. | Keeping up with trends (TikTok) and creating a unique visual style (Third-Party). |
| Audio Control | Good; sync tools, access to the full sound library. | Excellent; multi-track audio, noise reduction, voice effects. | Videos driven by a single trending sound (TikTok) and original audio/voiceovers (Third-Party). |
| Export Quality | Good, but can be compressed. | Often higher; options for 1080p or 4K resolution and frame rate. | Quick uploads (TikTok) and creating high-quality, professional content (Third-Party). |
Ultimately, the best tool is the one that fits your workflow. Many creators (myself included) use a hybrid approach: doing the heavy lifting in an app like CapCut and then adding final touches like trending sounds or stickers inside TikTok itself.
The Art of the Beat Sync
If there’s one skill that separates the pros from the amateurs on TikTok, it's beat-syncing. This is where you perfectly time your cuts, transitions, and on-screen actions to the beat of the music. When a transition slams down right on the bass drop, it creates a moment of pure satisfaction for the viewer. It just feels right.
A pro tip: Pull your audio into the editor and look at the waveform. Those spikes and peaks are the beats. Line up every major action—a jump, a clap, a transition—with those peaks. This simple trick will instantly make your videos feel more dynamic and native to the platform.
Of course, syncing to the beat is just one of many visual storytelling techniques that can make your videos pop. It’s a powerful way to let the rhythm of the audio tell part of your story for you.
At the end of the day, great editing is about making intentional choices. Don't just slap a transition on because it looks cool. Ask yourself: does this serve the story? Does it enhance the rhythm? Getting these fundamentals right is crucial, and our guide on https://shortsninja.com/blog/how-to-create-a-tiktok-video/ offers more foundational tips that will help you nail the entire process.
Adding Personality with Text, Effects, and Audio
Alright, your clips are arranged and the transitions are looking smooth. Now it’s time for the fun part: giving your video a pulse. This is where you inject its unique character using text, effects, and audio—the trio that turns a simple clip sequence into something people actually want to watch.
Think of these elements as more than just decorations. They’re powerful tools for grabbing and holding attention. A well-placed text overlay can land a joke, clarify a point for viewers watching on mute, or guide their eyes exactly where you want them.
But please, don't just slap plain text on the screen and call it a day. The best creators treat text as another dynamic visual. Try timing animated text to pop up word-by-word with your narration; it’s a simple trick that keeps people locked in. Or, for a quick laugh, have text appear that completely contradicts what’s being said. Play around with different fonts, colors, and animations until you find a style that just feels right for the video.
Mastering the Art of Audio
On TikTok, audio isn’t background music—it’s the main event. The algorithm is practically wired to promote videos using trending sounds, so hopping on a popular track is one of the biggest shortcuts to getting seen.
Finding the perfect sound is its own creative adventure. Here’s how I usually do it:
- Scroll the "For You" Page: Your FYP is a goldmine for what’s hot right now. If you hear the same sound popping up in viral videos, that’s your cue.
- Dive into the Sound Library: When you tap "Add sound," TikTok serves up curated playlists like "TikTok Viral" and "New Releases." These are fantastic starting points.
- Build Your Own Stash: Hear a sound you love but aren’t ready to use? Tap the little spinning record icon and hit "Add to Favorites." This builds a personal library of go-to audio for future videos.
Here’s a classic rookie mistake: letting your trending audio completely drown out your original sound or voiceover. Always, always use the "Volume" tool to mix your levels properly. As a rule of thumb, I keep the added sound around 20-30% volume if I need people to hear what I’m saying.
Recording and Refining Voiceovers
Sometimes, your own voice is the most powerful tool. Adding a personal voiceover makes your content feel way more authentic and direct. For a clean recording, you don't need a fancy studio—a closet full of clothes works wonders to kill echo. Just speak clearly and get close to your phone’s microphone.
Once you’ve recorded it, don’t be afraid to get surgical. Trim out the long pauses and the "ums" and "ahs" to make your delivery sound more confident and punchy. The real magic happens when you sync your voiceover perfectly with the action on screen. That’s what separates amateur content from a pro-level finish.
The constant push for better edits like this has fueled a massive demand for powerful, easy-to-use tools. As more creators figure out how to edit a video for TikTok like a pro, the video editing software market is exploding—it's projected to hit roughly $5.13 billion by 2032. That number alone shows just how essential these skills have become.
When you thoughtfully layer text, sound, and effects, you’re not just decorating a video. You're building an entire vibe. It’s one of the 10 best practices for TikTok videos that will truly make your content stand out from the noise.
Making Your Message Clear with Dynamic Captions
https://www.youtube.com/embed/lxiJRpcnF3I
Ever scroll through TikTok with your sound off? A massive chunk of users do. In that silent-scroll world, a video without text is just moving pictures—your message gets completely lost. Captions have gone from a simple accessibility feature to a non-negotiable tool for grabbing and holding attention.
They’re the key to making sure your story lands, whether the audio is on or off.
TikTok’s built-in auto-caption feature is a decent place to start. It’s quick and easy. With a single tap, the app does its best to transcribe whatever you’re saying. But just turning it on and calling it a day is a rookie mistake.
You have to get in there and refine them. The AI often stumbles over slang, brand names, or anything slightly technical. Just as important is the timing. You need to make sure the words pop up on screen at the exact moment they're spoken. When it’s seamless, the viewer barely notices. When it’s off, it’s jarring.
Taking Captions to the Next Level
If you want captions that really pop and feel like a core part of your brand, you’ll need to step outside of TikTok and use a third-party editor. This is where you graduate from basic text to dynamic, stylized words that actually add to the visual experience.
Apps like CapCut give you an incredible amount of control. You can get really granular with things like:
- Font and Color: Don't just stick with the default. Pick fonts that match your vibe and use color to boldly emphasize key words. This is a simple trick to direct the viewer’s eye exactly where you want it.
- Animations: Have your words appear one by one, bounce in, or slide onto the screen. Syncing these animations to the rhythm of your speech is what separates a good video from a great one. It just feels so much more polished.
- Readability: Break down your sentences. No one wants to read a huge block of text in a video that lasts 15 seconds. Keep your lines short and punchy. They hit harder.
The goal is to make your captions an extension of your video's energy. If your delivery is upbeat and fast, your text animations should be too. This creates a cohesive vibe that hooks people from the very first second.
For a deep dive into speeding up this whole process, we’ve put together a full walkthrough on how to auto-generate TikTok captions with AI, which can be a huge time-saver. Getting this right is a fundamental part of learning how to edit a video for TikTok like a pro.
Ultimately, mastering captions isn't just about putting words on a screen. It’s about designing text that amplifies your story and guarantees your video makes an impact, no matter how someone is watching it. For a broader look at integrating text strategically, check out this fantastic strategic guide to putting text in videos.
You’ve sliced, diced, and styled your clips. The audio is hitting just right, and your effects are popping. But don't race to hit that "Post" button just yet. The last few moments before your video goes live are just as critical as the entire edit. This is your final quality check—the step that ensures all your hard work looks incredible on the For You Page.
Before you do anything else, give your video one last, honest watch-through. And I mean a critical one. Don't just scan for obvious mistakes. Feel the rhythm. Does the energy sag in the middle? Is there a transition that feels just a little clunky or off-beat? Now is your chance to polish those tiny imperfections that can throw a viewer off.
Dialing In the Perfect Export Settings
Once you're happy with the final cut, it's time to export. This is where so many creators unknowingly sabotage their own videos. TikTok has to compress every video uploaded to its platform to save on server space, which means it will crush your beautiful footage if you don't give it a high-quality file to start with. The right export settings are your best defense against the dreaded pixelated mess.
While your editing app might offer a shiny 4K export option, it's usually overkill for TikTok. In fact, uploading a massive 4K file can sometimes result in worse compression artifacts. The sweet spot for clarity and performance is 1080p at 30 frames per second (fps). This gives you a crisp, clear video without creating a huge file that the algorithm will aggressively downsize.
Here's a tip I can't stress enough: Always, always export your video directly to your phone’s camera roll at the highest possible quality. Never send it to yourself through WhatsApp, Facebook Messenger, or any other messaging app. They automatically compress media files and will ruin your video’s quality before you even get to the upload screen.
To make this super clear, here’s a quick-reference table for the best export settings.
Optimal TikTok Export Settings
| Setting | Recommendation | Why It Matters |
|---|---|---|
| Resolution | 1080p (1080×1920) | This is the ideal balance between high quality and manageable file size for TikTok's compression algorithm. |
| Frame Rate (fps) | 30 fps | Provides smooth motion without the "hyper-realistic" look of 60 fps, which can feel jarring for most content. |
| Codec | H.264 | This is the standard for web video, offering excellent compression and wide compatibility. |
| File Format | .MP4 | The most universally accepted video format for social media platforms, including TikTok. |
Nailing these settings ensures your video starts off on the right foot when you upload it.
Polishing Your Post for the Algorithm
With your perfectly exported video saved to your phone, the final touches happen right inside the TikTok app. This isn't just about posting; it's about setting your video up for success.
Here's your final pre-post checklist:
- A Scroll-Stopping Cover: Don't let TikTok pick a random, blurry frame for you. Take a second to manually select a cover image. Choose a moment that's dynamic, clear, and intriguing enough to make someone stop scrolling and tap.
- A Compelling Description: Your caption is prime real estate. Use it to add context, spark a conversation with a question, or tell a tiny story. This is also where you should naturally weave in keywords that tell the algorithm what your video is all about.
- Strategic Hashtags: The goal isn't to use as many hashtags as possible. It's to use the right ones. I recommend a mix of broader tags (like
#videotutorial) and more niche ones (like#capcutediting). This helps you reach both a wide audience and the specific viewers most likely to engage. Aim for three to five highly relevant tags.
Common Questions About Editing TikTok Videos
Even with a solid editing workflow, you’re bound to hit a few snags. It happens to everyone. Let's walk through some of the most common questions creators have when they're deep in the editing trenches so you can get back to what you do best.
Can I Edit a TikTok Video After I've Already Posted It?
This is probably the number one question I hear, and the short answer is no—at least, not the video itself. Once you hit that publish button, the actual clips, effects, and timing are locked in place.
It’s a bit of a bummer, but it's by design to keep the platform snappy. You can, however, still tweak a few things. If you spot a typo in your caption or want to swap out the cover photo, you're in luck. Just find the video, tap the three dots, and hit "Edit post." You can change the description, tag people, and adjust privacy settings there.
But what if you notice a major editing mistake, like a clip that’s out of sync? Your only real move is to save the video to your device, delete the original post, and then re-upload a fixed version. It’s a pain, but sometimes it’s necessary.
Why Does My Video Quality Look So Bad After Uploading?
This one is incredibly frustrating. You spend all this time making a crisp, clean video, only for it to look grainy and pixelated once it’s live on TikTok. More often than not, the culprit is compression.
TikTok’s algorithm has to shrink down massive video files to keep the feed running smoothly. If your file is too large or in the wrong format, the compression can be aggressive and ruin the quality.
Here are the two golden rules to avoid this:
- Export with the right settings. Stick to 1080p at 30fps. This resolution is the sweet spot—high enough for great quality but not so big that TikTok has to crush it.
- Transfer the file cleanly. Never, ever send your finished video to your phone using Messenger, WhatsApp, or text message. Those apps compress files heavily. Instead, use a direct cable transfer from your computer, AirDrop if you're in the Apple ecosystem, or a cloud service like Google Drive or Dropbox.
My Video Got Taken Down. What Happened?
Waking up to a "video removed" notification is never fun, especially when the reason isn't obvious. In 2024, TikTok took down a staggering number of videos for violating its community guidelines.
The top reasons might surprise you. They weren't just for explicit content, but for things like minor safety concerns (30.6%), depicting illegal activities (27.2%), and showing dangerous acts (5.2%). These TikTok platform statistics from scoop.market.us show just how carefully the platform monitors content.
This is why a final review is so important. Make sure your video doesn't contain anything that could be misinterpreted as dangerous or against the rules. Sometimes it's something as simple as a prop in the background that gets flagged.
Ultimately, getting good at editing is all about practice and learning from your mistakes. Don't be afraid to experiment. The more you play around with different cuts, sounds, and effects, the more natural it will all feel.
Ready to stop spending hours editing and start creating viral content in minutes? ShortsNinja uses AI to automate the entire process—from scripting and visual generation to voiceovers and auto-publishing. Turn your ideas into a month's worth of high-quality TikToks with just a few clicks. Try it now at https://shortsninja.com and see how fast your channel can grow.