
Getting your video onto TikTok is pretty simple at its core. You can either record a new clip right inside the app or upload an existing one from your phone or desktop. This first choice, though, is more strategic than you might think.
Choosing Your TikTok Upload Method
Before you even hit the record button, you need to decide how you're going to get your video on the platform. This isn't just a technical detail; it shapes your entire workflow and the final vibe of your content. Your decision really comes down to your goals, what you have to work with, and the kind of video you're making.
You've got three main paths to get your content live:
- Recording In-App: Perfect for those spontaneous, trend-driven moments. This is your go-to when you want to use TikTok’s native effects and sounds in real-time.
- Uploading from Your Phone: Ideal for more polished videos you've already edited in another app like CapCut. It gives you more creative control before you bring it into TikTok.
- Uploading from a Desktop: The best choice for high-resolution, professionally produced content. When maximum video quality is non-negotiable, this is the way to go.
To help you decide, I've created this quick-reference table that breaks down the best use case for each method.
Uploading Methods At a Glance
This table gives you a quick comparison of the three main ways to add videos to TikTok, helping you decide which method fits your workflow best.
| Method | Best For | Key Advantage |
|---|---|---|
| In-App Recording | Spontaneous content, trends, challenges | Immediate access to TikTok's effects & sounds |
| Mobile Upload | Videos edited in other apps (e.g., CapCut) | Greater creative control and editing flexibility |
| Desktop Upload | High-production, professional videos | Highest possible video quality and fidelity |
Each method has its place, and knowing when to use each one will make your content creation process much smoother.
This decision tree gives you a visual guide for which path to take depending on what you're trying to achieve, from a quick viral clip to a polished brand campaign.
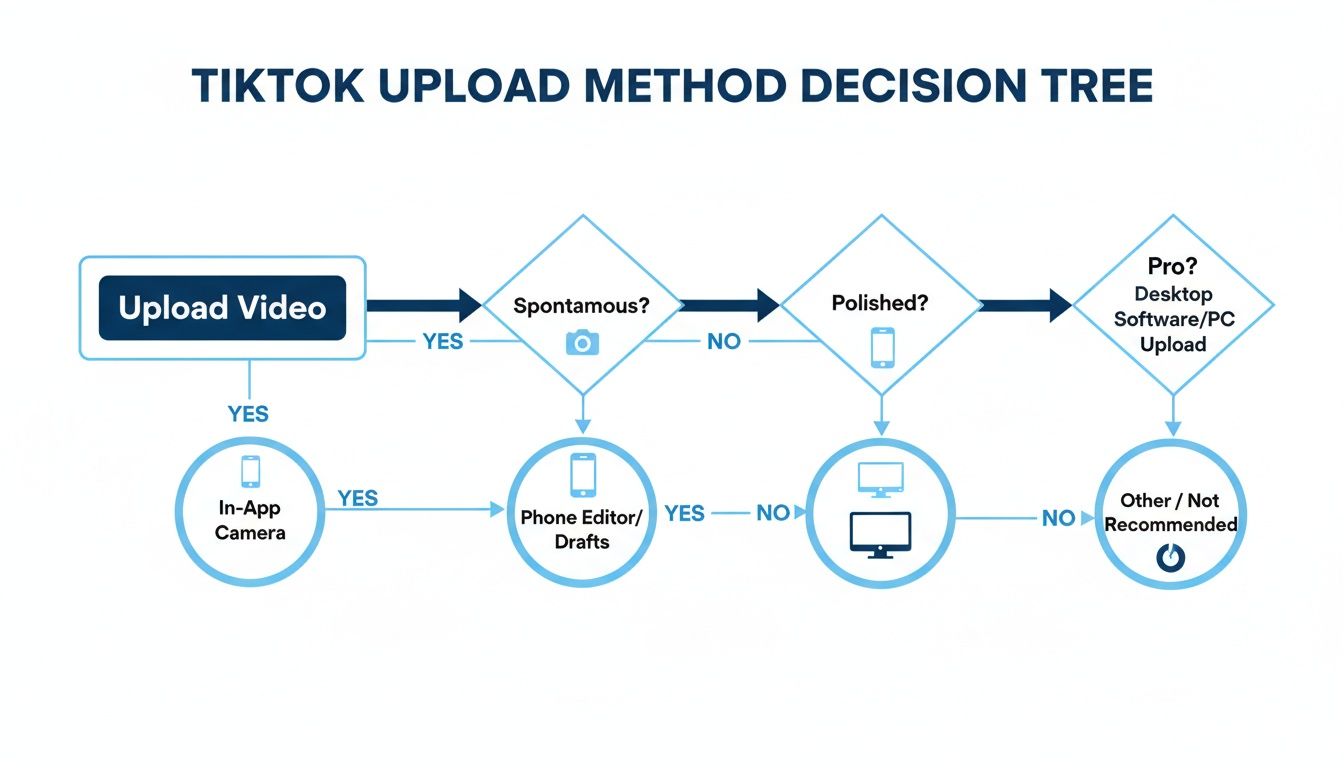
As you can see, the "right" method is just the one that makes the most sense for your video's purpose.
Think about it this way: if you're jumping on a viral dance challenge, you'll want to use the in-app camera to grab the trending sound and effects instantly. But if you're a marketing agency launching a new product campaign, you’ll probably edit your video on a computer and use the desktop uploader to keep it looking crisp and professional.
Key Takeaway: How you upload your video is a strategic choice. Spontaneity works best in-app, while polished content shines with external editing and desktop uploads. Matching your method to your goal from the get-go saves a ton of headaches.
Ultimately, getting comfortable with all three methods gives you the flexibility to create any kind of content you want, whenever you want. And for those of you managing a bunch of accounts or just posting a high volume of content, it's worth looking into how you can auto upload to TikTok. It can be a huge time-saver, freeing you up to focus on the creative side of things.
Creating Videos with the In-App Camera
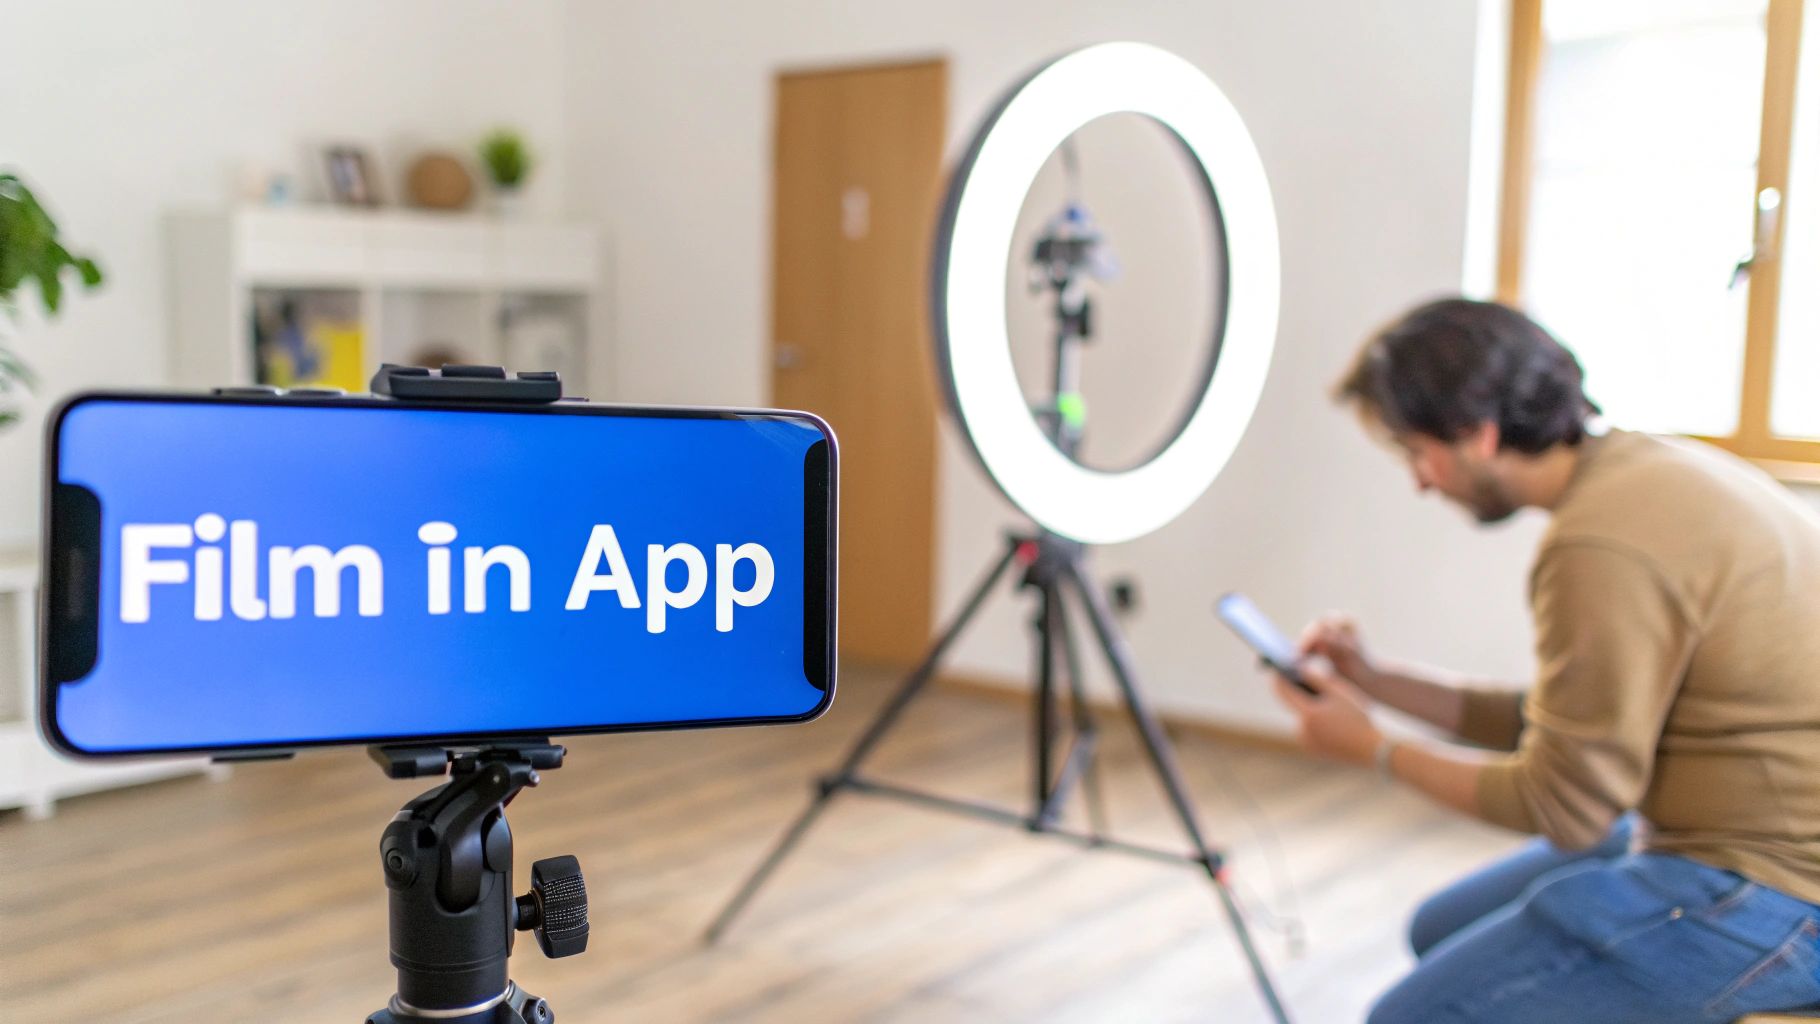
This is where the magic happens. Filming directly inside TikTok is the fastest way to create content that feels truly native to the platform. It’s designed for jumping on trends the second they pop up.
When you film in-app, you get instant access to the entire library of trending sounds, filters, and effects—the building blocks of almost every viral video you see. Think of the in-app camera as your all-in-one production studio.
Mastering Essential In-App Tools
Before you hit that big red record button, take a look around the screen. The tools you see are what separate a flat, boring clip from a dynamic video that hooks viewers.
For instance, a fitness coach could use the Timer feature to set up a 3 or 10-second countdown. This gives them just enough time to get into position and demonstrate an entire workout without fumbling with their phone. It's simple, but it makes the final product look so much more professional.
Here are the tools you’ll use most often:
- Timer and Countdown: This is a lifesaver for any hands-free recording. You can set a countdown to start and even tell it exactly where to stop, which is perfect for nailing those seamless transitions.
- Flip: A quick tap to switch between the front and back cameras. It's great for showing your own reaction or your point-of-view.
- Speed Controls: Want to add a little drama? Slow it down to 0.3x or 0.5x. Going for a chaotic, funny vibe? Speed it up to 2x or 3x.
- Filters and Effects: This is the creative playground. Tap the "Effects" icon to explore everything from subtle color filters to interactive games and the ever-popular Greenscreen effect, which lets you put any picture or video behind you.
A huge key to success on TikTok is using trending effects right when they start taking off. The algorithm often gives a nice little visibility boost to creators who use its newest features.
Tapping into Collaborative Features
TikTok is built on community and interaction. That's why some of its most powerful features are designed for collaboration. Knowing how to add videos to TikTok isn't just about your own content; it's about joining the conversation.
The two main ways to do this are with Duet and Stitch.
A Duet puts your video side-by-side with someone else's. It's the go-to for reaction videos, singalongs, or dance challenges. Meanwhile, Stitch lets you clip up to 5 seconds of another video and add it to the beginning of your own. This is perfect for adding commentary, continuing a joke, or answering a question.
If you want a more detailed breakdown of the creative possibilities, you can learn more about how to create a TikTok video that stands out. Getting comfortable with these in-app tools is the first step toward making content that truly connects with the TikTok culture.
Uploading Pre-Edited Videos from Any Device
While TikTok's in-app camera is great for spontaneous, off-the-cuff content, many creators need more control. If you're using professional software like CapCut, Adobe Premiere Pro, or Final Cut Pro, uploading a pre-edited video is the way to go.
This approach lets you perfect every detail—fine-tuning transitions, adding complex effects, and getting your color grading just right—before your video ever hits the TikTok platform. It’s how the pros achieve that extra layer of polish.
From Your Phone’s Camera Roll
Most creators who edit on the fly use their phone. It’s a seamless workflow that keeps everything in one place.
Getting it done is simple:
- Tap the plus icon (+) in the TikTok app, just like you’re about to record.
- Instead of hitting the red button, look for the Upload option on the bottom-right.
- From there, you can choose one or multiple clips from your camera roll.
- Once you’ve selected your masterpiece, you can still make minor tweaks—trimming the clips or rearranging their order—before moving to the final screen to add sounds, text, or stickers.
This method gives you the best of both worlds: the precision of an external editing app combined with the native feel of TikTok's final touches.
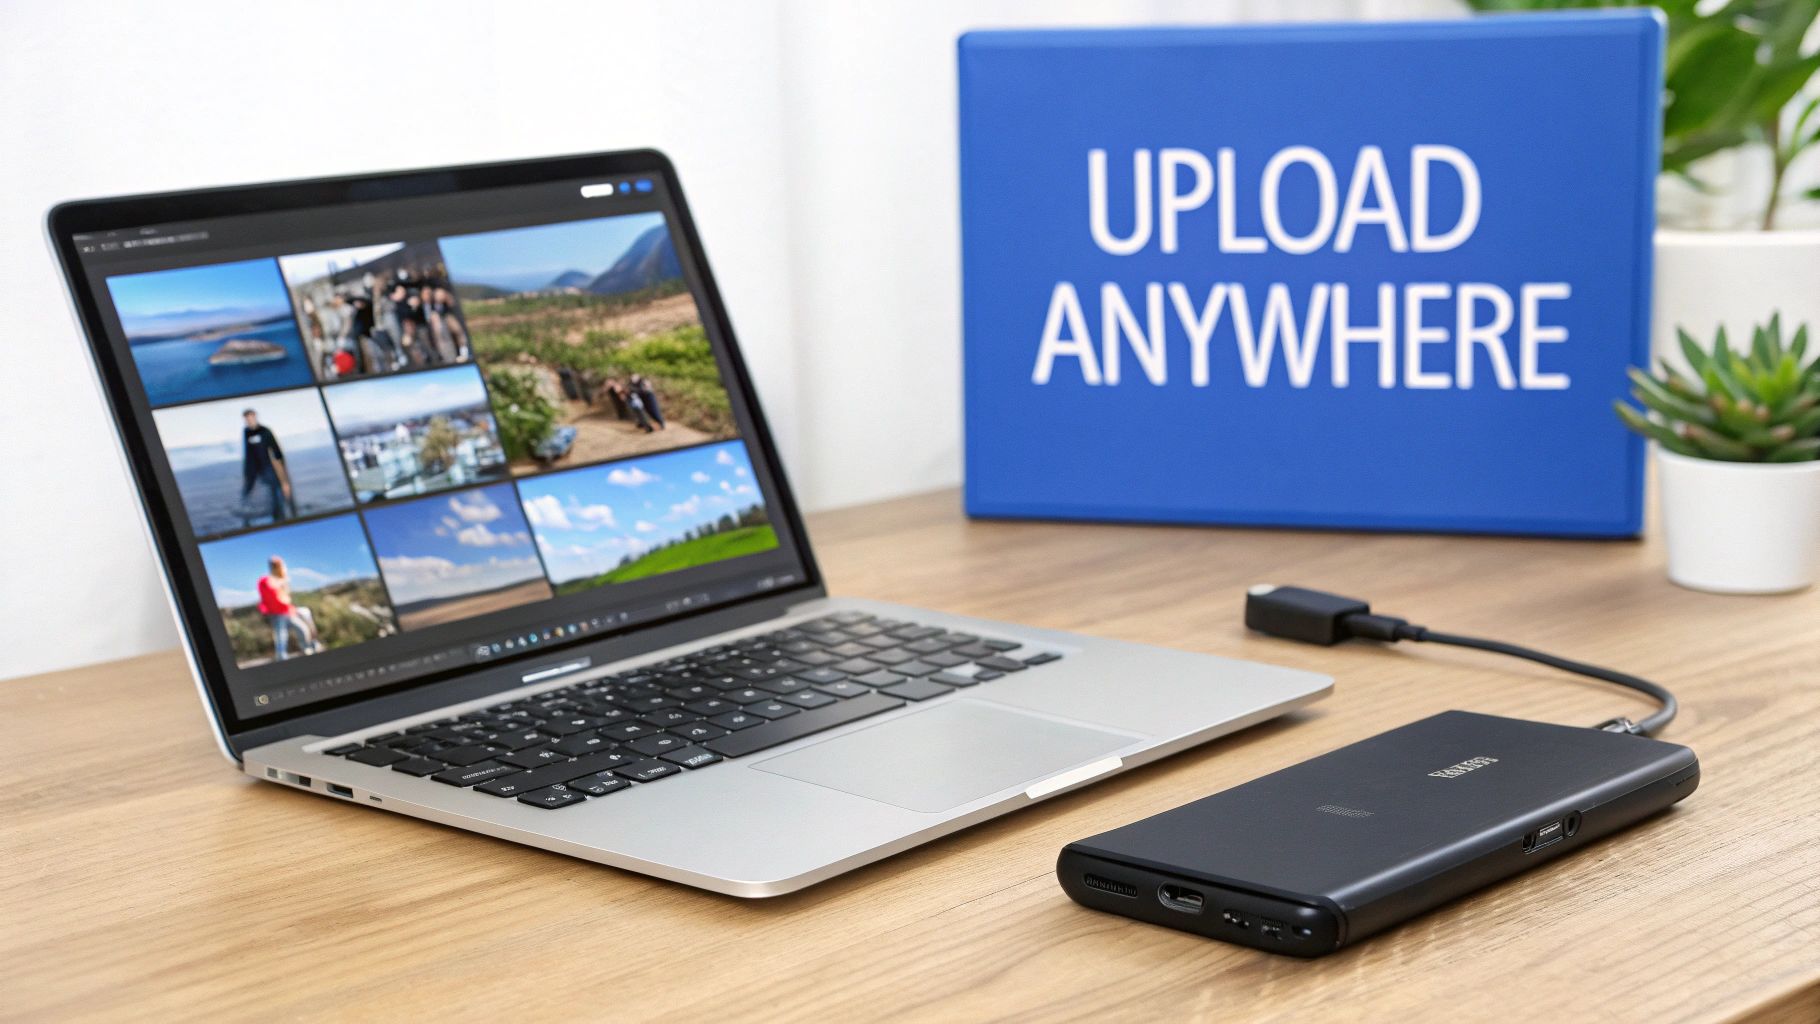
Why Desktop Uploading Is a Game Changer
For serious creators, brands, and anyone obsessed with video quality, uploading from a desktop is non-negotiable. Using the TikTok website to upload directly from your computer often results in better video compression. That means your crisp 1080p or 4K footage actually stays crisp.
It also massively simplifies the workflow. No more Airdropping huge files to your phone. Just export from your editing software and upload it in one go. Plus, typing out captions and managing settings with a real keyboard is a welcome relief.
Pro Tip: Always edit and export your video in a vertical 9:16 aspect ratio (1080×1920 pixels). This is absolutely critical. It ensures your video fills the entire screen on a phone, preventing those ugly black bars that scream "amateur."
Bridging the Gap After Uploading
Just because your video was polished elsewhere doesn't mean you should ignore TikTok’s native features. In fact, you shouldn't.
After uploading your clip, it’s a brilliant move to add a trending sound from TikTok’s library. You can turn its volume way down so it’s barely audible under your original audio. The algorithm often picks this up and gives your video a visibility boost.
Likewise, adding a few native text overlays or stickers can help your professionally edited video feel more at home on the platform. It's this blend of high-production value and native TikTok elements that often hits the sweet spot for engagement.
With an incredible 16,000 videos uploaded to the platform every minute, you need every advantage you can get. This insane volume, highlighted in these TikTok statistics and insights at Buffer.com, shows why mastering every detail of how to add videos to TikTok can make all the difference.
Optimizing Your Video Before You Post

Putting together a great video is only half the job. Those final moments before you tap "Post" are crucial—it's when you give the TikTok algorithm all the clues it needs to find your ideal audience. Think of it as turning a simple upload into a strategic launch.
These last-minute details—your caption, sounds, hashtags, and privacy settings—are the signals that direct your video straight to the right For You Page. Skipping this part is like throwing a party but forgetting to send out invitations with the address.
Crafting Captions and Choosing Sounds
Your caption is the first thing people read, and its only job is to stop the scroll. Keep it short, make it engaging, and, most importantly, encourage some kind of interaction. Instead of just describing what’s in the video, try asking a question or dropping a bold statement that people can't help but comment on.
Just as critical is your choice of audio. Slapping a trending sound onto your video, even with the volume turned way down behind your original audio, can give it a serious algorithmic boost. The platform loves when creators jump on popular audio, and it’s a proven shortcut to expanding your reach.
- Caption Goal: Spark a conversation or just make people curious. Lines like "You won't believe the last one" or "What's one thing you would add?" work wonders.
- Sound Strategy: Spend some time on your "For You" page and see which songs or sounds keep popping up. Using them makes your content feel fresh and relevant right now.
The Art of Strategic Hashtagging
Hashtags aren't just descriptive labels; they're your ticket into specific communities. It's tempting to load up on massive tags like #fyp or #viral, but they're usually so crowded that your video gets lost in the noise. A much smarter play is to use a layered mix of broad and niche hashtags.
For instance, if you're posting a video about a new coffee spot in Austin, your hashtag strategy might look like this:
#austin(Broad location)#austincoffee(More specific)#newcoffeeshop(Topic-focused)#austinthingstodo(Niche community)
This approach helps TikTok understand your content on multiple levels, pushing it out to an audience that is both wider and more likely to actually care about what you've posted.
Key Insight: The goal isn't just getting views; it's getting the right views from people who are likely to engage. Niche hashtags are your best friend for finding that hyper-engaged audience.
Finalizing Privacy and Collaboration Settings
Before you go live, a quick review of your settings is a must. This is where you control who sees your content and how they can interact with it.
- Who can watch this video: You’ll see options for "Everyone," "Friends," or "Only Me." If your goal is growth, "Everyone" is pretty much always the answer.
- Allow comments: Leave this on. Comments are a key engagement signal.
- Allow Duet and Stitch: I highly recommend enabling these. It transforms your video into a potential collaboration, letting other creators build on your content and introduce it to their followers.
- Add location: Tagging your city or a specific venue can be a game-changer for reaching a local audience.
With a massive 83% of TikTok users posting their own content, the platform is an incredibly active space. This competition means every little optimization matters, which is why tools like ShortsNinja are so helpful for getting everything right without the manual grind. In a world where 63% of top ads capture attention in the first three seconds, your pre-post strategy isn’t just a nice-to-have—it’s essential for making an impact. You can find more stats on viewer behavior over at EmbedSocial's blog.
How to Automate and Scale Your TikTok Content
Consistent posting is the engine of TikTok growth, but let's be real—it's also a fast track to burnout. Manually adding videos every single day, trying to nail the perfect caption, and figuring out the best time to post can quickly become a full-time job.
This is where automation tools come in. They create a massive advantage by turning a tedious, time-consuming process into something you can manage in just a few minutes a day. Imagine having an idea, and an AI instantly generates a script, finds the right visuals, and adds a realistic voiceover. This isn't science fiction; it's exactly how top creators and agencies are scaling their output right now.
The Modern Workflow: Idea to Video in Minutes
The new way to scale your TikTok content is refreshingly simple. Instead of getting lost in the weeds of video editing and manual uploads, you get to focus on what actually matters: your strategy.
Here’s what the process generally looks like:
- Provide an Idea: You start with a simple prompt, a keyword, or just a topic you want to cover.
- AI Generation: The tool gets to work, creating a script, sourcing relevant visuals, and producing a human-like voiceover.
- Review and Schedule: You give the final video a quick look, make any small tweaks, and schedule it to post automatically.
This automated workflow is a total game-changer for anyone trying to maintain a constant presence without dedicating their entire day to making content.
This screenshot gives you a peek into the clean interface of a tool like ShortsNinja, where you can manage everything from a single dashboard.
By bringing the whole process under one roof, these platforms eliminate the friction of jumping between different apps for scripting, editing, and scheduling. It allows you to produce a high volume of quality content, consistently. And if you're looking to monetize, a key first step is to create a business TikTok account to unlock more professional tools and analytics.
Unlocking Powerful Scaling Features
Beyond just making one-off videos, automation platforms are packed with features designed specifically for growth and efficiency. These tools are built to handle the repetitive stuff that eats up your time, freeing you up to think about the bigger picture.
Some of the most powerful scaling capabilities include:
- Realistic AI Voiceovers: Generate natural-sounding narration in dozens of languages. Suddenly, your content is ready for a global audience.
- Automatic Scheduling: Plan your content calendar weeks or even months ahead. The system can automatically post at the best times for your audience, even across different timezones.
- Hands-Free Series Creation: This is one of the most impactful features. You can set up an entire video series around a single theme, and the AI will generate and schedule every single video for you.
Key Takeaway: Automation isn't about replacing your creativity; it's about amplifying it. By letting the software handle the grunt work, you get back the time and mental space to come up with better ideas and stronger strategies.
This method completely redefines what it means to add videos to TikTok. Instead of a slow, manual process, you can build a content machine that works for you 24/7. If you’re serious about growth, exploring TikTok automation software can give you a serious edge, helping you produce content that keeps your audience engaged and coming back for more.
Common Questions About Adding TikTok Videos
Even after you get the hang of posting, you're bound to hit a few snags. Part of mastering TikTok is knowing how to handle the common issues that pop up for creators every day.
We'll walk through some of the most frequent questions we see, with clear answers to get you back on track and refine your posting strategy.
Can I Edit a TikTok Video After Posting It?
The short answer is: not really. Once your video is live, you cannot edit the video clip itself, change the sound, or adjust the timing of your text and stickers. This is a big one to remember before you hit publish.
So, what can you change? You do have control over a few things:
- Your video caption and hashtags
- The cover image that shows up on your profile grid
- Who can see it (you can switch from Public to Friends Only, for example)
If you catch a major typo in your on-screen text or a glaring mistake in the video, your only move is to delete it and re-upload the corrected version. That’s why a final once-over is so critical.
Takeaway: Always double-check your video, sound, text, and caption before publishing. Using a scheduling tool can give you the space to draft and review everything ahead of time, which seriously cuts down on those post-and-delete moments.
Why Does My Uploaded Video Look Blurry?
This is a classic creator headache, and it almost always comes down to TikTok's video compression. To keep the app running smoothly for millions of users, TikTok compresses every video file. Sometimes, this process can soften the quality of your beautiful, crisp original.
To get the sharpest result, you need to give the algorithm the best possible file to work with. Always start with a high-resolution video—1080p is the gold standard here. Good lighting is also completely non-negotiable; it reduces the visual noise that compression loves to make worse.
Finally, stick to the vertical 9:16 aspect ratio from start to finish. This ensures the app doesn't have to crop or stretch your footage in weird ways. For creators who are serious about quality, uploading from a desktop with a fast, stable internet connection often produces a cleaner final video than uploading from your phone.
What Is the Best Time to Post a Video?
Sorry to disappoint, but there’s no universal "golden hour" for posting that works for every account. The best time to post is whenever your specific audience is most active on TikTok.
The good news? TikTok tells you this directly in your analytics. Here's how to find it:
- Head to your Profile page.
- Tap the three-line menu and choose Creator Tools.
- Go to Analytics and tap the Followers tab.
- Scroll down to the Follower activity section.
This chart will show you the exact days and hours your followers are scrolling most. A great rule of thumb is to post about an hour before those peak times. This gives the algorithm time to start pushing your video out just as your audience is logging on.
Tired of the endless cycle of scripting, editing, and posting? With ShortsNinja, you can put your content creation on autopilot. Turn one idea into a whole series of high-quality, ready-to-post videos in minutes. Stop wasting hours on manual tasks and start scaling your TikTok presence effortlessly. See how AI can transform your workflow and grow your channel—visit https://shortsninja.com to learn more.