
Got that perfect video sitting in your phone's gallery, just waiting for its TikTok debut? Getting it from your camera roll to your "For You" page is easier than you think.
Forget having to film everything inside the app. Let's walk through how to upload the content you've already polished and perfected.
Your Quick Guide to Gallery Uploads on TikTok
Learning how to upload a video from your gallery is probably the single most important skill for any new TikTok creator. This is your gateway to sharing content you’ve pre-recorded, meticulously edited in another app, or even professionally shot. It gives you total creative freedom before your video ever hits the TikTok interface.
This simple function is a huge reason behind TikTok’s explosive growth, allowing millions of creators to produce content on their own terms. It's what helps power the platform's climb to nearly 1.9 billion monthly active users. When you consider that a wild 83% of users post their own videos, this easy upload process is what enables over 850 million creators to share their work every single day. You can explore more TikTok creator statistics on Dreamgrow if you're curious.
Key Steps for iOS and Android Users
The process is almost identical whether you're on an iPhone or an Android, but there are a few tiny differences in the user interface. Knowing what to look for can save you a bit of confusion and make the whole process feel smoother, no matter what phone you're using.
To make it even clearer, here’s a quick side-by-side look at how it works on both systems.
iOS vs Android TikTok Upload Quick Reference
This table breaks down the main actions you'll take when uploading a video from your gallery, highlighting the subtle variations you'll see on an iPhone versus an Android device.
| Action | iOS (iPhone/iPad) | Android (Samsung, Google, etc.) |
|---|---|---|
| Open Gallery | Tap the "Upload" button, which sits just to the right of the main record button. | Tap the "Upload" button, which you'll typically find on the bottom right. |
| Select Clips | Your gallery pops up. Just tap to select one or more clips, and a checkmark will appear to confirm your choice. | The gallery view opens up. To select multiple videos or images, you'll usually need to tap and hold the first one. |
| Adjust Order | After you've picked your clips, you can drag and drop the video thumbnails to reorder them before moving on. | Once your clips are selected, you can typically drag them around on the editing timeline to change their sequence. |
As you can see, the core steps are the same—it’s mostly about where you tap and how you select multiple files. Once you’ve done it a couple of times, it becomes second nature.
A Visual Walkthrough of the Upload Process
Ready to get that video from your phone's gallery onto TikTok? Let's walk through the exact steps, from finding the clip on your camera roll to getting it into the TikTok editor. It’s pretty straightforward on both iOS and Android once you know where to look.
First things first, pop open the TikTok app and tap the big plus (+) icon at the bottom of your screen. This takes you to the camera, but since your video is already good to go, you can completely ignore that red record button.
Your target is the "Upload" button, which you'll find sitting to the right of the record button. Tapping it opens your phone's gallery right inside the app, showing you all your recent videos and photos.
Selecting and Trimming Your Clips
Now you’re looking at your camera roll. From here, you can pick a single, perfectly edited video or string together multiple clips to tell a longer story. Just tap on a video's thumbnail to select it—you'll see a little checkmark or circle fill in to confirm it's been chosen.
Want to add more? Keep tapping. TikTok lets you select multiple clips at once, and you'll see them line up at the bottom of the screen. This is a great way to get a quick preview of how they'll flow together before you even get to the main editor.
Pro Tip: You can rearrange the order of your clips right here on this screen. Just press, hold, and drag a thumbnail to its new spot. This little move saves a ton of headaches later when you're deep in the editing process.
This whole initial process is pretty simple, as you can see below.
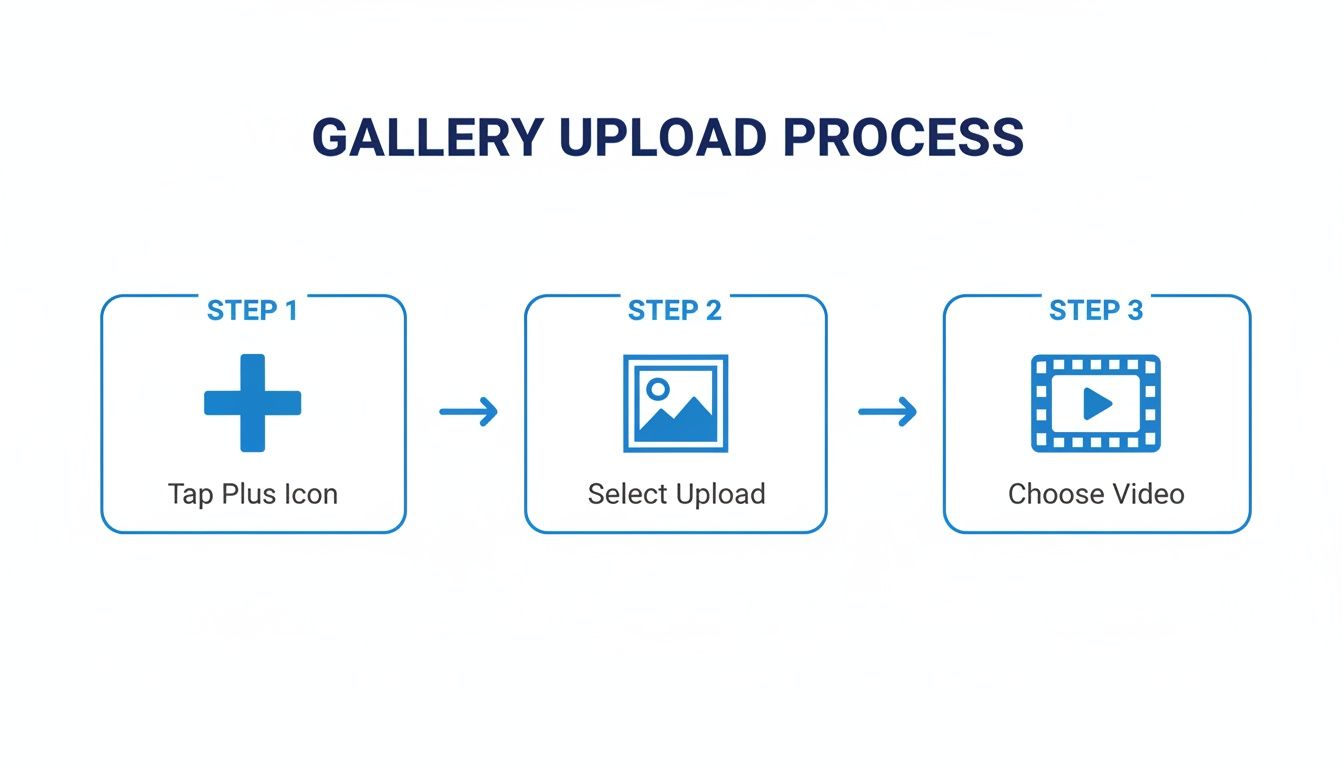
It really boils down to three simple actions: opening the creator screen, tapping upload, and picking your clips. Once you're happy with your selection, hit the "Next" button. This is where the magic happens—you’re now in TikTok's editor.
In the editor, you can get more precise. The timeline at the bottom shows all the clips you chose. To trim one, just tap it and drag the white handles on either end to snip out any dead space or awkward starts and stops.
This is just the beginning of the editing process, of course. For a more detailed look at the editing suite, our guide on how to add videos to TikTok covers more advanced features. With your clips selected and trimmed, you're ready to get creative.
Give Your Clips the TikTok Treatment
Getting your video into the app is just the first step. The real fun begins in the editor. Once you’ve uploaded a video from your gallery, you unlock a whole suite of native tools designed to turn a basic clip into something people actually want to share. This is where you give it that TikTok personality.
The ability to upload pre-shot, polished content has completely changed the game for creators and brands. With an expected 45.5% of users converting to purchasers in 2025—the highest rate of any social platform—getting it right matters. Much of this growth comes from brands using their own footage for quick product demos, which makes a ton of sense when you realize 38% of users buy stuff directly from in-app links. For more on this, you can read the full research on video marketing statistics.
Find the Perfect Sound
Your first stop in the editor should almost always be the "Add sound" button at the top of the screen. Let’s be real, music and trending audio are the lifeblood of TikTok. Using a popular sound can give your video a massive visibility boost because the algorithm tends to push content that jumps on a trend.
You can browse through TikTok's recommendations, check out playlists, or search for a specific song or artist. Pro tip: Don't sleep on the "Favorites" tab. When you’re scrolling your For You page and hear a sound you like, save it for later. It’s a huge time-saver.
Dial in Your Visuals With Filters and Effects
Looks are just as important as audio on TikTok. The editor is loaded with filters and effects that can completely change the vibe of your video.
- Filters: For quick color grading, just swipe left or right on the video preview. If you want more control, tap the "Filters" icon to browse categories like Portrait, Landscape, Food, and Vibe.
- Effects: The "Effects" icon is where the magic happens. It opens up a huge library of AR filters, green screen backgrounds, and other wild visuals. This library is updated all the time, so it pays to explore and find something that makes your content pop.
Don’t be afraid to mix and match. A good filter paired with a subtle effect can give your video a more polished, professional look that helps it stand out from the noise on the For You page.
Add Context With Text and Voiceovers
Sometimes your video needs a little more context, and TikTok gives you a few great ways to add it. Tapping the "Text" icon lets you slap on captions, ask questions, or add a call-to-action right on the video. You can tweak the font, color, and timing to make sure your message hits at exactly the right moment.
The voiceover tool is another powerhouse feature. You'll find it under the audio editing options, and it lets you record your own narration over the video's original sound. It's perfect for tutorials, telling a quick story, or adding personal commentary that helps you connect with your audience.
Getting comfortable with these built-in tools is key. But if you want to take your editing to the next level, you can always go deeper. For more advanced techniques, check out our complete guide on how to edit a video for TikTok.
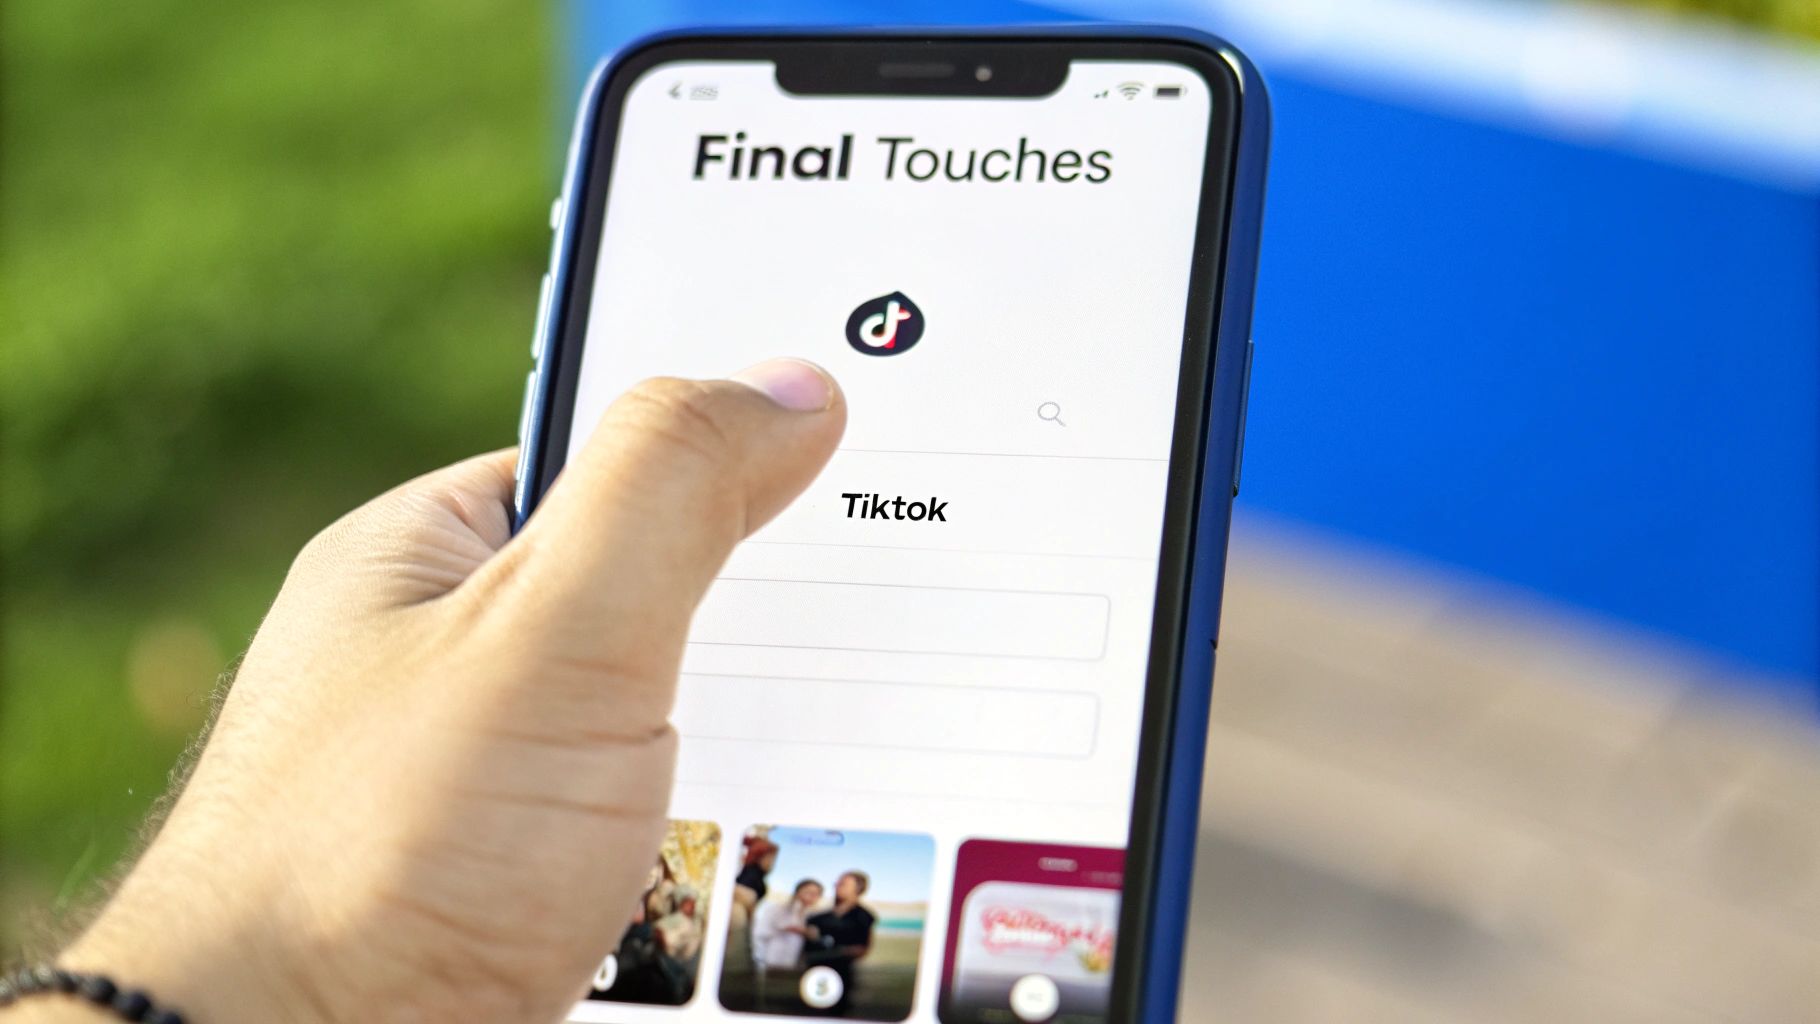
Final Touches Before You Hit Post
That glowing "Post" button is calling your name, but pausing for a minute here can make all the difference. This final screen is where you add the strategic finishing touches that help people actually find your video after it goes live.
Think of your caption as your video's headline and hook rolled into one. You'll want to keep it short, snappy, and maybe even ask a question to get the comments flowing. Something like "Wait for the ending 😂" almost always works better than a long, drawn-out description.
Next up, hashtags. You don't want to just throw random tags on there; a little strategy goes a long way. I've found the best approach is to use a mix of broad and niche tags.
- Broad Hashtags: Think
#foryouor#viral. These have insane volume but also massive competition. Use them sparingly. - Niche Hashtags: Get specific. If your video is about redecorating your living room with secondhand finds, use tags like
#vintagehomedecoror#thriftflip. This is how you find your people. - Trending Hashtags: Always check the Discover page to see if a popular trend fits your video. Jumping on a trend can give you a quick boost.
A good rule of thumb is to aim for a blend of 3-5 hashtags. Also, don't forget to tag any relevant accounts with the @mention feature and add a location if it gives your video context.
Select Your Cover and Privacy
Your video's cover is the first thing people see when they land on your profile grid, so make it count. Tap "Select cover" on the video preview and drag that little pink box to a frame that’s clear and intriguing. A great cover is what makes someone decide to tap on your video instead of scrolling past. If you really want to level up your thumbnail game, you can explore some detailed advice for creating compelling TikTok thumbnails.
The final, critical step is setting your privacy. You can choose who can view your video: Everyone (public), Friends, or Only you. For maximum reach and potential growth, "Everyone" is the way to go.
Under "More options," you can also decide whether to allow comments, Duets, and Stitches. Taking a moment to get these settings right is just as important as the edit itself. And if you're a creator who posts on multiple platforms, checking out an Instagram Reels format guide can offer some great transferable knowledge for optimizing your video specs.
Solving Common TikTok Upload Issues
We've all been there. You've just finished editing the perfect video, you hit upload, and… nothing. The progress bar freezes, the app crashes, or the final video looks like it was filmed on a potato. It’s incredibly frustrating, but before you throw your phone across the room, know that most of these upload glitches are surprisingly easy to fix.
One of the biggest culprits is often overlooked: your phone's storage is completely full. TikTok needs a little breathing room to process and upload files, so if you're constantly getting that "storage almost full" notification, it's time to do some cleanup. Check out this guide on managing your cell phone storage to free up some space.
Another common issue is a spotty internet connection. If you're uploading on cellular data while walking around, the connection can drop just enough to cause the upload to fail or seriously degrade the quality. Always try to upload over a stable Wi-Fi connection whenever possible.
Quick Troubleshooting Fixes
If your video is stuck in upload limbo or just won't post, try these simple steps first. The quickest fix is often just clearing out the app’s temporary files.
- On an iPhone: You can't clear the cache directly. Instead, you'll need to offload the app by going to
Settings > General > iPhone Storage > TikTok > Offload App. Then just reinstall it from the App Store. - On an Android: It's a bit more direct. Head to
Settings > Apps > TikTok > Storageand just tap the Clear Cache button.
Sometimes, the problem isn't your phone—it's TikTok itself. A quick force-quit and relaunch of the app, or even a full phone restart, can clear up whatever random bug was holding up your upload.
Finally, if you're dealing with audio that's out of sync with your video, the problem likely happened before you even got to TikTok. This usually points to an issue with the video file itself. Your best bet is to go back to your editing software, re-export the video, and then try uploading the fresh file.
Common Questions About Uploading to TikTok
Once you get the hang of uploading from your gallery, a few specific questions always seem to pop up. Here are the quick answers you're looking for to sidestep common issues and get your videos looking their best.
What Is the Maximum Video Length?
Right now, TikTok lets you upload videos up to 10 minutes long straight from your camera roll. But just because you can doesn't mean you should.
Let's be real, TikTok is built for speed. The sweet spot for most viral content is still in that snappy 15-60 second window. It’s just better suited for how people scroll through their For You Page.
Why Does My Video Quality Look Worse?
This is probably the most common frustration I hear. You upload a crystal-clear video, and TikTok turns it into a pixelated mess. The culprit? Compression.
TikTok squishes every video file to make sure it loads fast for everyone, even on a bad connection. To give your video the best fighting chance, always upload a high-resolution file (1080p is perfect) over a strong, stable Wi-Fi connection. Uploading over a weak cell signal forces TikTok to compress it even more, which is when things get really blurry.
Think of it this way: your starting file quality and internet speed are the only two things you can truly control. A crisp 1080p file uploaded over good Wi-Fi gives TikTok's algorithm the best possible source material to work with.
Can I Schedule a Gallery Upload?
Yes and no. You can't schedule an upload directly from the mobile app's final posting screen. But you have a couple of solid workarounds.
The simplest method is to edit your video, get it ready to go, and then just save it as a draft. When it's time to post, you can open your drafts and publish it manually.
For true, hands-off scheduling, you’ll need to hop on a computer and use the TikTok web interface. If you have a business account, it has a built-in scheduling tool that works like a charm.
Ready to create stunning, faceless videos for TikTok in just minutes? With ShortsNinja, you can turn any idea into engaging content using AI-powered scripting, visuals, and voiceovers. Try ShortsNinja today and watch your channel grow.