
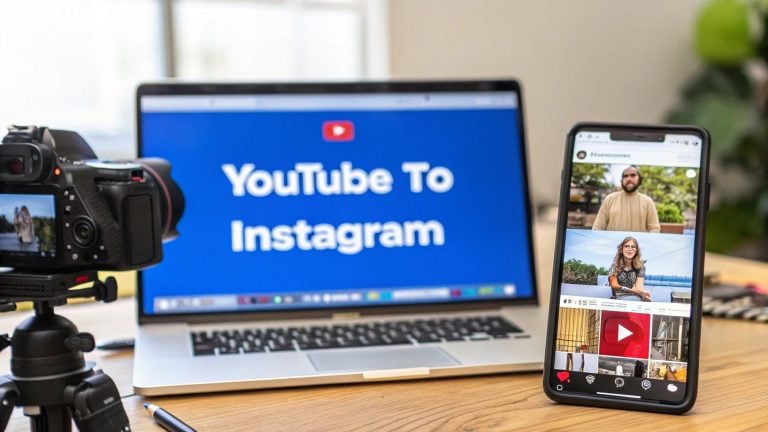
Thinking about posting your long-form YouTube videos on Instagram? It's more than just a simple upload. The real magic happens when you download your original video, chop it into a compelling, short clip, and reformat it for a vertical screen (think 9:16 for Reels).
This approach turns your detailed YouTube content into bite-sized previews that are perfect for grabbing attention on Instagram. It's one of my favorite ways to expand my reach and pull viewers from Instagram back to my main YouTube channel.
Why Bother Repurposing YouTube Videos for Instagram?
Moving your best YouTube moments over to Instagram isn't just about saving time—it's a smart, strategic move to connect with a completely different, highly visual audience.
Let's be real: each platform serves a unique purpose. YouTube is the home for your deep-dive, detailed content. Instagram, on the other hand, is built for rapid discovery and quick hits of information. By sharing punchy clips, you create powerful little entry points that lead people back to your brand.
Think of it as creating a highlight reel for your entire channel. These short, impactful moments can do a few key things for you:
- Expand Your Reach: You're tapping into a massive new pool of potential subscribers who live and breathe on Instagram for content discovery.
- Boost Engagement: Short clips often rack up likes, comments, and shares much faster, creating a buzz that can easily spill over to your YouTube channel.
- Reinforce Your Brand: Showing up with consistent messaging and style across different platforms builds a stronger, more recognizable brand identity.
Honestly, this is one of the most effective https://shortsninja.com/blog/content-repurposing-strategies/ you can use. You're squeezing every last drop of value out of the videos you already worked so hard to produce.
The core idea is simple: meet your audience where they already are. Instead of just hoping Instagram users stumble upon your YouTube channel, you bring your best content directly into their daily scroll. Discovery becomes effortless for them.
To really get why this works so well, you have to see it as part of a bigger cross-channel marketing picture. Instagram has over 2 billion monthly active users, making it an absolutely essential place to be. When creators repurpose their content for Reels or Stories, they're tapping into a massive and incredibly engaged user base that they'd otherwise miss.
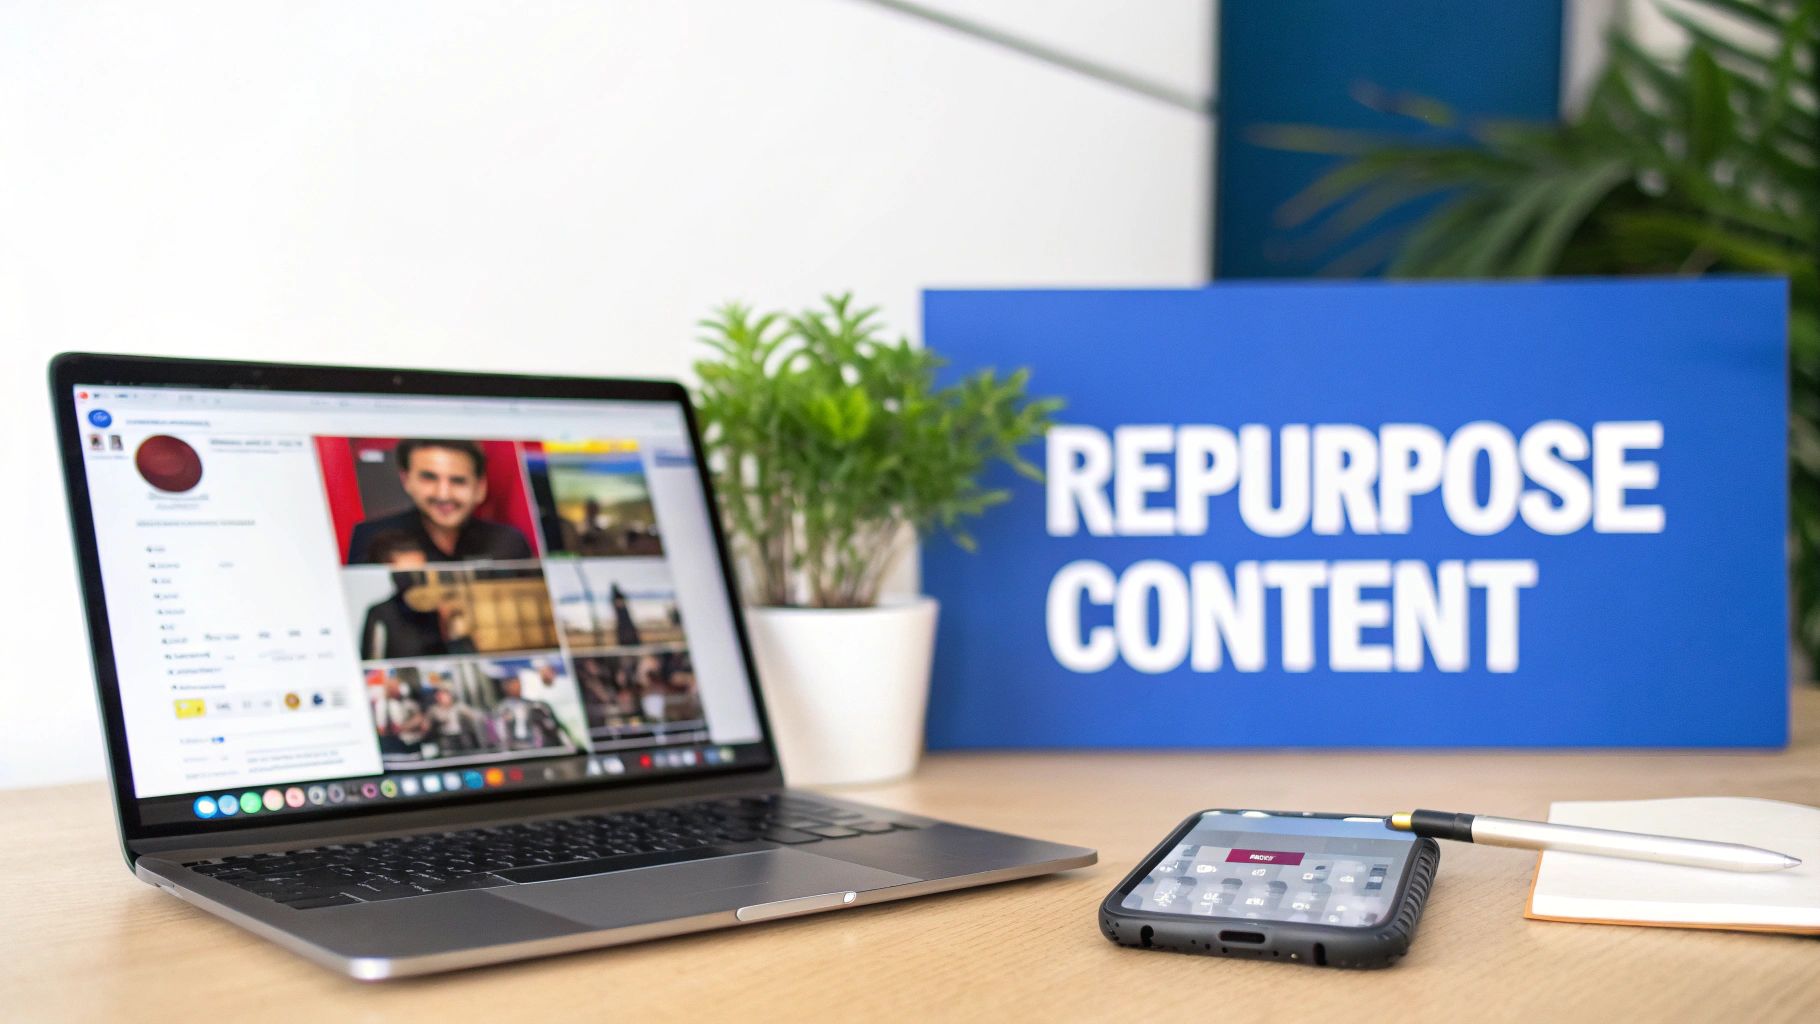
Choosing and Preparing Your YouTube Content
Not every YouTube video is built for Instagram’s fast-paced, scroll-happy world. The first step is to stop thinking about posting your entire YouTube video and start looking for the perfect standalone snippet.
Think of your long-form videos as a gold mine. You're digging for those shiny nuggets that grab attention in seconds—quick tutorials, a powerful quote, a surprising stat, or a funny blooper. A 15-minute deep dive might hide a perfect 45-second clip that teaches one valuable lesson. Your job is to find that moment and pull it out.
Selecting Your Best Clips
The key is finding self-contained highlights. You have to ask yourself: does this clip make sense without the full video's context? Will someone scrolling their feed get it in under five seconds?
Some of the most effective clips are usually one of these:
- Quick Wins: A single tip, hack, or tutorial that delivers immediate value. If you run a cooking channel, this could be the exact technique for dicing an onion perfectly.
- Pivotal Moments: The climax of a story, the most shocking result from an experiment, or the core argument of your entire video.
- Humorous Outtakes: Never underestimate the power of a good blooper. Behind-the-scenes moments show a human side to your brand and almost always perform well.
The most shareable clips are the ones that answer a question or solve a small problem instantly. This approach respects the Instagram user's mindset—they want quick, digestible, and valuable content right now.
Downloading Your Video Safely
Once you've picked your golden nugget, you need the actual high-resolution video file. The safest and most reliable way to do this is by downloading your own content directly from YouTube Studio.
Just head to your channel's "Content" tab, find the video, click the three-dot menu, and hit "Download." This guarantees you get the best possible quality without violating YouTube's terms of service or dealing with sketchy third-party sites. Those sites often compress your video, slap on a watermark, or worse. Remember to only ever download content you own.
Nailing this prep work is crucial. For a deeper dive into what makes a video successful from the start, check out our guide on the 10 best practices for YouTube videos. Now that you have a clean video file, you're ready for the next stage: reformatting it for Instagram.
How to Reformat Videos for Each Instagram Placement
Just dropping a horizontal YouTube video onto Instagram is a surefire way to get scrolled past. This is where you work your magic—turning that widescreen clip into something that feels right at home on a phone. Each Instagram placement has its own set of rules, and playing by them is the key to stopping the scroll.
Before you even think about editing, it helps to map out the journey from your YouTube channel to your Instagram feed.
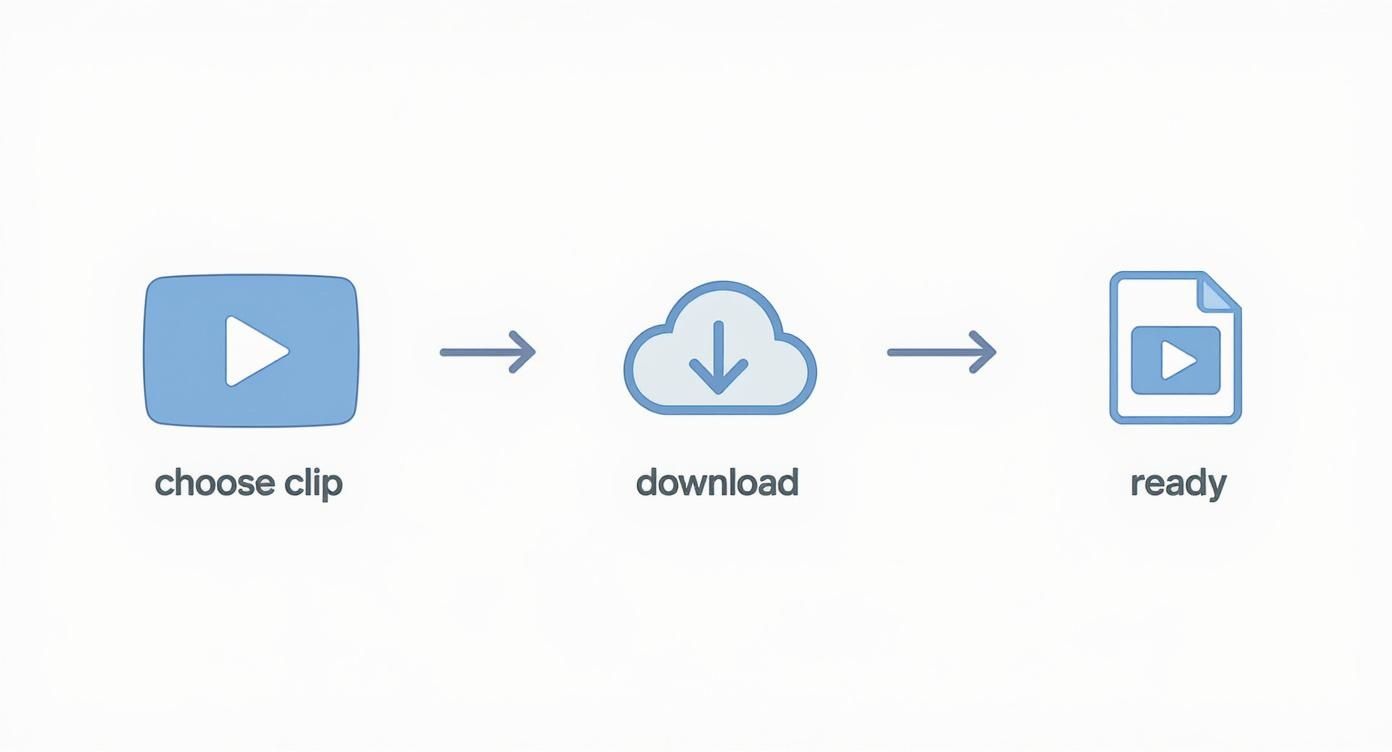
This workflow is your foundation: pick the perfect moment, grab a high-quality download, and get it ready for a mobile-first edit.
To keep things simple, here’s a quick reference for the specs you’ll need for each format.
Instagram Video Format Cheat Sheet
This table breaks down the technical details for Reels, Stories, and Feed videos so your content always looks its best.
| Format | Aspect Ratio | Recommended Length | Key Feature |
|---|---|---|---|
| Reels | 9:16 | Under 90 seconds | Full-screen, immersive experience |
| Stories | 9:16 | 15 seconds per slide | Interactive (stickers, polls) |
| Feed Videos | 1:1 or 4:5 | 1-60 seconds | Takes up prime feed real estate |
Getting these specs right from the start saves a ton of headaches later and makes your content feel professional and native to the platform.
Optimizing for Reels and Stories
For Reels and Stories, your one and only target should be a 9:16 vertical aspect ratio. This isn’t just a suggestion—it’s a must. A vertical video completely fills the phone screen, creating an immersive view that stops people dead in their tracks. A horizontal video with ugly black bars just screams "lazy repost."
You'll need a video editing app for this. I find that user-friendly options like CapCut and InShot are more than enough for the job. Once your clip is imported, the first thing you should do is change the project’s aspect ratio to 9:16. From there, you can reposition and zoom in on the most important part of your video, making sure the main action is always front and center.
The real goal here is to make your YouTube clip look like it was filmed specifically for Instagram Reels. A clean, full-screen vertical video feels intentional and professional, which does wonders for viewer retention.
Keep your clips short and to the point. While Instagram is still a powerhouse, creators have to adapt to how people discover content now. That means editing videos to fit the platform's sweet spot—usually under 90 seconds and always optimized for mobile.
Formatting for the Instagram Feed
While Reels are king for discovery, the classic in-feed video post still holds its ground. For these posts, you really have two solid options:
- Square (1:1): This is the old-school Instagram format. It’s balanced and still works great for most content, especially if you’re doing a tutorial where details matter.
- Vertical (4:5): This is my personal go-to. It takes up more vertical screen space than a square post, making it pop in the feed without being as tall as a full-blown Reel.
Just like with Reels, you’ll use your editing app to set the aspect ratio to either 1:1 or 4:5. The process is identical—reframe the shot to keep the focus right where you want it. Getting a handle on how these different dimensions perform is a game-changer. You can learn more about the best aspect ratios for Instagram in our detailed guide.
Finally, a pro tip: burn your captions directly onto the video. Since so many people watch with the sound off, on-screen text makes sure your message gets across no matter what. Don't forget to design a custom cover image or pick a really engaging frame as your thumbnail to hook people in.
Crafting an Engaging Instagram Post

Alright, your video is edited and ready to go. But hold on—the job’s not quite done. A fantastic video can easily get lost in the noise if it doesn’t have an equally compelling post to back it up.
Your caption, hashtags, and tags are the gatekeepers. They tell the Instagram algorithm who needs to see your content and give people a reason to care.
Think of the caption as the hook. It's your one shot to grab a viewer, give them context, and tell them what to do next. Whatever you do, don't just copy and paste your YouTube description. It's way too long and not built for Instagram's fast-paced, scannable environment.
Writing Captions That Convert
That first line of your caption is prime real estate. It has to stop the scroll. Kick it off with a sharp question, a bold statement, or a relatable problem your video solves.
Keep the rest of the caption easy to scan. Short paragraphs and a few well-placed emojis are your friends here. The goal is to add value, not create a wall of text.
And the most critical part? Every single caption needs a clear call-to-action (CTA). You have to tell your audience exactly what you want them to do.
- "Watch the full video on YouTube—link in bio!"
- "What's your biggest takeaway? Drop it in the comments."
- "Tag a friend who needs to see this hack!"
This simple step is what turns passive scrollers into an active community.
A Smarter Hashtag Strategy
Hashtags are your post's discovery engine, but you have to use them wisely. Throwing in generic tags like #video or #youtube is a waste of space. Instead, take a layered approach that mixes broad appeal with laser-focused targeting.
Try to blend a few types:
- Broad industry tags: (e.g.,
#DigitalMarketing,#ContentCreation) These are high-volume and good for general reach. - Niche-specific tags: (e.g.,
#VideoEditingTips,#YouTubeGrowthHacks) This is how you connect with a dedicated, interested audience. - Branded or community tags: (e.g.,
#ShortsNinjaTips) Use these to build your own corner of the internet.
I've found that a well-researched set of 10-15 relevant hashtags is way more effective than spamming 30 generic ones. The goal isn't just to reach any audience—it's to reach the right one.
The potential here is massive. When you combine YouTube's authority with Instagram’s audience of 2 billion monthly active users, you create a powerful funnel for your brand. Properly crafting your post is what turns that potential into real engagement and traffic. For a deeper look at the numbers, you can explore these social media statistics. These details truly make all the difference when you're posting a YouTube video to Instagram.
Common Cross-Posting Mistakes to Avoid
When you're trying to get a YouTube video onto Instagram, it’s surprisingly easy to sabotage your own efforts. A few simple slip-ups can make your content feel completely out of place, tanking your engagement before it ever has a chance. The good news is, these are easy fixes once you know what to look for.
The biggest mistake I see? Just dropping a raw, unedited horizontal video straight into the app. This leaves you with those massive black bars above and below the clip, instantly screaming "lazy repost." It completely breaks the immersive, full-screen experience people expect on Instagram, especially in Reels.
Another classic error is copying and pasting your entire YouTube description into the Instagram caption. Those descriptions are often long, packed with links, and formatted for someone on a desktop. On Instagram, it just turns into a dense, unreadable wall of text that nobody's going to bother with.
Polishing Your Content for a Native Feel
Beyond just the big formatting issues, there are smaller details that can cheapen your brand's look. Using a third-party download tool that slaps its own watermark on your video is a major red flag. It looks unprofessional and distracts from your message, chipping away at the credibility you've worked hard to build.
Equally damaging is grabbing a blurry or poorly cropped screenshot from your video and using it as the thumbnail. Your cover image is the very first thing people see—it has to be sharp, compelling, and designed to make someone stop scrolling.
Your goal is to make repurposed content feel like it was born on Instagram. Every choice, from aspect ratio to caption length, should be tailored to that specific experience, not just duplicated from YouTube. This small shift in mindset makes a massive difference.
As you share your repurposed YouTube content, it’s also crucial to stay mindful of user-generated content moderation guidelines. This ensures your posts comply with Instagram's policies and don't get flagged. Steering clear of these common pitfalls will make your video look professional and help it perform at its best.
Got Questions? We’ve Got Answers
Jumping into repurposing YouTube videos for Instagram always brings up a few questions. Let's tackle some of the most common ones so you can get your content out there with confidence.
Can I Just Post My Full YouTube Video on Instagram?
Honestly, that’s almost never a good idea. Instagram is built for quick, punchy content, and you'll see engagement drop off a cliff after about 60-90 seconds.
A much smarter play is to cut a compelling teaser or a highlight reel. Think of it as a movie trailer that gets people excited enough to head over to your YouTube channel for the full show.
What's the Best Instagram Format for a YouTube Clip?
Right now, Instagram Reels are your ticket to maximizing reach and getting discovered. The algorithm is absolutely loving vertical, short-form video.
Your best bet is to create a Reel with a 9:16 aspect ratio that clocks in under 90 seconds. Stories are fantastic for more casual, behind-the-scenes glimpses, and square feed posts still work great for quick, self-contained tutorials.
How Do I Add a Clickable Link to My YouTube Video?
This is a classic Instagram hurdle since you can't drop clickable links in your captions. You have two solid options.
First, put the link in your bio and make your caption a clear call-to-action, something like, "Full video at the link in our bio!" The second, and more direct, method is to use the "Link" sticker in your Instagram Stories. It gives your followers a direct, tappable path right to your YouTube video.
Ready to turn your long-form videos into scroll-stopping shorts in minutes? ShortsNinja uses AI to handle the scripting, visuals, and editing for you. What used to take hours is now a simple, three-step process. Give it a try and watch your channels grow, hands-free.